


Artificial rock
coastal_concepts
19 years ago
Sort by:Oldest
Comments (80)
Related Stories

DECORATING GUIDESThe Hottest Houzz Discussion Topics of 2012
Discussions rocked and rolled this year with advice, support, budding friendships — and oh, yes, a political opinion or two
Full Story
CHRISTMASReal vs. Fake: How to Choose the Right Christmas Tree
Pitting flexibility and ease against cost and the environment can leave anyone flummoxed. This Christmas tree breakdown can help
Full Story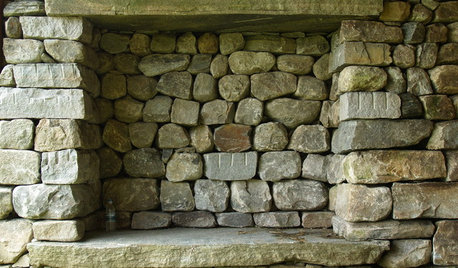
DESIGN DICTIONARYStacked Stone
Using stacked stone for walls, fireplaces and more requires a patient approach to placement
Full Story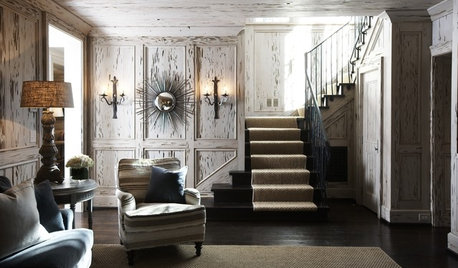
Add Character to Your Home With the Look of Age
Distressed finishes give furniture and other surfaces a sense of history — and lots of charm
Full Story
CRAFTSDIY Project: Vintage Suitcase Dog Bed
Save Your Own Furniture With a Comfy Dog Bed You Can Make This Weekend
Full Story
MODERN HOMESHouzz Tour: Fieldstone Divides and Connects a Wisconsin Home
Modern architecture looks right at home on its site, thanks in part to a bold north-south wall of local stone
Full Story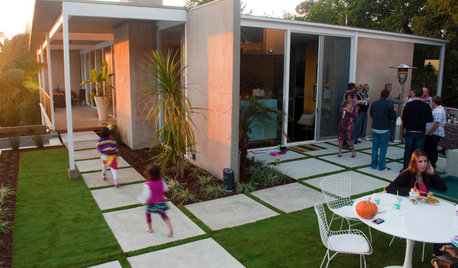
INSIDE HOUZZThere’s a Party in the Backyard, Says a Houzz Landscaping Survey
Entertaining, growing edibles and solving problems are goals for homeowners planning to revamp their yards
Full Story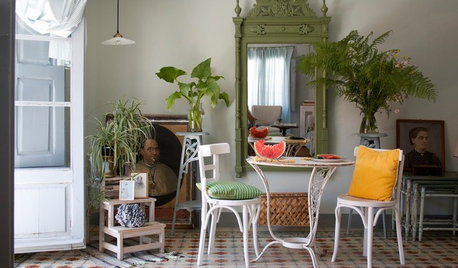
DECORATING GUIDES13 Ways to Give Your Home a Garden-Inspired Look
Outdoor elements like trellises, antique tools, slate and garden gates have a special place indoors
Full Story
MOST POPULAR50 Shades of Gray
Gray is hotter than ever, thanks to a hit novel full of risks and dark secrets. Tell us: Which paint shade possesses you?
Full Story
LANDSCAPE DESIGNIs It Time to Consider Fake Grass?
With more realistic-looking options than ever, synthetic turf can be a boon. Find the benefits and an installation how-to here
Full StorySponsored
Gardener_boy
coastal_conceptsOriginal Author
Related Professionals
Montgomeryville Landscape Architects & Landscape Designers · Parole Landscape Architects & Landscape Designers · Willowick Landscape Architects & Landscape Designers · Salem Landscape Contractors · Allentown Landscape Contractors · Peabody Landscape Contractors · Brookfield Landscape Contractors · Davidson Landscape Contractors · Lakeville Landscape Contractors · Las Vegas Landscape Contractors · Nashua Landscape Contractors · New Braunfels Landscape Contractors · Northport Landscape Contractors · Olympia Landscape Contractors · Raleigh Landscape ContractorsChad_Rose
hans100
Fleur
elmfam
calpat
coastal_conceptsOriginal Author
grime2grime_yahoo_co_uk
stardust_786_yahoo_com
subirsud
dintymoore
cbailey64
gw:james-projects
Dena6355
gw:james-projects
dave_rocks
coastal_conceptsOriginal Author
rockwomankaren
kobold
rockwomankaren
kobold
myback_garden
slate1
heyloft
bailey_09
gardenweb_mercies_com
heyloft
slate1
zoska
zoska
lazydaisy
slurh33
jacksonjj
slate1
slate1
coastal_conceptsOriginal Author
slate1
tamster
lho11234
cindyj13
cincyrockhead
coastal_conceptsOriginal Author
cinci
eddiewms
rockrabbit
collins14
emerogork
WaterfallNow
emerogork