


Column Recipe
fitzpayne
19 years ago
Related Stories
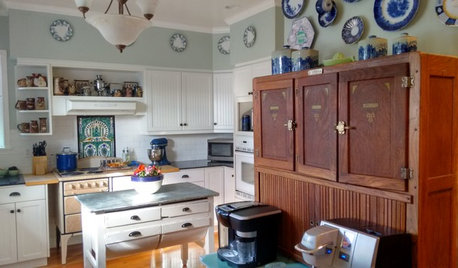
KITCHEN DESIGNKitchen Recipes: Secret Ingredients of 5 One-of-a-Kind Cooking Spaces
Learn what went into these cooks’ kitchens — and what comes out of them
Full Story
CURB APPEALEntry Recipe: New Focal Point for a 1970s Ranch House
A covered terrace draws visitors to the front door and creates a modern, interesting approach in a Baltimore-area home
Full Story
Common Household Cleansers for Leather Upholstery
Clean and condition your leather sofa, chairs, handbags and more with ingredients already in your cabinets
Full Story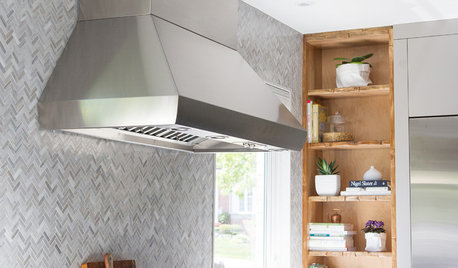
KITCHEN DESIGNKitchen of the Week: Function and Flow Come First
A designer helps a passionate cook and her family plan out every detail for cooking, storage and gathering
Full Story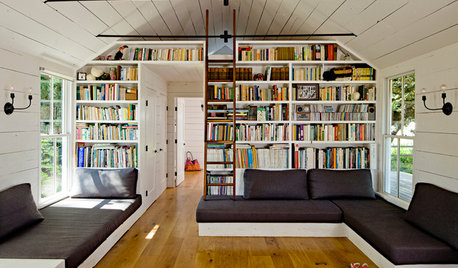
LIFE'Not My Precious Books!' — Pain-Free Ways to Declutter Your Library
Have your books and neatness too, with these ideas for paring down and straightening up a beloved collection
Full Story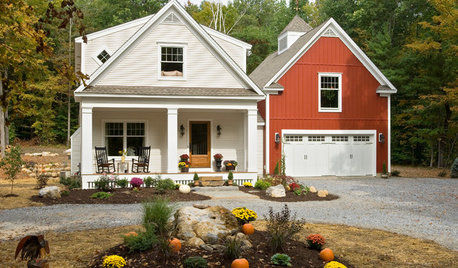
HOLIDAYSYour Guide to Stress-Free Thanksgiving Prep
We break down shopping, cleaning and cooking into manageable bites so you can actually enjoy yourself
Full Story
ORGANIZINGWant to Streamline Your Life? Get a System
Reduce stress and free up more time for the things that really matter by establishing specific procedures for everyday tasks
Full Story
MOST POPULARThe Not Naturally Organized Parent's Guide to the Holidays
This year get real about what you can and cannot handle, and remember the joys of spending time with the ones you love
Full Story
HOUSEKEEPINGGet Glass Windows and Doors Gleaming Clean
Preserve a spotless view with these guidelines for keeping soap scum, hard water spots and dirt at bay on glass surfaces around the home
Full Story
ORGANIZINGDo It for the Kids! A Few Routines Help a Home Run More Smoothly
Not a Naturally Organized person? These tips can help you tackle the onslaught of papers, meals, laundry — and even help you find your keys
Full StorySponsored
Industry Leading Interior Designers & Decorators in Franklin County
use2bcapecodr
davissue_zone9
Related Professionals
Norfolk Landscape Architects & Landscape Designers · Chattanooga Landscape Architects & Landscape Designers · Gainesville Landscape Contractors · Manchester Landscape Contractors · Edmond Landscape Contractors · Addison Landscape Contractors · Barrington Landscape Contractors · Bethel Park Landscape Contractors · Huntington Landscape Contractors · Kaneohe Landscape Contractors · Ridgewood Landscape Contractors · Yukon Landscape Contractors · Crowley Landscape Contractors · Palos Heights Landscape Contractors · Oak Forest Siding & ExteriorsConnie_N_Virginia
susan6
sladybug2
mspam