


'Project' tree
head_cutter
14 years ago
Related Stories
GARDENING GUIDESTree Care: Common Tree Diseases and What to Do About Them
Learn to recognize trees that may be affected by diseases or pests so you can quickly take action
Full Story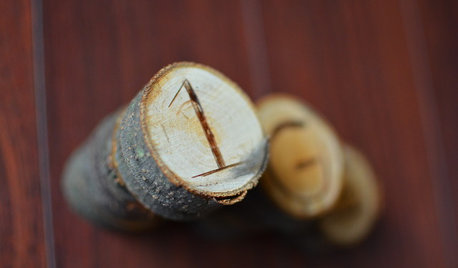
CRAFTS7 Ways to Upcycle a Fallen Tree
When a tree falls, turn its branches into rustic toys, accessories and holiday décor
Full Story
CHRISTMASBuild a Refreshingly Alternative Plywood Christmas Tree
Let others have their traditional pine. This wooden version you make yourself celebrates modern DIY style
Full Story
CRAFTSEnjoy a High-Contrast Holiday With These DIY Projects
Try a few fun gift tags, classic ornaments and gift wrap ideas in stylish black and white
Full Story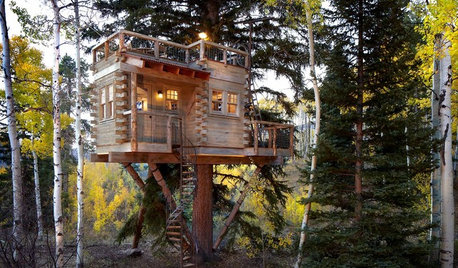
TREE HOUSESHouzz Call: Show Us Your Well-Designed Treehouse or Tree Fort!
Got a great treehouse or tree fort? We want to see it! Post yours in the Comments and we’ll feature the best in a future article
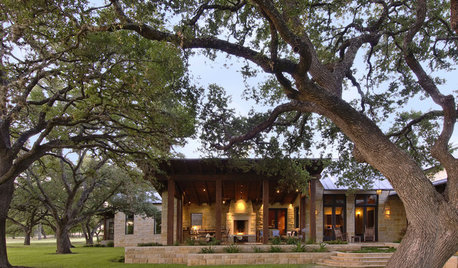
Full StoryTREESHow to Protect Your Trees When You’re Remodeling or Building
Will your home be undergoing construction this year? Be sure to safeguard your landscape’s valuable trees
Full Story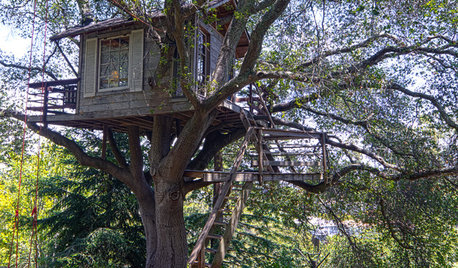
DREAM SPACESA Northern California Tree House Makes Memories
Designed with utmost respect for the tree cradling it, a cozy house gives overnighters an experience to cherish
Full Story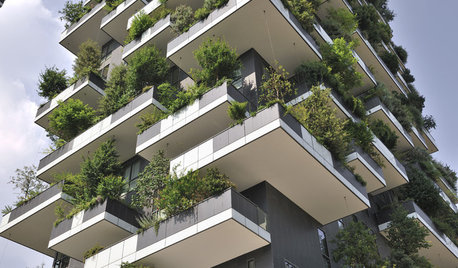
THE ART OF ARCHITECTUREWorld of Design: Trees Bring Nature to a High-Rise in Milan
Discover ‘the most beautiful and innovative skyscraper in the world’ — the foliage-filled Bosco Verticale — and tour one of its apartments
Full Story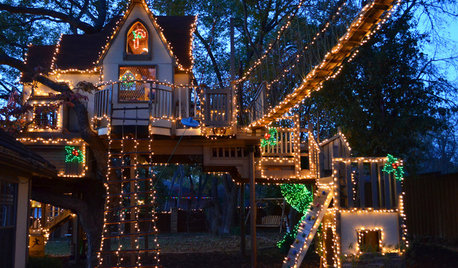
MOST POPULARA Magical Tree House Lights Up for Christmas
From the Most Popular file: An incredible tree house takes things up a notch for the holidays. See how it came to be
Full Story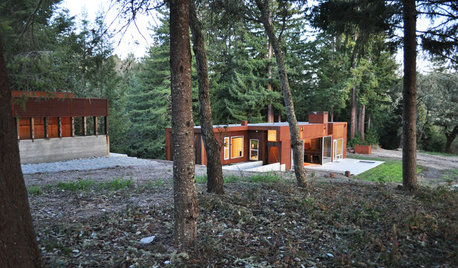
HOUZZ TOURSHouzz Tour: A Modern Getaway Nestled in the Trees
Nature views and bold materials star in a California vacation house for Chicago newlyweds
Full Story

head_cutterOriginal Author
sfhellwig
Related Professionals
Montgomeryville Landscape Architects & Landscape Designers · Cary Landscape Contractors · Emmaus Landscape Contractors · Fort Myers Landscape Contractors · Painesville Landscape Contractors · Parkland Landscape Contractors · The Woodlands Landscape Contractors · Eastlake Landscape Contractors · Vadnais Heights Landscape Contractors · Fort Lee Decks, Patios & Outdoor Enclosures · Hendersonville Decks, Patios & Outdoor Enclosures · Houston Decks, Patios & Outdoor Enclosures · Olathe Decks, Patios & Outdoor Enclosures · Riverside Decks, Patios & Outdoor Enclosures · Tooele Decks, Patios & Outdoor Enclosureshead_cutterOriginal Author
head_cutterOriginal Author
sfhellwig
gardenlover25
head_cutterOriginal Author
greenman28 NorCal 7b/8a
head_cutterOriginal Author
head_cutterOriginal Author
head_cutterOriginal Author
head_cutterOriginal Author
sfhellwig
head_cutterOriginal Author
head_cutterOriginal Author
head_cutterOriginal Author
head_cutterOriginal Author
sfhellwig
head_cutterOriginal Author
mganga-mulapai
head_cutterOriginal Author
head_cutterOriginal Author
sfhellwig
head_cutterOriginal Author
thirdyearbonsai
greenman28 NorCal 7b/8a
head_cutterOriginal Author