


Strawberry trees.
imstillatwork
15 years ago
Sort by:Oldest
Comments (34)
Related Stories
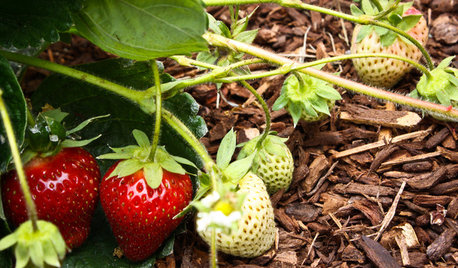
SPRING GARDENINGSummer Crops: How to Grow Strawberries
Pluck your own sweet strawberries right from the garden vine for smoothies, salads or eating then and there
Full Story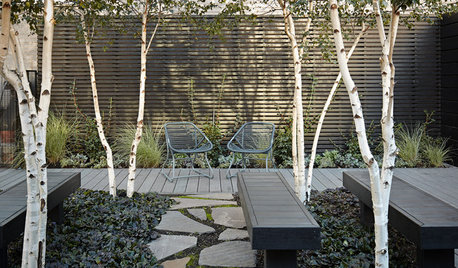
LANDSCAPE DESIGN5 Ways to Use Trees to Create a Sensational Garden Space
Trees define spaces in multiple ways and bring a layer of shade and intrigue to the landscape
Full Story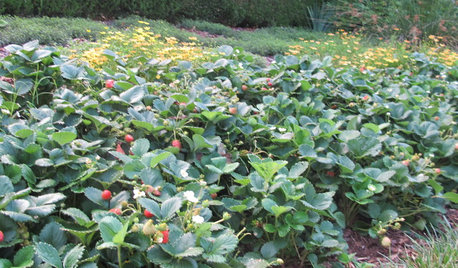
REGIONAL GARDEN GUIDESSoutheast Gardener's September Checklist
Fertilize strawberries, plant a tree or two and beckon hummingbirds to your Southern garden this month
Full Story
EDIBLE GARDENSHow to Add an Apple Tree to Your Edible Garden
Readily available, beautiful and fragrant, apple trees offer four-season interest along with crisp, juicy fruit
Full Story
HOLIDAYS10 Ways Your Christmas Tree Can Live On After the Holidays
Learn how to recycle your Christmas tree and reap benefits for the environment
Full Story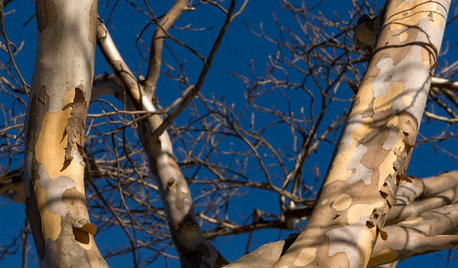
WINTER GARDENING8 Gorgeous Trees for Winter Interest in the Garden
Intriguing forms and beautiful branches take center stage when color heads back into the wings of the winter landscape
Full Story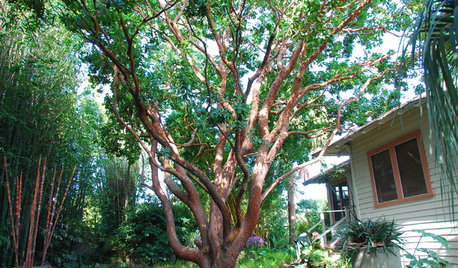
TREESGreat Design Plant: Arbutus 'Marina'
Twisted trunks and snazzy fruit bring wild, all-year beauty to the garden — just keep this small tree away from the lawn
Full Story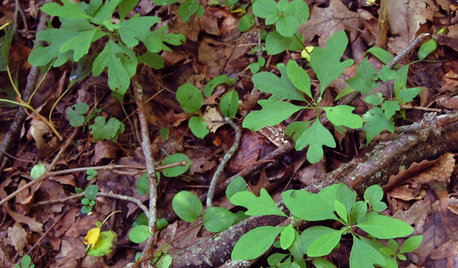
GARDENING GUIDESGreat Design Plant: Sassafras Albidum
This eastern native tree has beautiful foliage, a spicy aroma and a rich history
Full Story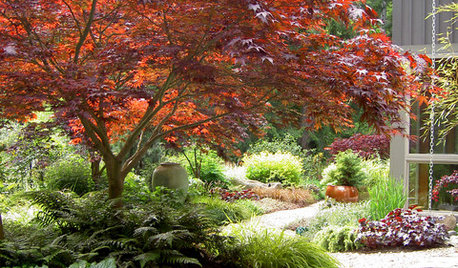
TREES11 Japanese Maples for Breathtaking Color and Form
With such a wide range to choose from, there’s a beautiful Japanese maple to suit almost any setting
Full Story
GARDENING GUIDESGreat Design Plant: Kousa Dogwood
This four-season landscape star offers lovely pink bracts, bumpy summer berries and more
Full StoryMore Discussions

tapla (mid-Michigan, USDA z5b-6a)
imstillatworkOriginal Author
Related Professionals
Windham Landscape Architects & Landscape Designers · Hyattsville Landscape Architects & Landscape Designers · Barrington Landscape Contractors · Flagstaff Landscape Contractors · Mequon Landscape Contractors · North Richland Hills Landscape Contractors · Ocoee Landscape Contractors · Southbury Landscape Contractors · Tinton Falls Landscape Contractors · Wilsonville Landscape Contractors · Matteson Window Contractors · Newton Window Contractors · Seattle Window Contractors · South Yarmouth Fence Contractors · Tavares Fence Contractorstom_n_6bzone
tapla (mid-Michigan, USDA z5b-6a)
imstillatworkOriginal Author
jacqueinthegorge
imstillatworkOriginal Author
lsoh
imstillatworkOriginal Author
east459
imstillatworkOriginal Author
freemangreens
imstillatworkOriginal Author
imstillatworkOriginal Author
lsoh
imstillatworkOriginal Author
rjinga
imstillatworkOriginal Author
freemangreens
rjinga
Dan _Staley (5b Sunset 2B AHS 7)
imstillatworkOriginal Author
rjinga
lsoh
houstonown
tapla (mid-Michigan, USDA z5b-6a)
lawncheney
freemangreens
lawncheney
kephri
lawncheney
lsoh
kephri
fanny