


New improved homemade self watering container / Earthbox
jmalt31
18 years ago
Sort by:Oldest
Comments (89)
Related Stories
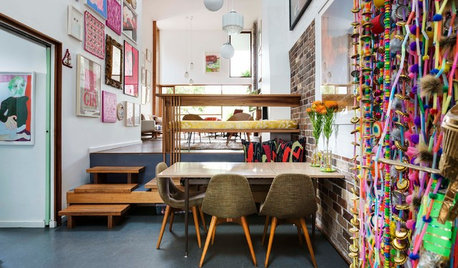
ECLECTIC HOMESHouzz Tour: A Dilapidated Cottage Makes Way for Self-Expression
Clever design and imagination divide and conquer a suburban site for a homeowner with a bold vision and an even bolder art collection
Full Story
FARM YOUR YARDHow to Grow Vegetables in Containers
Get glorious vegetables and fruits on your patio with a pro’s guidance — including his personal recipe for potting mix
Full Story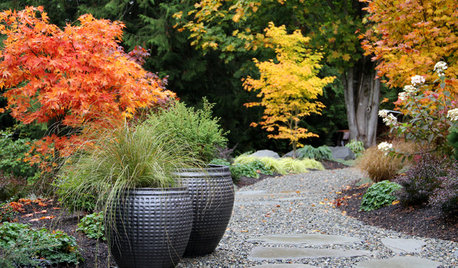
CONTAINER GARDENS9 Tips for Creating an Artful Container Garden
Make your potted plantings a beautiful sight with these ideas for container types, plant groupings and more
Full Story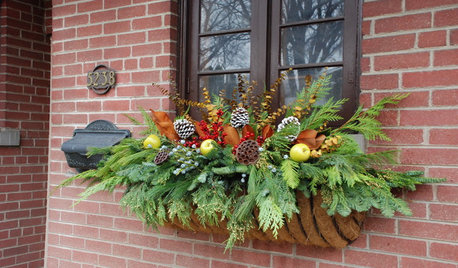
GARDENING GUIDES10 Dazzling Winter Container Designs
Get inspired by these ideas for festive arrangements in outdoor pots and planters
Full Story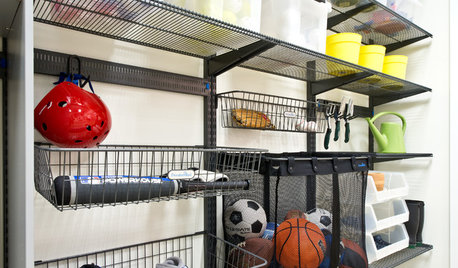
GREAT HOME PROJECTSHow to Make Your Garage a Storage Powerhouse
New project for a new year: Add shelving and containers to get your stuff off the garage floor — and still have room for the car
Full Story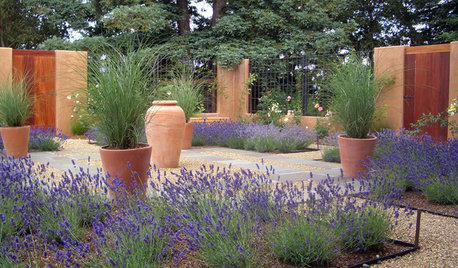
SAVING WATERXeriscape Gardens: How to Get a Beautiful Landscape With Less Water
Conserve water and make gardening much easier with the xeriscape approach’s 7 principles
Full Story
SAVING WATER11 Ways to Save Water at Home
Whether you live in a drought-stricken area or just want to help preserve a precious resource, here are things you can do to use less water
Full Story
GREEN BUILDINGWater Sense for Big Savings
Keep dollars in your pocket and preserve a precious resource with these easy DIY strategies
Full Story
KITCHEN DESIGNHouzz Call: Tell Us About Your First Kitchen
Great or godforsaken? Ragtag or refined? We want to hear about your younger self’s cooking space
Full Story
GARDENING AND LANDSCAPINGHow to Get an Outdoor Kitchen of Your Own
New project for a new year: Build a cooking space for your yard or patio to make entertaining a breeze
Full StoryMore Discussions
veggie_fun_garden
bruce825
Related Professionals
Benbrook Landscape Architects & Landscape Designers · Stamford Landscape Contractors · Wilmington Landscape Contractors · Columbine Landscape Contractors · Concord Landscape Contractors · Davidson Landscape Contractors · Dixon Landscape Contractors · Riverview Landscape Contractors · Woodland Landscape Contractors · Randolph Solar Energy Systems · Saratoga Solar Energy Systems · Verona Window Contractors · Catonsville Fence Contractors · Orange County Fence Contractors · Orangevale Fence Contractorsvicinsea
tarotmama_gmail_com
seanseansean
vic01
silversofva
iyengar21
npthaskell
npthaskell
mikewrt
vic01
hollan
yaquigrande
phyllis__mn
wd8lee
jleiwig
jmalt31Original Author
wd8lee
jmalt31Original Author
wd8lee
vic01
jmalt31Original Author
jmalt31Original Author
kawaiineko_gardener
azbookworm
jmalt31Original Author
catlady10
lightfusegetaway
vmckague
mollywk
jmalt31Original Author
jmalt31Original Author
trungson
jmalt31Original Author
imstillatwork
jmalt31Original Author
tn_veggie_gardner
jmalt31Original Author
imstillatwork
jmalt31Original Author
imstillatwork
johnny_tomato_seed
wd8lee
jmalt31Original Author
ilovegardening10
ggrizzyg_aol_com
MammaBlogga_xsoldx_com
spurs2150
Yme405