


My latest SWC prototype
ferretbee
13 years ago
Related Stories

KITCHEN DESIGNStandouts From the 2014 Kitchen & Bath Industry Show
Check out the latest and greatest in sinks, ovens, countertop materials and more
Full Story
TASTEMAKERS3D Printing Takes Furnishings to New Heights at ICFF 2013
See how three-dimensional printing, laser cutting and other innovative technologies are changing the face of furnishings
Full Story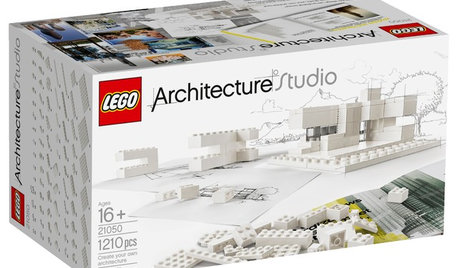
FUN HOUZZWhat Could You Imagine With Lego's New Architecture Kit?
Go ahead, toy around with wild building ideas. With 1,210 all-white blocks at your disposal, it's OK to think big
Full Story
ARCHITECTUREDiscover the Intriguing Possibilities for 3D Printing for Architecture
Would you live in a home made of printed plastic? With 3D printing, the options push architecture's limits
Full Story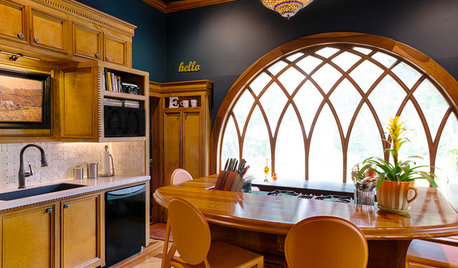
KITCHEN DESIGNKitchen of the Week: Preserving Period Charm in Atlanta
Additions and updates to this kitchen respect the past while meeting the owner's needs in the present
Full Story
BATHROOM DESIGN10 Bathroom Standouts From Italy's Big Expo
Sleek finishes, high-tech fixtures and more. Discover some of CERSAIE 2013's best and brightest bathroom offerings
Full Story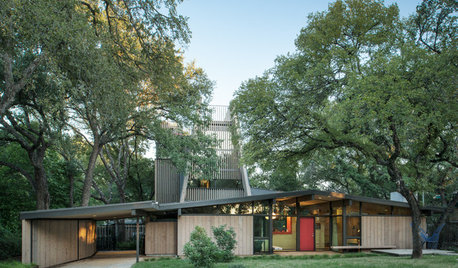
HOUZZ TOURSHouzz Tour: New Tower Rises From a Midcentury Ranch House
An Austin homeowner and her architect expand on the original vision of A.D. Stenger, who designed the ’60s-era home
Full Story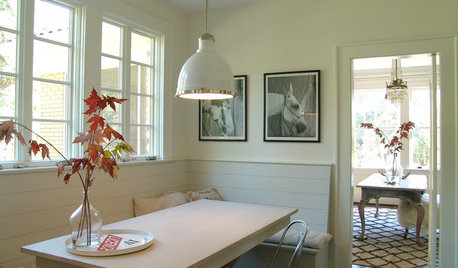
FEEL-GOOD HOMESimple Pleasures: Make Do and Mend
Experience the satisfaction of fixing, repurposing and creating things yourself around the home
Full Story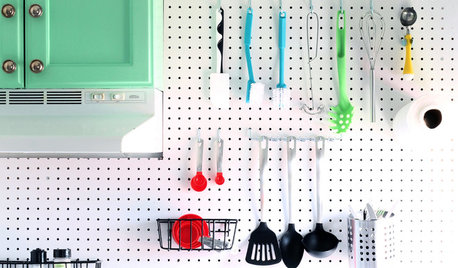
KITCHEN STORAGEBoost Your Kitchen Storage With Pegboard on a Wall
Julia Child knew it: This budget-friendly material is a winner for wall organization
Full Story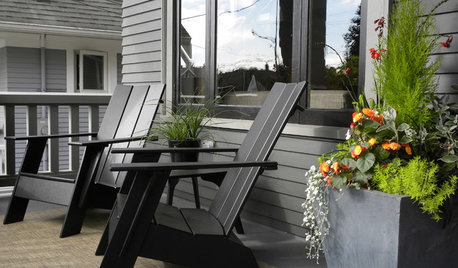
GARDENING AND LANDSCAPINGObjects of Desire: Adirondack Chairs Perfect for Summer Lounging
More colors, styles and materials than ever? We’ll sit to that
Full StoryMore Discussions

idex
ferretbeeOriginal Author
Related Professionals
Ballwin Landscape Architects & Landscape Designers · Gainesville Landscape Contractors · Manchester Landscape Contractors · Arlington Landscape Contractors · Franklin Landscape Contractors · National City Landscape Contractors · Parkland Landscape Contractors · Pleasanton Landscape Contractors · Seven Hills Landscape Contractors · Sugarland Run Window Contractors · Tamalpais-Homestead Valley Window Contractors · Burlington Fence Contractors · Channahon Fence Contractors · Crowley Fence Contractors · Natick Fence Contractorsdickiefickle
greenman28 NorCal 7b/8a
imstillatwork
ferretbeeOriginal Author
ferretbeeOriginal Author
greenman28 NorCal 7b/8a
ferretbeeOriginal Author
col_sprg_maters
ferretbeeOriginal Author
col_sprg_maters
rwsacto
col_sprg_maters
greenman28 NorCal 7b/8a
rwsacto
col_sprg_maters
col_sprg_maters