


living wall planters?
daphnatic
15 years ago
Sort by:Oldest
Comments (3)
Related Stories

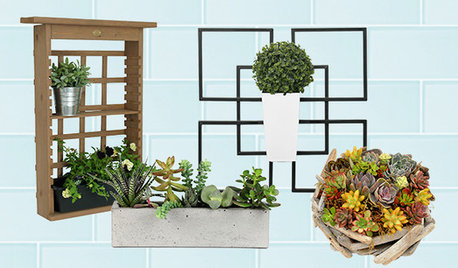
SHOP HOUZZShop Houzz: Terrariums, Living Walls and Indoor Planters
Shop this collection of springtime trends for indoor planting
Full Story0
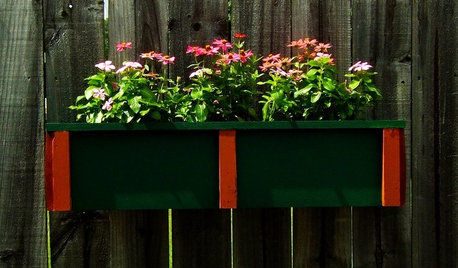
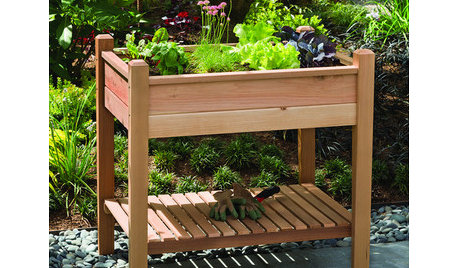
DIY PROJECTSNeat Little Project: A Wooden Planter to Hang Anywhere
Dress up a drab wall or window with this planter box you make yourself. Or just set it on a patio for the easiest 'installation' of all
Full Story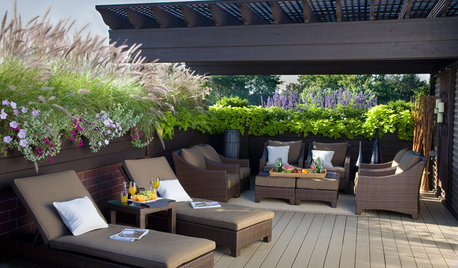
GARDENING AND LANDSCAPINGSpring Patio Fix-Ups: 12 Wonderful Ways With Planters
Change the look of your whole patio with just a few thoughtfully placed containers or a trellis brimming with greenery
Full StoryGARDENING AND LANDSCAPING10 Creative Ways to Bring Structure to Your Outdoor Room
Get a sense of protection and coziness with living walls, pergolas, planters and more
Full Story
GARDENING AND LANDSCAPINGOne-of-a-Kind Ways With Planters
Bright colors, unusual shapes, unexpected uses ... these unique ideas for container plantings with personality may just grow on you
Full Story
URBAN GARDENSGuest Picks: Modern Indoor Planters
These stylish vessels let you showcase the beauty of plants in all shapes and sizes
Full Story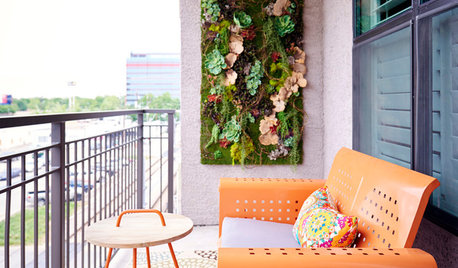
SHOP HOUZZShop Houzz: Urban Garden Essentials
Living walls, low-maintenance plants and space-saving planters just right for city spaces
Full Story0
SHOP HOUZZShop Houzz: Planters and Herb Boxes on Sale
Up to 50% off everything you need to grow a garden in your kitchen
Full Story0
PRODUCT PICKSGuest Picks: 20 Outdoor Planters to Green Up Your Patio
Bring the garden to you with stylish pots, urns and other planters of all shapes and sizes
Full Story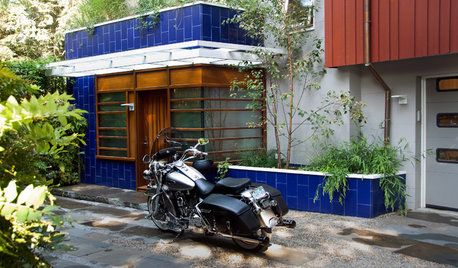
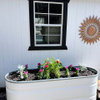
SAVING WATERStormwater Planters Manage Runoff in Small Gardens
Think of stormwater planters as container rain gardens
Full StoryMore Discussions
Belgianpup
Belgianpup
Related Professionals
Allentown Landscape Architects & Landscape Designers · New Mexico Landscape Architects & Landscape Designers · Waunakee Landscape Architects & Landscape Designers · East Patchogue Landscape Contractors · Lemont Landscape Contractors · Muttontown Landscape Contractors · Thonotosassa Landscape Contractors · East Lake Solar Energy Systems · North Tustin Solar Energy Systems · Central Islip Window Contractors · Washington Window Contractors · Canoga Park Fence Contractors · Cherry Hill Fence Contractors · North Potomac Fence Contractors · Safety Harbor Fence Contractorspam225