


Update: DIY Grow Bags/Air Pots
zeckron
16 years ago
Sort by:Oldest
Comments (9)
Related Stories
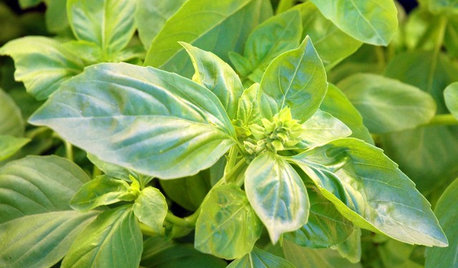
SUMMER GARDENINGHow to Grow Basil
Bright color, quick growth and endless uses for cooking make this summer annual a winner in the garden or a pot
Full Story
FARM YOUR YARDHow to Grow Vegetables in Containers
Get glorious vegetables and fruits on your patio with a pro’s guidance — including his personal recipe for potting mix
Full Story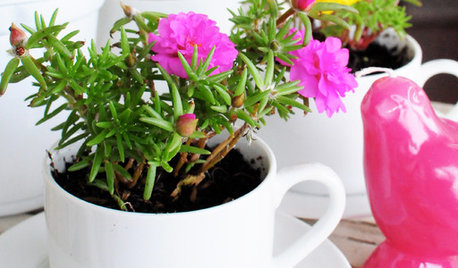
CONTAINER GARDENSDIY Project: Teacup Planter Pots
Add a riot of color to a windowsill, table or balcony by repurposing old cups and saucers as little planter pots
Full Story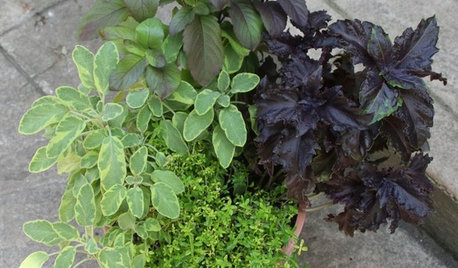
CONTAINER GARDENS8 Easy Container Plants to Grow From Seed
Get beautiful blooms and herbs in summer by starting these choice garden picks from seed in spring
Full Story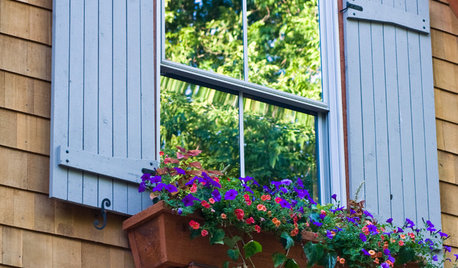
CURB APPEALHow to Make a Window Garden Grow
Get the scoop on materials, installation, plantings and more to bring the charming look of window boxes to your home
Full Story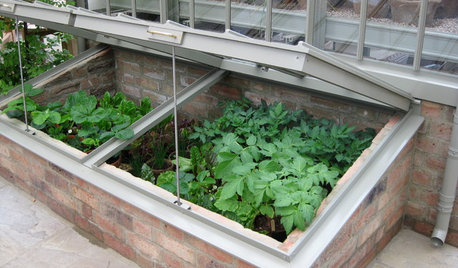
WINTER GARDENINGExtend Your Growing Season With a Cold Frame in the Garden
If the sun's shining, it might be time to sow seeds under glass to transplant or harvest
Full Story
HOUSEPLANTSSimple Pleasures: Grow a Cheery Indoor Garden
Let houseplants work their magic on your rooms and you. These ideas will get you growing
Full Story
EDIBLE GARDENSSummer Crops: How to Grow Tomatoes
Plant tomato seedlings in spring for one of the best tastes of summer, fresh from your backyard
Full Story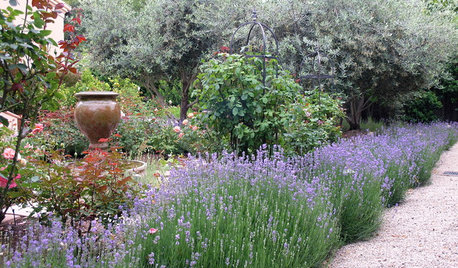
FLOWERSHerb Garden Essentials: Grow Your Own Fragrant Lavender
This do-it-all plant is ideal for almost any garden, and its uses are abundant around the home
Full Story
EDIBLE GARDENSHow to Grow Your Own Sweet Summer Crops
This guide will help any gardener get started on growing the freshest warm-season veggies and berries for summer
Full StoryMore Discussions
tapla (mid-Michigan, USDA z5b-6a)
legacy
Related Professionals
Folsom Landscape Architects & Landscape Designers · San Juan Landscape Architects & Landscape Designers · Canton Landscape Contractors · Medford Landscape Contractors · Hoffman Estates Landscape Contractors · Mesa Landscape Contractors · Peachtree City Landscape Contractors · Rochester Landscape Contractors · San Pablo Landscape Contractors · Norwich Solar Energy Systems · Sanger Solar Energy Systems · Lexington Fence Contractors · New Haven Fence Contractors · Spring Fence Contractors · Woodinville Fence Contractorssquibt
bjs496
hdladyblu_2007
zeckronOriginal Author
bjs496
zeckronOriginal Author
bjs496