


How do you use black plastic with melons?
aseedisapromise
15 years ago
Sort by:Oldest
Comments (21)
Related Stories
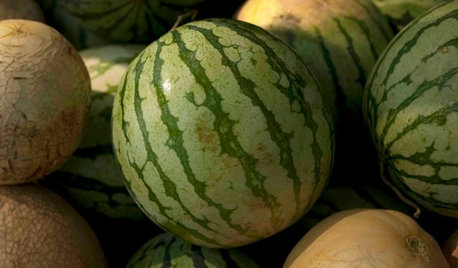
GARDENING GUIDESSummer Crops: How to Grow Melons
Drink in the refreshing sweetness of melons from your own garden this summer — they can last well into fall too
Full Story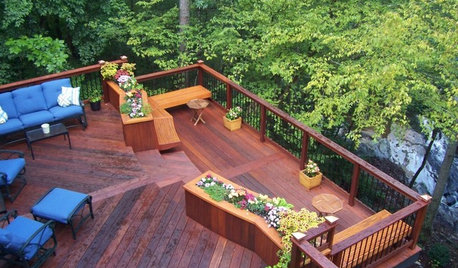
GARDENING AND LANDSCAPINGChoosing a Deck: Plastic or Wood?
Get the pros and cons of wood, plastic, composite and more decking materials, plus a basic price comparison
Full Story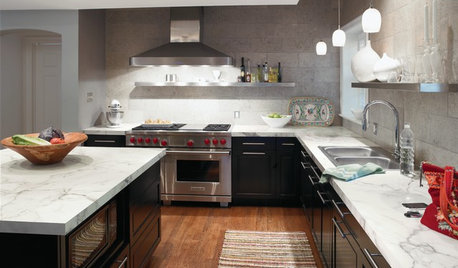
KITCHEN COUNTERTOPSKitchen Counters: Plastic Laminate Offers Options Aplenty
Whatever color or pattern your heart desires, this popular countertop material probably comes in it
Full Story
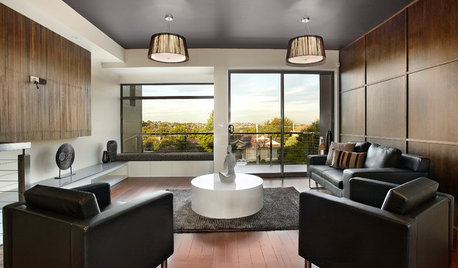
COLOR11 Reasons to Paint Your Ceiling Black
Mask flaws, trick the eye, create drama ... a black ceiling solves a host of design dilemmas while looking smashing
Full Story
FLOORSDrama’s Afoot With Striking Black Floors
Be bold. Be brave. Drench your floors in black for a memorable interior scene
Full Story
BLACKHow to Decorate With Brown, Black — or Both
Black is best for engineered materials; brown works great for textures — and more designer tips for working with these two classic colors
Full Story
COLOR PALETTESCombine Black and Pastels for a Fresh New Look
Take the sweetness out of sugary shades by adding striking black accents. Here's how to do it and why it works
Full Story
WINDOWSBlack-Framed Windows — Faux Pas or Fabulous?
Find out if black frames would be a great fit for your home — or better to avoid
Full Story
DECORATING GUIDESPaint it Black
For Non-Color Riches, Go Dark on a Wall, the Floor — or All Over
Full StorySponsored
More Discussions

wayne_5 zone 6a Central Indiana
denninmi
Related Professionals
Leawood Landscape Architects & Landscape Designers · Wheeling Landscape Architects & Landscape Designers · Hartford Landscape Contractors · Milford Landscape Contractors · Westwood Landscape Contractors · Maple Valley Landscape Contractors · Bridgeport Landscape Contractors · Byram Landscape Contractors · Fountain Valley Landscape Contractors · Lady Lake Landscape Contractors · Maywood Landscape Contractors · New Braunfels Landscape Contractors · Wickliffe Landscape Contractors · Yukon Landscape Contractors · Concord Driveway Installation & Maintenanceflora2b
randy41_1
aseedisapromiseOriginal Author
wayne_5 zone 6a Central Indiana
thepodpiper
sinfonian
bart1
mmqchdygg
billinpa
mmqchdygg
thepodpiper
lisazone6_ma
thepodpiper
mmqchdygg
jwstell42
rachel597
quilg
quilg
michael_lackner55