


Dry-laid Stone Walls
kaitain4
16 years ago
Sort by:Oldest
Comments (22)
Related Stories
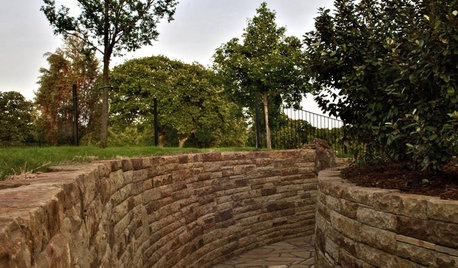
LANDSCAPE DESIGNPile On Style With a Dry-Laid Stone Retaining Wall
Durable, natural and practical, this landscape feature is an art form unto itself
Full Story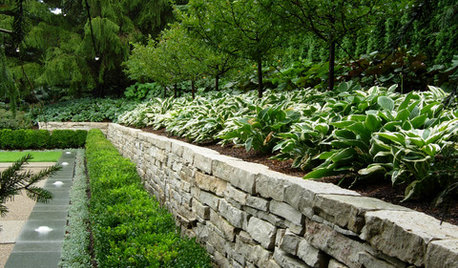
LANDSCAPE DESIGNGarden Walls: Dry-Stacked Stone Walls Keep Their Place in the Garden
See an ancient building technique that’s held stone walls together without mortar for centuries
Full Story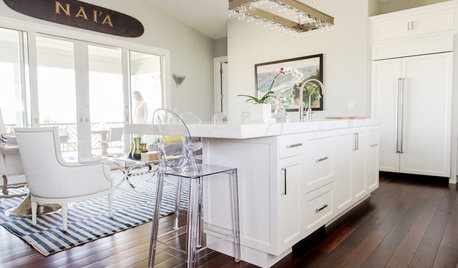
TROPICAL STYLEMy Houzz: New York Chic and Laid-Back Hawaiian Style on Maui
A relocating New Yorker designs an island home influenced by her former city life
Full Story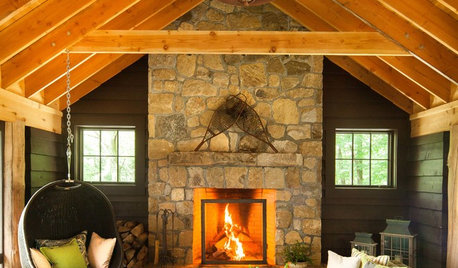
HOUZZ TOURSHouzz Tour: Laid-Back Comfort in the New York Woods
Expanded for a family, this unpretentious cabin puts a fresh face on rustic sensibility
Full Story
ACCESSORIESEvoke Laid-Back Style With Bamboo Curtain Rods
Exotic and durable, bamboo curtain rods and rings make for an easygoing look at an affordable price
Full Story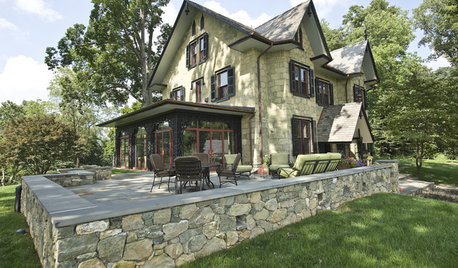
LANDSCAPE DESIGNGarden Walls: Mortared Stone Adds Structure, Style and Permanence
Learn the pros and cons of using wet-laid stone walls in your landscape
Full Story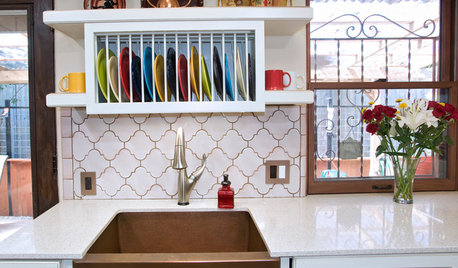
KITCHEN DESIGNDish-Drying Racks That Don’t Hog Counter Space
Cleverly concealed in cabinets or mounted in or above the sink, these racks cut kitchen cleanup time without creating clutter
Full Story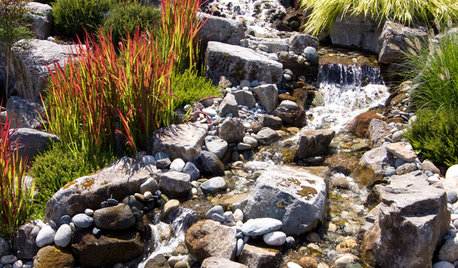
LANDSCAPE DESIGNDitch the Ordinary Ditch: Create a Realistic Dry Creek Bed
Here’s how to turn your water runoff system into an eye-catching accent for your landscape
Full Story
GARDENING GUIDESGardening Solutions for Dry, Sandy Soils
Has your desert or beachy site withered your gardening creativity? Try these ideas for a beautiful, easy-care landscape
Full Story
LANDSCAPE DESIGNHow to Pick the Right Paving and Decking Material
Once you’ve got the walls or fences of your garden figured out, it’s time to consider the ground surface or floors
Full StoryMore Discussions

barefootinct
bullthistle
Related Professionals
Aurora Landscape Contractors · Boca Raton Landscape Contractors · Broadlands Landscape Contractors · Downey Landscape Contractors · Edwardsville Landscape Contractors · Lakeville Landscape Contractors · McLean Landscape Contractors · Salem Landscape Contractors · Wanaque Landscape Contractors · Webster Groves Landscape Contractors · Ferguson Landscape Contractors · Atlantic City Decks, Patios & Outdoor Enclosures · Chicago Decks, Patios & Outdoor Enclosures · St. Louis Decks, Patios & Outdoor Enclosures · Thousand Oaks Swimming Pool Builderskaitain4Original Author
kitchenkelly
karinl
kaitain4Original Author
karinl
estreya
kaitain4Original Author
kaitain4Original Author
karinl
kaitain4Original Author
krenster
kaitain4Original Author
dsb_22
kaitain4Original Author
krenster
kaitain4Original Author
woodsfairy
dragonfly_
kaitain4Original Author
mlawton38321_roadrunner_com