


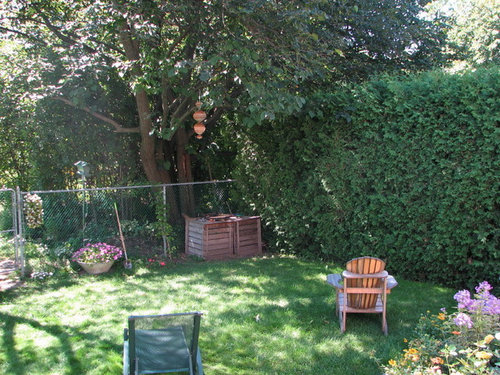
Last 'undeveloped' corner of the backyard
rouge21_gw (CDN Z5b/6a)
11 years ago
Related Stories
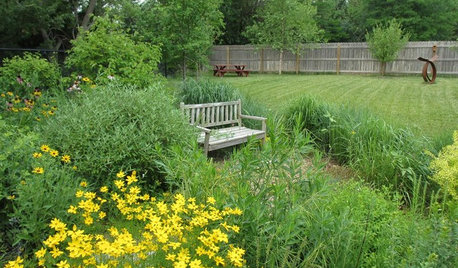
GARDENING GUIDESHow to Design a Garden That Lasts
Climates are changing. Wildlife is evolving. Can your garden keep up?
Full Story
KITCHEN DESIGNIs a Kitchen Corner Sink Right for You?
We cover all the angles of the kitchen corner, from savvy storage to traffic issues, so you can make a smart decision about your sink
Full StoryKITCHEN DESIGN10 Great Ways to Use Kitchen Corners
What's your angle? Whether you want more storage, display space or room for hanging out in your kitchen, these ideas can help
Full Story
BEFORE AND AFTERSBasement of the Week: Surprises Around Every Corner
With a secret door, games galore and walk-out access to the yard, this Prairie-style basement in Minneapolis never fails to entertain
Full Story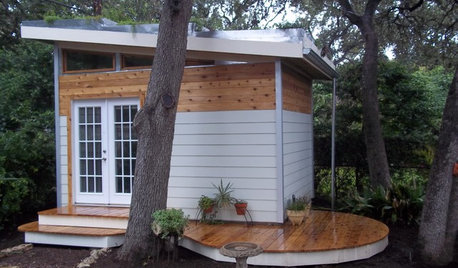
MOST POPULARHow to Add a Backyard Shed for Storage or Living
Need a home office, a playspace or extra room for your stuff? Learn about off-the-shelf, prefab and custom sheds
Full Story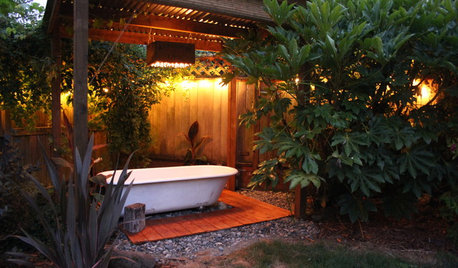
GARDENING AND LANDSCAPINGSee a Soothing Backyard Bathhouse Born From a Salvaged Tub
Creative thinking and DIY skills give a Portland couple a pergola-covered 'hot tub' under the stars
Full Story
GARDENING AND LANDSCAPINGRaise Backyard Chickens Without Ruffling Neighbors' Feathers
Before you build a coop in the backyard, follow these strategies to help keep your neighbors from squawking
Full Story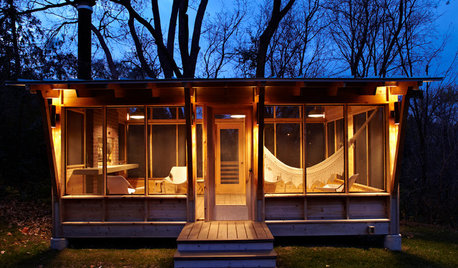
OUTBUILDINGS10 Cool Ideas for Backyard Retreats and Playhouses
Get away from it all without packing a bag, by setting up an outbuilding tailored to your imagination
Full Story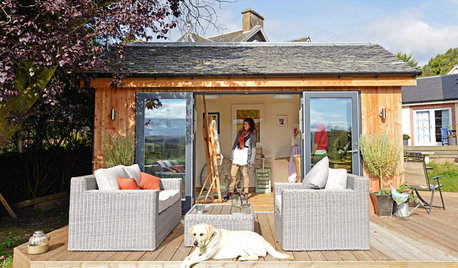
MOST POPULAR11 Nominees for the ‘She Shed’ Hall of Fame
These special sanctuaries let busy women get away from it all without leaving the backyard
Full Story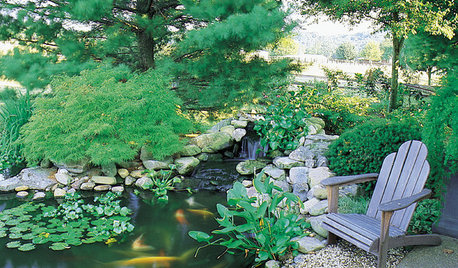
GARDENING AND LANDSCAPINGHow to Make a Pond
You can make an outdoor fish paradise of your own, for less than you might think. But you'll need this expert design wisdom
Full StoryMore Discussions


cyn427 (z. 7, N. VA)
rouge21_gw (CDN Z5b/6a)Original Author
Related Professionals
Woodinville Landscape Architects & Landscape Designers · Tempe Landscape Contractors · Damascus Landscape Contractors · Oxnard Landscape Contractors · Riverhead Landscape Contractors · Tehachapi Landscape Contractors · West Allis Landscape Contractors · West Chester Landscape Contractors · San Pablo Landscape Contractors · Clemmons Decks, Patios & Outdoor Enclosures · King of Prussia Decks, Patios & Outdoor Enclosures · Englewood Swimming Pool Builders · Pflugerville Swimming Pool Builders · Placerville Swimming Pool Builders · Rowlett Swimming Pool Builderskarin_mt
Yardvaark
rouge21_gw (CDN Z5b/6a)Original Author
rouge21_gw (CDN Z5b/6a)Original Author
Yardvaark
woodyoak zone 5 southern Ont., Canada
Yardvaark
rouge21_gw (CDN Z5b/6a)Original Author
Yardvaark
rouge21_gw (CDN Z5b/6a)Original Author
Yardvaark
woodyoak zone 5 southern Ont., Canada
rouge21_gw (CDN Z5b/6a)Original Author
Yardvaark
rouge21_gw (CDN Z5b/6a)Original Author
rouge21_gw (CDN Z5b/6a)Original Author
rosiew
rouge21_gw (CDN Z5b/6a)Original Author
rosiew
louisianagal
rouge21_gw (CDN Z5b/6a)Original Author
rouge21_gw (CDN Z5b/6a)Original Author
rosiew
emmarene9