


help please on existing bed and shape
v1rt
15 years ago
Related Stories
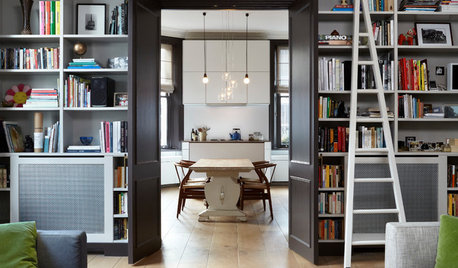
ORGANIZINGGet the Organizing Help You Need (Finally!)
Imagine having your closet whipped into shape by someone else. That’s the power of working with a pro
Full Story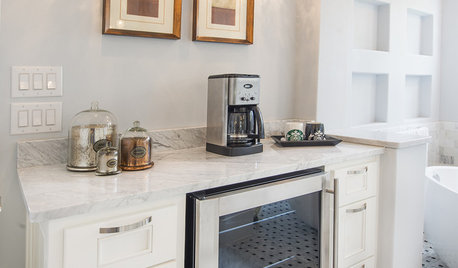
BATHROOM DESIGNUpload of the Day: A Mini Fridge in the Master Bathroom? Yes, Please!
Talk about convenience. Better yet, get it yourself after being inspired by this Texas bath
Full Story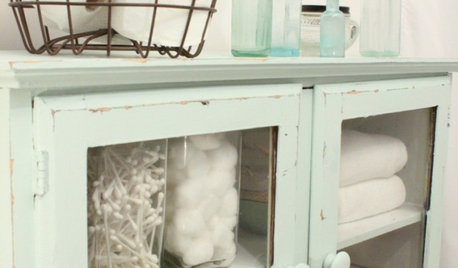
LIFEDecluttering — How to Get the Help You Need
Don't worry if you can't shed stuff and organize alone; help is at your disposal
Full Story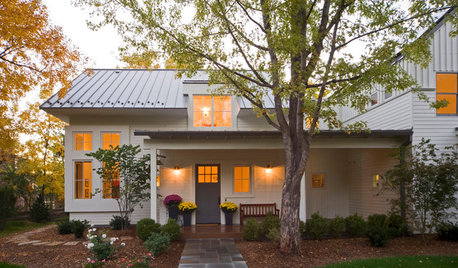
SELLING YOUR HOUSEHelp for Selling Your Home Faster — and Maybe for More
Prep your home properly before you put it on the market. Learn what tasks are worth the money and the best pros for the jobs
Full Story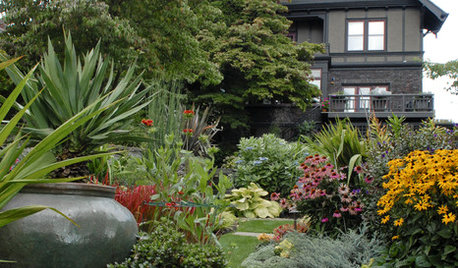
LANDSCAPE DESIGNHow to Help Your Home Fit Into the Landscape
Use color, texture and shape to create a smooth transition from home to garden
Full Story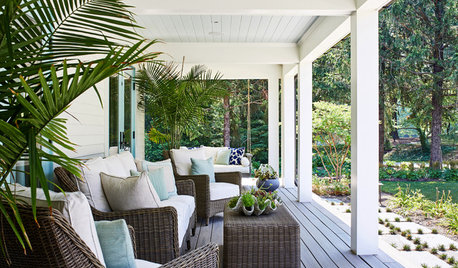
STANDARD MEASUREMENTSThe Right Dimensions for Your Porch
Depth, width, proportion and detailing all contribute to the comfort and functionality of this transitional space
Full Story
HOUSEKEEPINGWhen You Need Real Housekeeping Help
Which is scarier, Lifetime's 'Devious Maids' show or that area behind the toilet? If the toilet wins, you'll need these tips
Full Story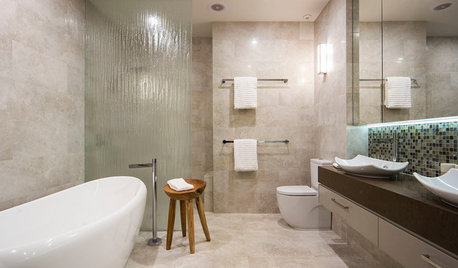
SELLING YOUR HOUSE10 Tricks to Help Your Bathroom Sell Your House
As with the kitchen, the bathroom is always a high priority for home buyers. Here’s how to showcase your bathroom so it looks its best
Full Story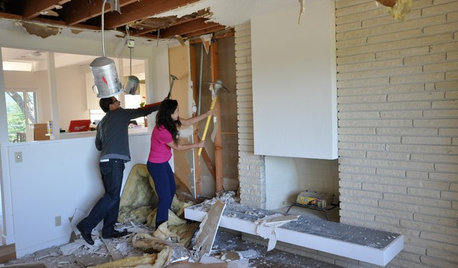
REMODELING GUIDESWisdom to Help Your Relationship Survive a Remodel
Spend less time patching up partnerships and more time spackling and sanding with this insight from a Houzz remodeling survey
Full Story
DECLUTTERINGDownsizing Help: How to Get Rid of Your Extra Stuff
Sell, consign, donate? We walk you through the options so you can sail through scaling down
Full StoryMore Discussions


pls8xx
v1rtOriginal Author
Related Professionals
Erie Landscape Architects & Landscape Designers · Canton Landscape Contractors · Elmhurst Landscape Contractors · Lexington Landscape Contractors · Mount Sinai Landscape Contractors · New Cassel Landscape Contractors · Pahrump Landscape Contractors · Rosemount Landscape Contractors · Silver Firs Landscape Contractors · Chicago Decks, Patios & Outdoor Enclosures · Morgan Hill Decks, Patios & Outdoor Enclosures · San Antonio Decks, Patios & Outdoor Enclosures · Springfield Decks, Patios & Outdoor Enclosures · Agoura Hills Stone, Pavers & Concrete · South Miami Heights Swimming Pool Builderspls8xx
v1rtOriginal Author
gonativegal
v1rtOriginal Author
prairiepaintbrush
v1rtOriginal Author
annzgw
v1rtOriginal Author
pls8xx
v1rtOriginal Author
v1rtOriginal Author
misslucinda
duluthinbloomz4
v1rtOriginal Author
v1rtOriginal Author
v1rtOriginal Author
pls8xx
duluthinbloomz4
v1rtOriginal Author
v1rtOriginal Author
v1rtOriginal Author
pls8xx
v1rtOriginal Author
v1rtOriginal Author
v1rtOriginal Author
v1rtOriginal Author
rhodium
v1rtOriginal Author
pls8xx
v1rtOriginal Author
v1rtOriginal Author
pls8xx
v1rtOriginal Author
pls8xx
v1rtOriginal Author
v1rtOriginal Author
v1rtOriginal Author
pondwelr
v1rtOriginal Author
nycynthias
v1rtOriginal Author
kcinpa
v1rtOriginal Author
v1rtOriginal Author
cyn427 (z. 7, N. VA)
catkim
v1rtOriginal Author
kiki_thinking