


Finished My front Garden (Added Retaining Wall, flowers, trees)
rickstang
13 years ago
Related Stories
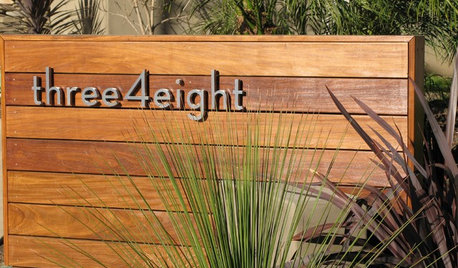
CURB APPEAL7 Finishing Touches for a Thoughtful Front Yard
Make a great first impression with artful house numbers, water features, garden art and more
Full Story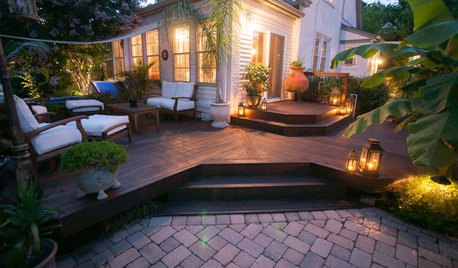
MOST POPULARWhat to Know About Adding a Deck
Want to increase your living space outside? Learn the requirements, costs and other considerations for building a deck
Full Story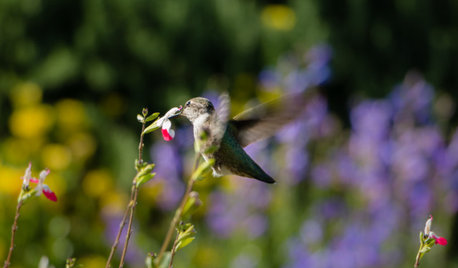
GARDENING GUIDESAttract Hummingbirds and Bees With These Beautiful Summer Flowers
Roll out a welcome mat for pollinators to keep your landscape in balance and thriving
Full Story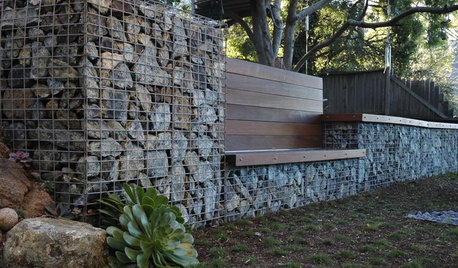
GARDENING AND LANDSCAPING7 Out-of-the-Box Retaining Wall Ideas
Go Beyond Railroad Ties With Stylish Rock, Metal, Blocks, and Poured Concrete
Full Story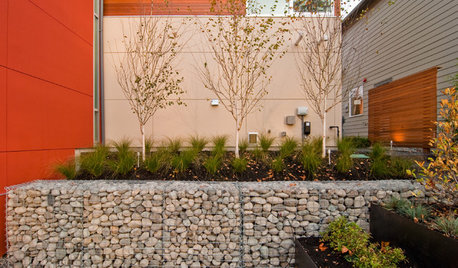
LANDSCAPE DESIGNGarden Walls: Gabion Evolves From Functional to Fabulous
The permeable rock-, concrete- or glass-filled steel cages are showing up as retaining walls, planters, benches and more
Full Story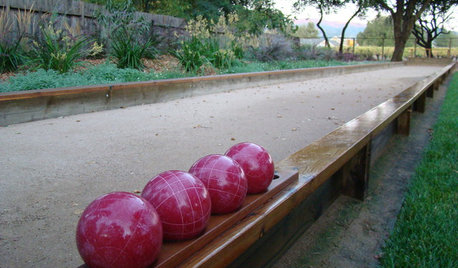
GREAT HOME PROJECTSWhat to Know About Adding a Backyard Bocce Ball Court
A regulation court in a relaxed setting helps you get the most from the Italian pastime. Here's what it takes to build one at home
Full Story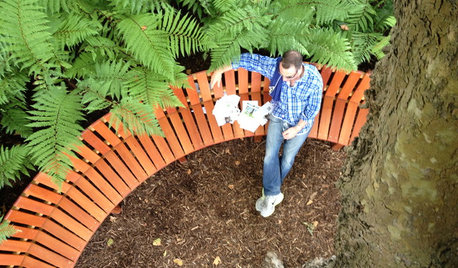
GARDENING GUIDESFlower Shows Sow Ideas for Your Garden
There’s much design inspiration to be gathered at garden shows. Here are some ideas to start you off
Full Story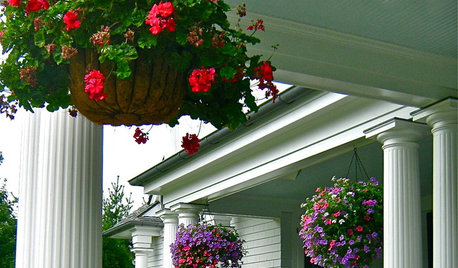
PORCHESGet the Hang of Hanging Flower Baskets
Learn all about container materials, soil and designing a hanging flower arrangement for a bountiful look on your porch or deck
Full Story
GARDENING GUIDESGrow Your Own Privacy: How to Screen With Plants and Trees
Use living walls to lower your home and garden's exposure while boosting natural beauty in your landscape
Full Story
SPRING GARDENINGTop 10 Scented Plants for Your Garden
A palette of perfumed plants can transform even the smallest of gardens into a sensory delight
Full Story
iris_gal
tulipsmiles
Related Professionals
Arlington Landscape Architects & Landscape Designers · Owings Mills Landscape Architects & Landscape Designers · Saint Matthews Landscape Architects & Landscape Designers · Harvey Landscape Architects & Landscape Designers · Elmhurst Landscape Contractors · Lehigh Acres Landscape Contractors · Lorain Landscape Contractors · North Canton Landscape Contractors · Paterson Landscape Contractors · Placerville Landscape Contractors · Wilton Landscape Contractors · 07920 Landscape Contractors · Chicago Roofing & Gutters · Marlboro Roofing & Gutters · Minnetonka Roofing & Gutterstarhlfan
rickstangOriginal Author
ramblinrosez7b
rickstangOriginal Author
sharbear50
rickstangOriginal Author
rickstangOriginal Author
pippi21
pippi21
rickstangOriginal Author
frannie_belle
rickstangOriginal Author