


just wanted to share
plantmasterm
11 years ago

Sort by:Oldest
Comments (5)
Related Stories
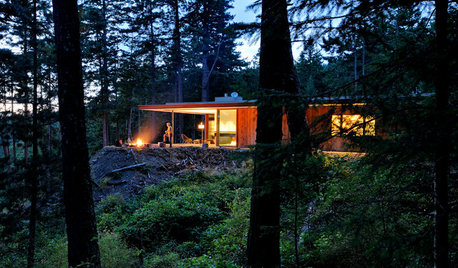
HOUZZ TOURSHouzz Tour: Just What Mom Wanted, Off the Washington Coast
With an art studio, age-in-place features and a view-maximizing design, this home shows just how well the architect knows his client
Full Story
REMODELING GUIDESMicro Additions: When You Just Want a Little More Room
Bump-outs give you more space where you need it in kitchen, family room, bath and more
Full Story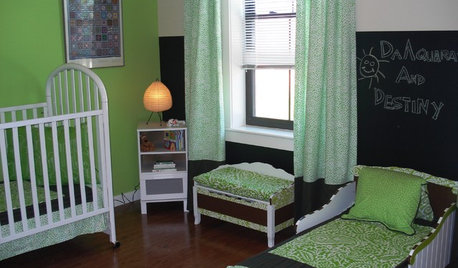
KIDS’ SPACESShare Tactics: Great Ideas for Shared Kids' Rooms
Maintain peace and maybe even inspire togetherness with decorating strategies from a designer with seven grandchildren
Full Story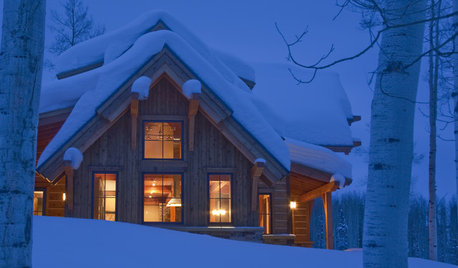
LIFEIs Cabin Fever Real? Share Your Story
Are snow piles across the U.S. leading to masses of irritability and boredom? We want to hear your experience
Full Story
ART10 Things Artists Want You to Know
Inspiration, costs, commissioned work ... 5 artists share on these subjects to paint you a picture of the creative process
Full Story
FEEL-GOOD HOME9 Smells You Actually Want in Your Home
Boost memory, enhance sleep, lower anxiety ... these scents do way more than just smell good
Full Story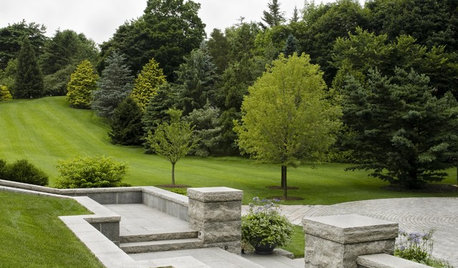
LIFEWhy We Want a House With a Great View
Research shows that just looking at nature has powerful mental benefits. Here's how to get a boost — with or without a million-dollar view
Full Story
HOME OFFICESA Nice Little Desk Just Where You Want One
Do you have a desk area hiding in plain sight? These stylish work perches give rooms extra purpose
Full Story
DECORATING GUIDESRoom of the Day: Breakfast Room Shares Space With Home Office
An inviting area for casual family meals with his-and-her desks offers beauty and functionality
Full Story


plantmastermOriginal Author
plantmastermOriginal Author
Related Professionals
Wrentham Landscape Architects & Landscape Designers · Accokeek Landscape Architects & Landscape Designers · Essex Landscape Architects & Landscape Designers · Lyons Landscape Architects & Landscape Designers · Mooresville Landscape Contractors · Conroe Landscape Contractors · Deer Park Landscape Contractors · Lancaster Landscape Contractors · Lorain Landscape Contractors · North Plainfield Landscape Contractors · San Antonio Landscape Contractors · Woodburn Landscape Contractors · New Carrollton Landscape Contractors · Goldenrod Landscape Contractors · View Park-Windsor Hills Interior Designers & DecoratorsplantmastermOriginal Author
rina_Ontario,Canada 5a
plantmastermOriginal Author