


1st picture (I hope) lantern
packrat2
18 years ago

Related Stories
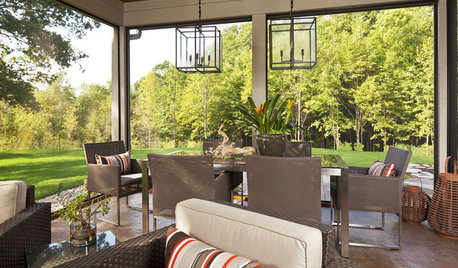
GARDENING AND LANDSCAPINGHanging Lanterns Cast Porches in the Right Light
Don't leave guests dangling in the dark. Brighten their outlook with warm, welcoming hanging lanterns for your outdoor room
Full Story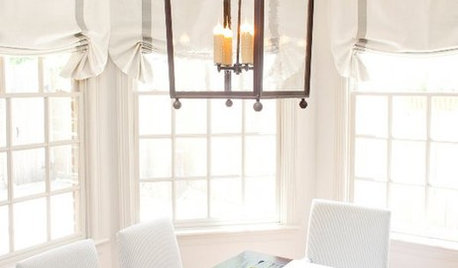
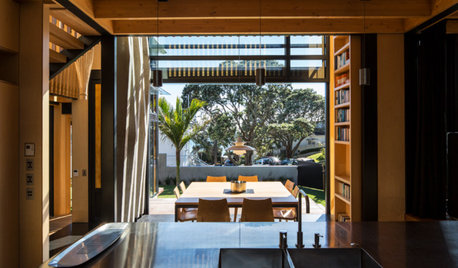
HOMES AROUND THE WORLDHouzz Tour: A Shoreline Home Glows Like a Lantern
This sailing-mad family’s house in New Zealand, inspired by traditional boat sheds, responds to light and wind
Full Story
REMODELING GUIDESNew Home Renovation Study Paints Positive Growth Picture
More than two-thirds of industry professionals say 2014 was a good year and 2015 is looking hopeful
Full Story
MODERN ARCHITECTUREHouzz Tour: Platinum-Rating Hopes for a Sterling Modern Home
Efficiency takes an artful form in a minimalist San Francisco home furnished with iconic and custom pieces
Full Story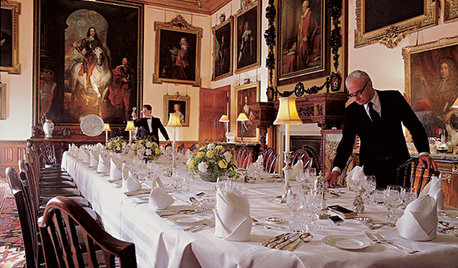
FUN HOUZZEverything I Need to Know About Decorating I Learned from Downton Abbey
Mind your manors with these 10 decorating tips from the PBS series, returning on January 5
Full Story
DECORATING GUIDESDecorating Secrets: Picture-Perfect Way to Hang Art
Save your drywall with these easy steps for hanging framed pieces
Full Story
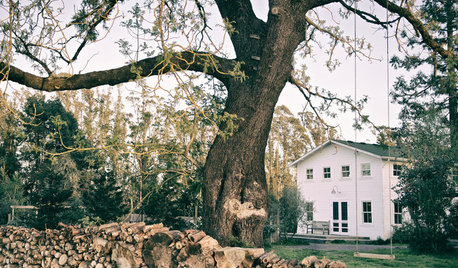
HOUZZ TOURSHouzz Tour: Picture-Perfect Simplicity
It’s like camping out in a catalog sometimes at this classic farmhouse — Pottery Barn and other retailers love it for photo shoots
Full Story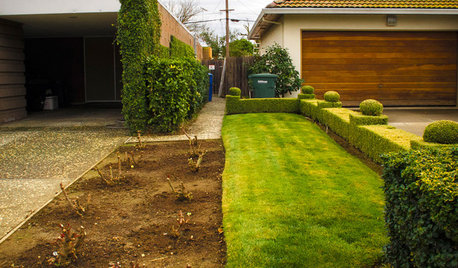
EXTERIORSWhere Front Yards Collide: Property Lines in Pictures
Some could be twins; others channel the Odd Couple. You may never look at property boundaries the same way again
Full Story
billie_ann
daisy_ny6
Related Professionals
Horsham Landscape Architects & Landscape Designers · Sand Springs Landscape Architects & Landscape Designers · Medford Landscape Contractors · Andover Landscape Contractors · Beverly Hills Landscape Contractors · Brunswick Landscape Contractors · Columbine Landscape Contractors · Dinuba Landscape Contractors · Fountain Valley Landscape Contractors · Fruit Heights Landscape Contractors · Gainesville Landscape Contractors · Glendale Heights Landscape Contractors · Hilton Head Island Landscape Contractors · Watertown Landscape Contractors · Merrifield Landscape Contractorsjackley
packrat2Original Author