


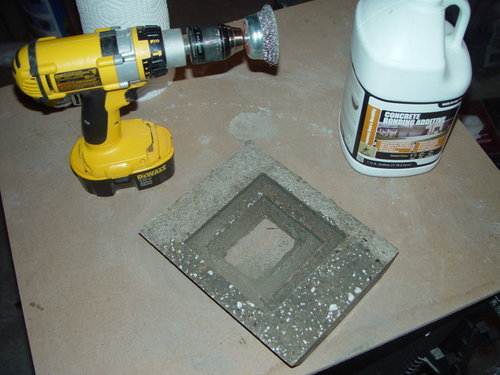
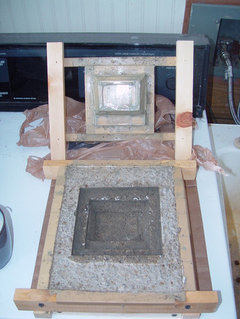
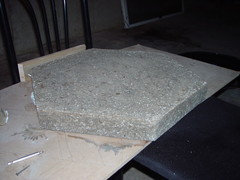
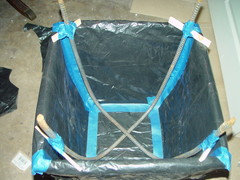
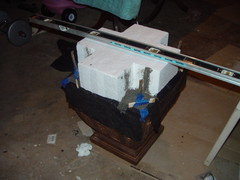
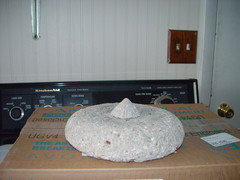
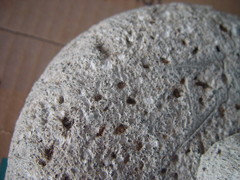
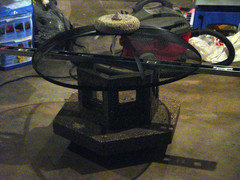
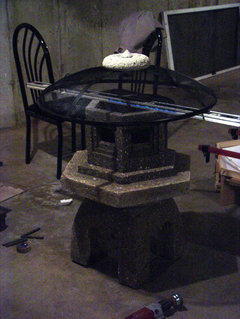
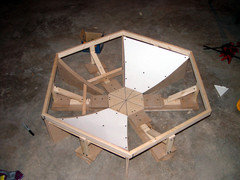
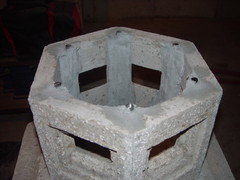
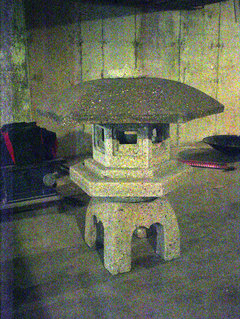
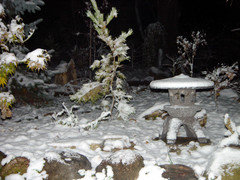
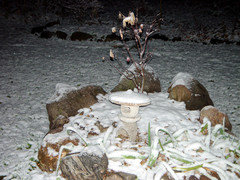
Japanese lantern made of Hypertufa
rufretic
11 years ago
Featured Answer
Sort by:Oldest
Comments (39)

rufretic
11 years agorufretic
11 years agoRelated Professionals
Beachwood Landscape Architects & Landscape Designers · Glendora Landscape Architects & Landscape Designers · Rancho Palos Verdes Landscape Architects & Landscape Designers · Brooklyn Center Landscape Architects & Landscape Designers · Alpharetta Landscape Contractors · Deer Park Landscape Contractors · El Reno Landscape Contractors · Englewood Landscape Contractors · Hoover Landscape Contractors · Reedley Landscape Contractors · Santa Ana Landscape Contractors · Seven Hills Landscape Contractors · South Lake Tahoe Landscape Contractors · East Norriton Landscape Contractors · Hueytown Landscape Contractorsrufretic
11 years agorufretic
11 years agorufretic
11 years agorufretic
11 years agorufretic
11 years agorufretic
11 years agorufretic
11 years agokarmicforager
11 years agorufretic
11 years agorufretic
11 years agorufretic
11 years agorufretic
11 years agorufretic
11 years agorufretic
11 years agooldgraymare
11 years agorufretic
11 years agoJetherina
11 years agostacyevans33
11 years agostacyevans33
11 years agoGeorgeB3
10 years agobillie_ann
10 years agoJasonInPDX
10 years agoMertie
10 years agowestande
10 years agorufretic
10 years agorufretic
10 years agorufretic
10 years agorufretic
10 years ago
enduring
10 years agoOffbeatJenn
10 years agorufretic
10 years agomartin_w
10 years ago
Marjut Tuominen
8 years agoUser
8 years ago
maggiepatty
7 years ago
unikanic
last year


Related Stories
ACCESSORIESMake Things Magical With Paper Lanterns
Set some poetry in motion with affordable Asian-style paper lanterns that enchant as everyday or party decor
Full Story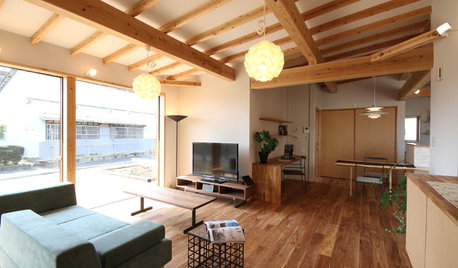
HOMES AROUND THE WORLDHouzz Tour: In Japan, a U-Shaped House Made With Natural Materials
Living areas are in one building and private sleeping areas are in another. A kitchen bridges the two structures
Full Story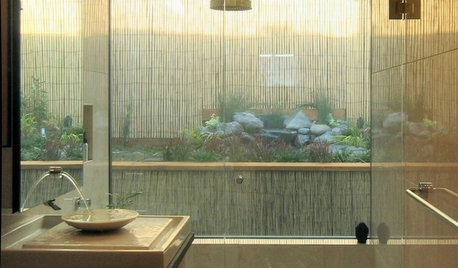
DECORATING GUIDESSo Your Style Is: Japanese
Peaceful and pure, Japanese interior design style celebrates the ancient customs of the East
Full Story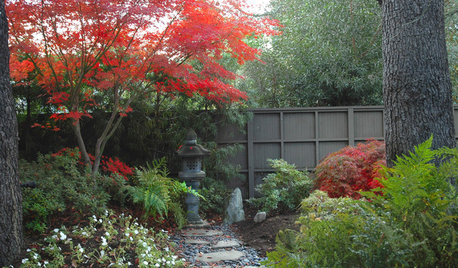
LANDSCAPE DESIGNLay of the Landscape: Create the Beauty of a Japanese Garden
Balance, enclosures and the forms of nature combine in serene Japanese garden design. Bring the look home with some of these principles
Full Story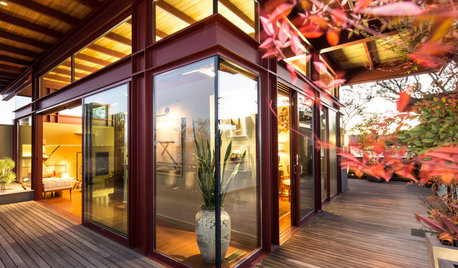
APARTMENTSHouzz Tour: Modern Japanese Penthouse Atop a Designer’s Office
Vintage obis, petrified wood, Samurai armbands and antique fans are just a few of the materials that warm this California apartment
Full Story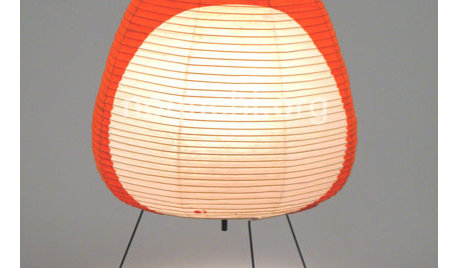
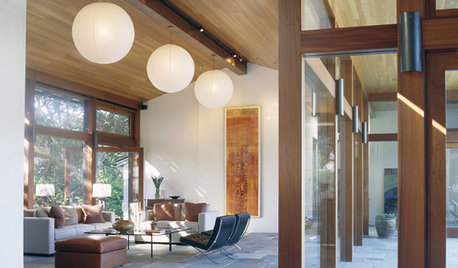
LIGHTINGModern Icons: Isamu Noguchi's Akari Light Sculptures
Hand crafted following Japanese traditions, these timeless sculptural light fixtures play with weightlessness and shape
Full Story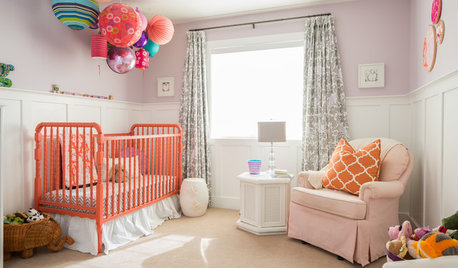
NURSERY IDEASHappy Colors Buoy a Canadian Nursery
Vibrant orbs and lanterns hung from the ceiling give a baby girl’s room an uplifted air
Full Story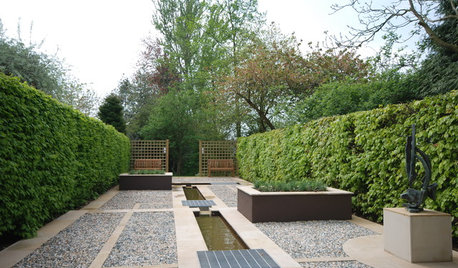
LANDSCAPE DESIGNHow to Create a Zen-Inspired Garden
You can get the peaceful feeling of a Japanese Zen garden in your backyard by embracing these principles
Full Story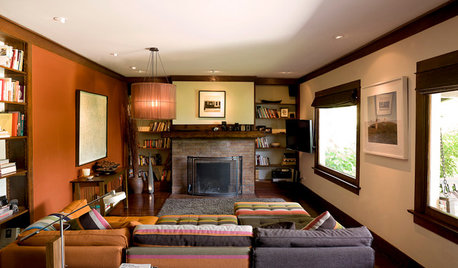
HOUZZ TOURSHouzz Tour: A California Craftsman Bungalow Lightens Up
Japanese and '60s-mod touches give heavy-looking interiors a new outlook in this Pasadena home
Full Story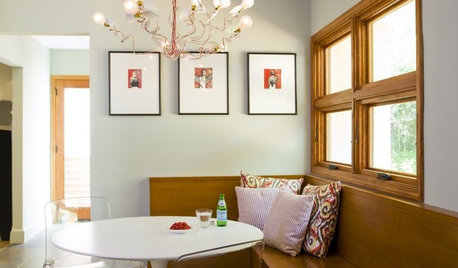
LIGHTINGNew Classics: Ingo Maurer's Amazing Light Fixtures
Fluttery, whimsical or pure minimalist, these lighting designs earn attention all over the home
Full Story
rufreticOriginal Author