


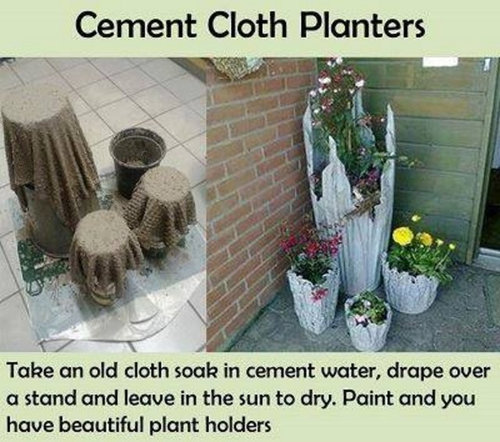
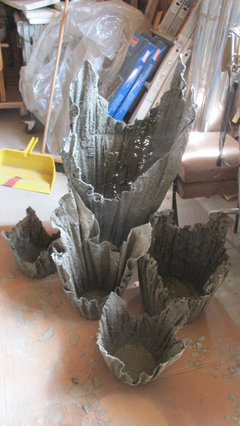
planters with cement and rags
casagrande
9 years ago
Featured Answer
Comments (17)

mikeys33
9 years ago
Kim The Hypertufa Gardener
9 years agoRelated Professionals
Fort Lee Landscape Architects & Landscape Designers · Mitchellville Landscape Architects & Landscape Designers · Billerica Landscape Contractors · Edmond Landscape Contractors · Bellefontaine Neighbors Landscape Contractors · Matteson Landscape Contractors · Secaucus Landscape Contractors · Soddy Daisy Landscape Contractors · Southbury Landscape Contractors · Wareham Landscape Contractors · West Haverstraw Landscape Contractors · Woodbury Landscape Contractors · Four Corners Landscape Contractors · Kingsburg Landscape Contractors · Maple Heights Landscape Contractorslee1990
9 years agoKim The Hypertufa Gardener
9 years agonico_girl3
9 years agoKim The Hypertufa Gardener
9 years agoclub53
9 years agoKim The Hypertufa Gardener
9 years agoMyrdin
9 years ago PRO
PROCleaning At Its Very Best
9 years agoKim The Hypertufa Gardener
9 years ago- PRO
Cleaning At Its Very Best
9 years ago becky_ia
9 years agoKim The Hypertufa Gardener
9 years agodhd47
9 years ago
almosthooked zone5
8 years ago


Related Stories
GARDENING GUIDESWeirdly Wonderful Planters Give Stuffy Style the Boot
Defy tradition with engagingly odd plant containers that offer unexpected delight in the garden or indoors
Full Story
GARDENING AND LANDSCAPINGSpring Patio Fix-Ups: 12 Wonderful Ways With Planters
Change the look of your whole patio with just a few thoughtfully placed containers or a trellis brimming with greenery
Full Story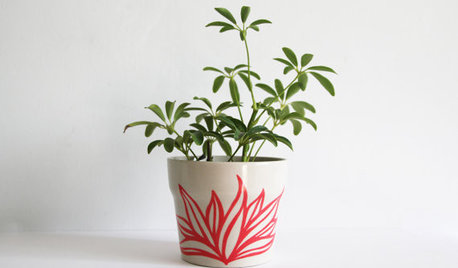
PRODUCT PICKSGuest Picks: Playful Planters and Pots
Get planting this season using pretty pots that move from indoors to outside with ease
Full Story
GARDENING AND LANDSCAPINGOne-of-a-Kind Ways With Planters
Bright colors, unusual shapes, unexpected uses ... these unique ideas for container plantings with personality may just grow on you
Full Story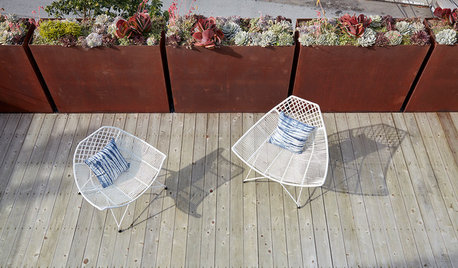
LANDSCAPE DESIGNHere’s How to Get That Great Steel Planter Look
Learn more about how resilient and beautifully rusty Cor-Ten steel can find a home in your garden, and how much it costs
Full Story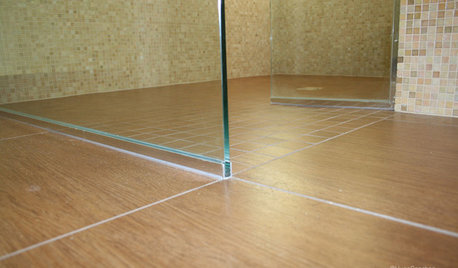
TILEEpoxy vs. Cement Grout — What's the Difference?
Grout is grout, right? Nope. Cement and epoxy versions have different appearances, durability and rules of installation
Full Story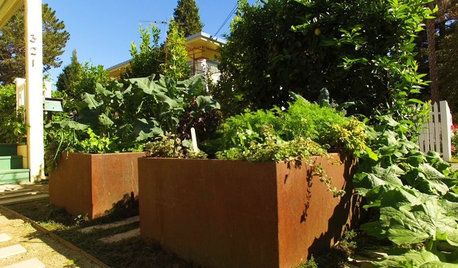
HOUZZ TVHouzz TV: See How Those Cool Rusty Planters Are Made
Watch as fabricators turn flat sheets of Cor-Ten steel into raised beds that double as garden art
Full Story
PRODUCT PICKSGuest Picks: Concrete Ideas for Patios and Decks
Look to lightweight fiber cement for functional outdoor furniture and accessories that are heavy on style
Full Story
GARDENING GUIDES10 Dazzling Winter Container Designs
Get inspired by these ideas for festive arrangements in outdoor pots and planters
Full Story
GARDENING 101This Pro Tip Will Save You Money on Your Container Garden
For large planters, use empty milk cartons or plastic bottles to fill extra space before putting in potting soil
Full Story
mikeys33