


Curing Too Quickly?
scrounger
14 years ago
Sort by:Oldest
Comments (8)
Related Stories

DECORATING GUIDESThe Cure for Houzz Envy: Dining Room Touches Anyone Can Do
Get a decorator-style dining room on the cheap with inexpensive artwork, secondhand furniture and thoughtful accessories
Full Story
FURNITURECure Your Addiction to ‘Busy’ With a Dreamy Daybed
Why spend your life rushing around when you can have downtime on a daybed as inviting as these?
Full Story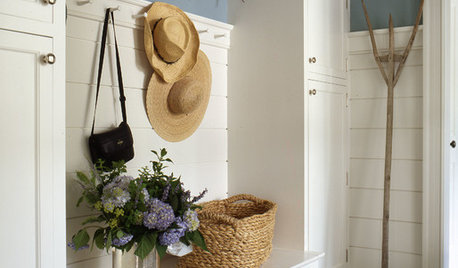
MUDROOMSThe Cure for Houzz Envy: Mudroom Touches Anyone Can Do
Make a utilitarian mudroom snazzier and better organized with these cheap and easy ideas
Full Story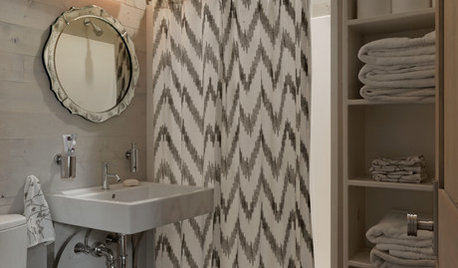
BATHROOM DESIGNThe Cure for Houzz Envy: Bathroom Touches Anyone Can Do
Take your bath from blah to ‘ahhhh’ with just a few easy and inexpensive moves
Full Story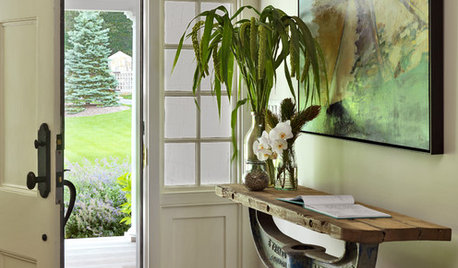
BUDGET DECORATINGThe Cure for Houzz Envy: Entryway Touches Anyone Can Do
Make a smashing first impression with just one or two affordable design moves
Full Story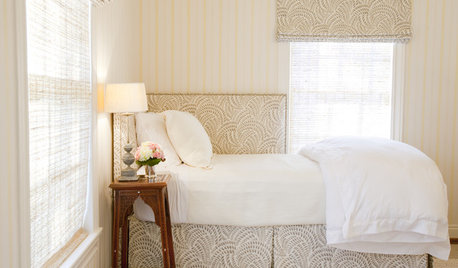
DECORATING GUIDESThe Cure for Houzz Envy: Guest Room Touches Anyone Can Do
Make overnight guests feel comfy and cozy with small, inexpensive niceties
Full Story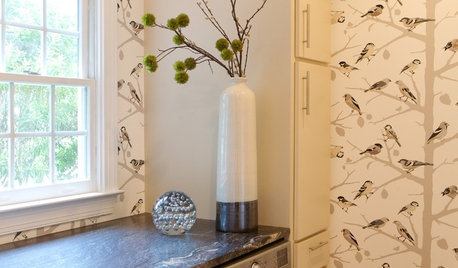
LAUNDRY ROOMSThe Cure for Houzz Envy: Laundry Room Touches Anyone Can Do
Make fluffing and folding more enjoyable by borrowing these ideas from beautifully designed laundry rooms
Full Story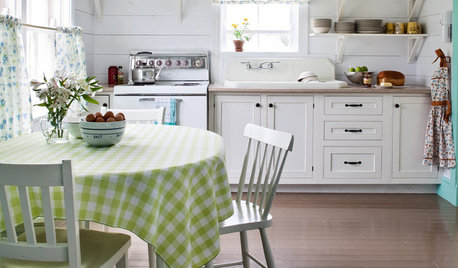
KITCHEN DESIGNThe Cure for Houzz Envy: Kitchen Touches Anyone Can Do
Take your kitchen up a notch even if it will never reach top-of-the-line, with these cheap and easy decorating ideas
Full Story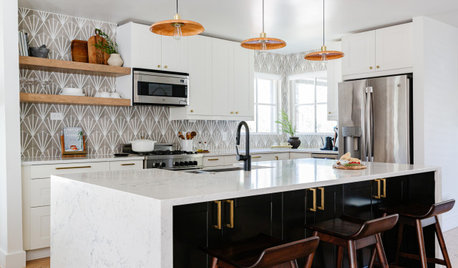
HOUSEKEEPINGThe Quick and Easy Way to Clean a Microwave
All you need is water and a couple of other natural ingredients to get your appliance sparkling and smelling fresh again
Full Story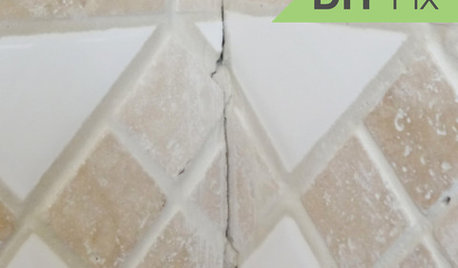
BATHROOM TILEQuick Fix: Repair Cracked Bathroom Grout
Banish an eyesore and safeguard your bathroom from water damage in 30 minutes or less with this DIY repair
Full Story
billie_ann
scroungerOriginal Author
Related Professionals
Ashland Landscape Architects & Landscape Designers · Arnold Landscape Architects & Landscape Designers · Hyattsville Landscape Architects & Landscape Designers · Zion Landscape Architects & Landscape Designers · White Oak Landscape Architects & Landscape Designers · Allentown Landscape Contractors · Allentown Landscape Contractors · Brandon Landscape Contractors · Fuquay-Varina Landscape Contractors · Gallatin Landscape Contractors · Milford Landscape Contractors · North Chicago Landscape Contractors · Vineyard Landscape Contractors · Wayland Landscape Contractors · West Chester Landscape Contractorsbillie_ann
scroungerOriginal Author
billie_ann
scroungerOriginal Author
ijensen
billie_ann