


Leaf Casting Bench
FlowrPowr
17 years ago
Related Stories
REMODELING GUIDESOriginal Home Details: What to Keep, What to Cast Off
Renovate an older home without regrets with this insight on the details worth preserving
Full Story
GARDENING AND LANDSCAPINGEco-Friendly Fire Pits: Casting Backyard Campfires in a New Light
Wood burning may be discouraged — even illegal in places — but that needn't mean forsaking the fire pit. Try one of these alternatives
Full Story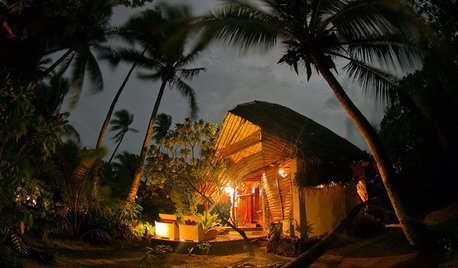
TROPICAL STYLECast Away for South Seas Style
Oh, to be in Tahiti right now. The next best thing: tips from South Seas resorts to create that lovely getaway feel at home
Full Story
DECORATING GUIDESA Glimmer of Gold Leaf Will Make Your Room Shine
Make a unique, unexpected statement in any space with this precious metallic finish
Full Story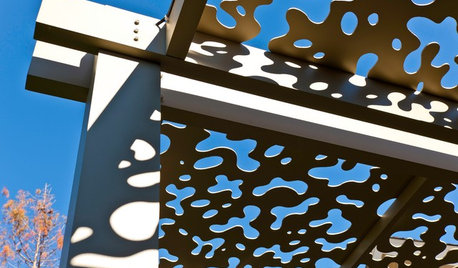
PATIOSPatio Details: A Custom Aluminum Arbor Cools Things Down in Texas
Panels in the roof have leaf pattern cutouts that create dappled shade and a calm, relaxed ambience
Full Story
MOST POPULARBudget Decorator: Shop Your Home for a New Look
Redecorate without spending a cent by casting a creative eye on the showroom called home
Full Story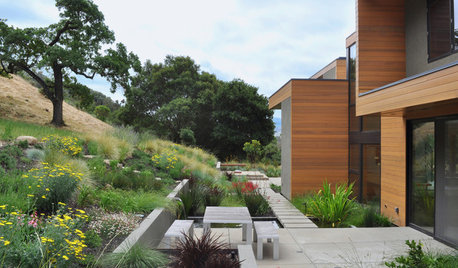
LANDSCAPE DESIGNOutdoor Style: Creative Ways With Classic Concrete
Have you cast concrete aside as being too dull or crack-prone? Learn about new design options along with the basics of using it outside
Full Story
TREESGreat Design Plant: Desert Museum Palo Verde Offers a Colorful Canopy
Rising above others with its long bloom time, artful vase shape and lack of thorns, this tree is great for casting filtered shade
Full Story
HOUZZ TOURSMy Houzz: Midcentury Cool With a Killer View in Salt Lake City
An all-star cast of iconic vintage furnishings makes this Utah home period perfect through and through
Full Story
DECORATING GUIDESDIY Project: Sit Pretty with Mismatched Chairs
Create a one-of-a-kind dining set from a collection of cast-offs
Full Story
Dena6355
sereneseen
Related Professionals
New Bedford Landscape Architects & Landscape Designers · Accokeek Landscape Architects & Landscape Designers · Elwood Landscape Architects & Landscape Designers · Glen Ellyn Landscape Architects & Landscape Designers · East Patchogue Landscape Architects & Landscape Designers · Danvers Landscape Contractors · Flagstaff Landscape Contractors · Hurricane Landscape Contractors · Mission Landscape Contractors · Muttontown Landscape Contractors · New Baltimore Landscape Contractors · New Cassel Landscape Contractors · San Benito Landscape Contractors · Uxbridge Landscape Contractors · Winchester Landscape Contractorsnathanhurst
sereneseen
dian2
DebZone8
klinger
rhonda2006
sereneseen
Fleur
rhonda2006
phyllis__mn
klinger
FlowrPowrOriginal Author
lizziem62
billie_ann
FlowrPowrOriginal Author
ltd123
rustinj
Louisiana_greetings
Dena6355
bailey_09
myback_garden
FlowrPowrOriginal Author
syllabus
FlowrPowrOriginal Author
FlowrPowrOriginal Author
syllabus
lizziem62
donna504
nosnod
oregon_veg
sunset49424
justadncr
FlowrPowrOriginal Author