


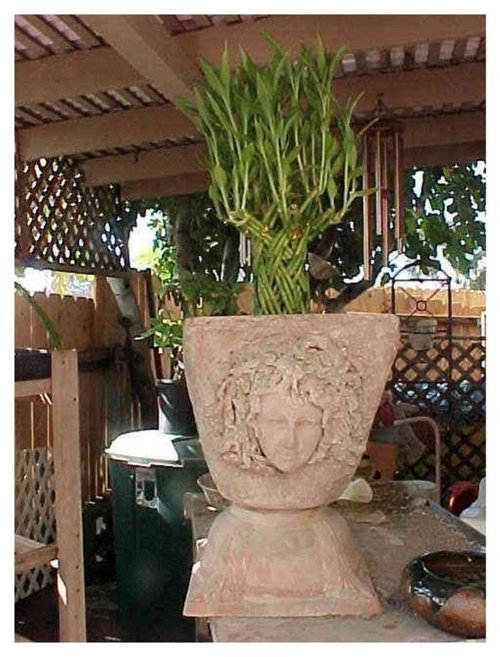
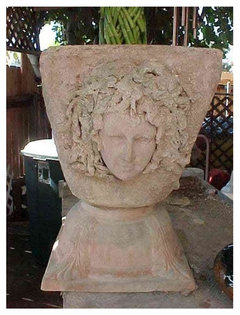
Hypertufa Planter Made About 10 Years Ago
QueenLaTufa
10 years ago
Featured Answer
Sort by:Oldest
Comments (11)

QueenLaTufa
10 years agooldgraymare
10 years agoRelated Professionals
Windham Landscape Architects & Landscape Designers · Forest City Landscape Architects & Landscape Designers · Mount Wilson Landscape Architects & Landscape Designers · Allentown Landscape Contractors · Stoughton Landscape Contractors · Arlington Landscape Contractors · Cedar Hill Landscape Contractors · College Park Landscape Contractors · Danvers Landscape Contractors · McLean Landscape Contractors · Mercedes Landscape Contractors · Morrisville Landscape Contractors · Palatine Landscape Contractors · Seven Hills Landscape Contractors · North Hills Landscape Contractorsclub53
10 years agoQueenLaTufa
10 years agoclub53
10 years agoQueenLaTufa
10 years agoclub53
10 years agoQueenLaTufa
10 years agoclub53
10 years agoQueenLaTufa
10 years ago
Related Stories

SMALL SPACESLife Lessons From 10 Years of Living in 84 Square Feet
Dee Williams was looking for a richer life. She found it by moving into a very tiny house
Full Story
LIFE10 Beautifully Simple Ways to Go Greener in the New Year
You may just find more green in your wallet along the way
Full Story
DECORATING GUIDES10 Popular Design Trends to Carry Into the New Year
A designer shares the looks that are likely to stay in style in 2016 and beyond
Full Story
WORKING WITH PROS10 Things Architects Want You to Know About What They Do
Learn about costs, considerations and surprising things architects do — plus the quick route to pinning down their style
Full Story
ARCHITECTURE10 Things to Know About Prefab Homes
Are prefab homes less costly, faster to build and greener than homes constructed onsite? Here are answers to those questions and more
Full Story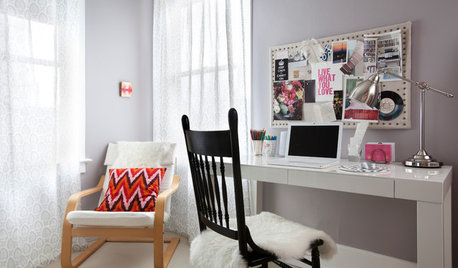
WORKING WITH PROS10 Things Decorators Want You to Know About What They Do
They do more than pick pretty colors. Here's what decorators can do for you — and how you can help them
Full Story
GARDENING GUIDES8 Native Shrubs for Year-Round Bird Feeding
It’s not just about berries. These plants provide insects for birds and seasonal interest for gardeners
Full Story
COLORColors of the Year: Look Back and Ahead for New Color Inspiration
See which color trends from 2014 are sticking, which ones struck out and which colors we’ll be watching for next year
Full Story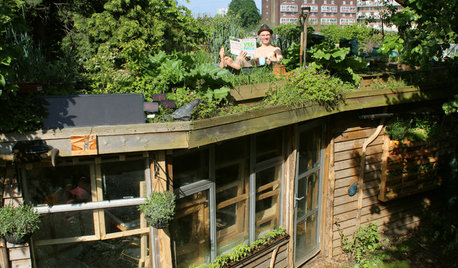
STUDIOS AND WORKSHOPSVisit London’s Shed of the Year
A modern Renaissance man carves out a multifunctional green oasis amid London’s urban whirl
Full Story
LIFEHouzz Call: What's Your New Year's Resolution for the House?
Whether you've resolved to finally finish a remodeling project or not stress about your home's imperfections, we'd like to hear your plan
Full Story
QueenLaTufaOriginal Author