


hypertufa photo gallery
valolson1
15 years ago
Sort by:Oldest
Comments (10)
Related Stories

DECORATING GUIDES8 Therapeutic Benefits of a Family Photo Gallery
Put favorite photos on display for art that fills you with love and pride
Full Story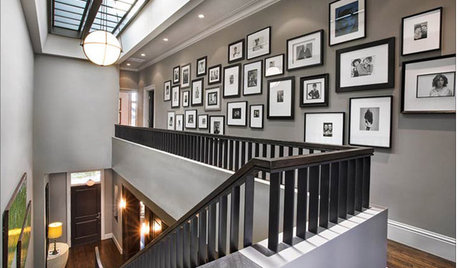
GREAT HOME PROJECTSHow to Design a Family Photo Wall
New project for a new year: Display your favorite images of loved ones for the most personal gallery wall of all
Full Story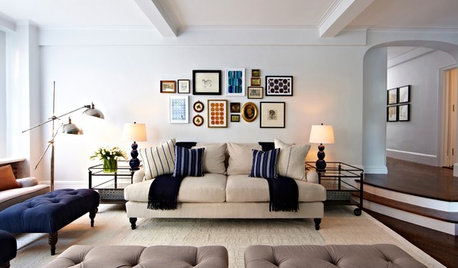
SHOP HOUZZShop Houzz: Products to Help You Create a Gallery Wall
Curate a stunning collection for a gallery wall that makes an artful statement
Full Story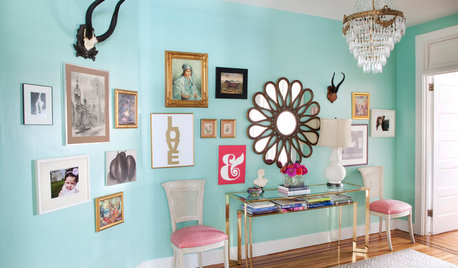
SHOP HOUZZShop Houzz: A Picture-Perfect Gallery Wall
Capture life’s moments and the things that inspire you on a most intriguing wall
Full Story0
ARTAn Insider’s Guide to Creating the Perfect Gallery Wall
Bring your room to life with these expert tips for grouping artwork and photographs
Full Story
DECORATING GUIDESCool Idea: Clipboard Art Galleries
You can use this simple idea to create a gallery of inspirational drawings, photographs and scrapbooking projects
Full Story
ARTA Gallery Wall for Every Personality
Eclectic, ambitious, inspired, dreamer? Which art-wall type are you?
Full Story
BUDGET DECORATINGBudget Decorator: A Most Affordable Gallery Wall
Need to fill a wall on the cheap? See how to make use of something pretty cool you may already have
Full Story
CONTEMPORARY HOMESHouzz Tour: A New Home Designed as a Gallery
A couple’s art collection and spectacular Seattle views shape this warm, contemporary space
Full Story
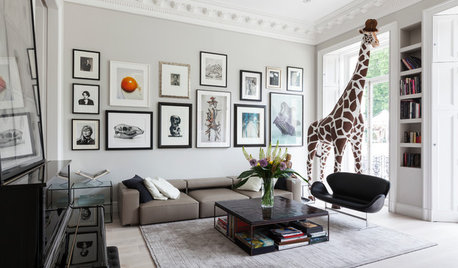
DECORATING GUIDES17 Ways to Bring the Gallery Look Home
Use the Tricks of a Curator to Make Your Art Collection Shine
Full Story
marcia7439
elephantear
Related Professionals
Jennings Landscape Architects & Landscape Designers · Middle Island Landscape Architects & Landscape Designers · Salisbury Landscape Architects & Landscape Designers · Simi Valley Landscape Architects & Landscape Designers · Alamo Landscape Contractors · Brandon Landscape Contractors · Columbine Landscape Contractors · Davis Landscape Contractors · Deer Park Landscape Contractors · East Haven Landscape Contractors · El Segundo Landscape Contractors · Palos Verdes Estates Landscape Contractors · Saint Paul Landscape Contractors · Soddy Daisy Landscape Contractors · Tyngsboro Landscape Contractorsiowajewel
valolson1Original Author
beaw
claysoil
fredw10
valolson1Original Author
fredw10
valolson1Original Author