


Grot Gallery and How-to
garden_of_mu
19 years ago
Sort by:Oldest
Comments (29)
Related Stories
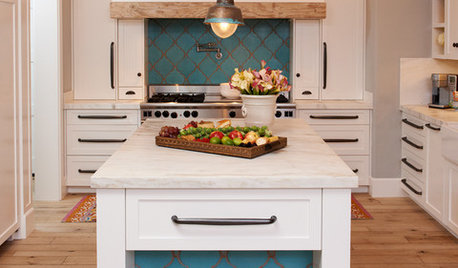
KITCHEN DESIGN10 Gorgeous Backsplash Alternatives to Subway Tile
Artistic installations, back-painted glass and pivoting windows prove there are backsplash possibilities beyond the platform
Full StorySponsored
GardenChicken
sschwarz
Related Professionals
Carlisle Landscape Architects & Landscape Designers · Eden Prairie Landscape Architects & Landscape Designers · Southfield Landscape Architects & Landscape Designers · Wheeling Landscape Architects & Landscape Designers · Burlington Landscape Contractors · Gainesville Landscape Contractors · Bowie Landscape Contractors · Brandon Landscape Contractors · Bridgeport Landscape Contractors · Edinburg Landscape Contractors · Fort Hunt Landscape Contractors · Lorain Landscape Contractors · Mequon Landscape Contractors · Point Pleasant Landscape Contractors · Ansonia Landscape Contractorsgarden_of_muOriginal Author
Anela
gottatufa
garden_of_muOriginal Author
peakpoet
klinger
Koppasetic
garden_of_muOriginal Author
eva1429
nckvilledudes
nckvilledudes
garden_of_muOriginal Author
impulsive
nckvilledudes
dkistner
sage_dreamer
lazydaisy
dixiesmom
DebZone8
mudwitch
clairdo2
club_53
bznmygarden
msjay2u
gansn
gansn
livnlife