


fake rock photos - quickwall/mesh or concrete/mesh
ltd123
18 years ago
Featured Answer
Sort by:Oldest
Comments (37)

rickharmer
18 years agoFleur
18 years agoRelated Professionals
Edmond Landscape Architects & Landscape Designers · Ashburn Landscape Architects & Landscape Designers · Belmont Landscape Architects & Landscape Designers · Norwood Landscape Contractors · Edmond Landscape Contractors · Aberdeen Landscape Contractors · Broadlands Landscape Contractors · Brunswick Landscape Contractors · College Park Landscape Contractors · Lehigh Acres Landscape Contractors · Mission Landscape Contractors · North Haven Landscape Contractors · Pine Hills Landscape Contractors · River Ridge Landscape Contractors · Shenandoah Landscape Contractorsrain1950
18 years agoclairdo2
18 years agowannadanc
18 years agorickharmer
18 years agoCarolart
18 years agoltd123
18 years agoltd123
18 years agowannadanc
18 years agoearthpearls
18 years agoearthpearls
18 years agoltd123
18 years agoFleur
18 years agobutterflybush
18 years agoltd123
18 years agoDena6355
18 years agorustinj
18 years agoRunning_Dog
18 years agoRunning_Dog
18 years agoDena6355
18 years agoltd123
18 years agoltd123
18 years agoltd123
18 years agoDena6355
18 years agoltd123
18 years agorustinj
18 years agoRunning_Dog
18 years agoginibee
17 years agojdeacon
17 years agoladysmithclive
16 years agooutofmytree
16 years agotazzyjack
15 years agobugsonwater
15 years agokalmiopsis48
11 years agoMyrdin
10 years ago
Related Stories
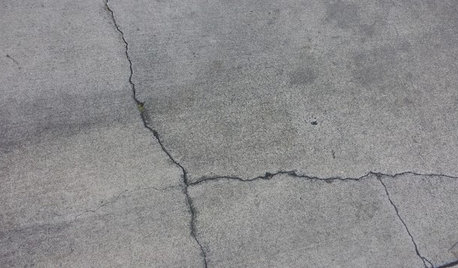
CONCRETEWhy Concrete Wants to Crack
We look at the reasons concrete has a tendency to crack — and what you can do to help control it
Full Story
OUTDOOR PROJECTSBring In the Birds With a Homemade Bubble Rock
An avian expert from Southern Indiana shows how to make a burbling fountain that migrating birds will love
Full Story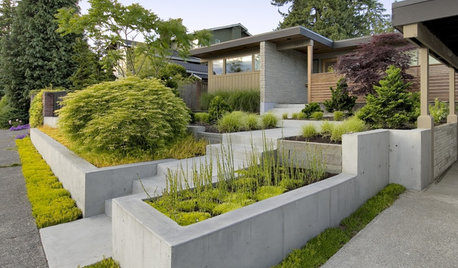
LANDSCAPE DESIGNGarden Walls: Pour On the Style With Concrete
There's no end to what you — make that your contractor — can create using this strong and low-maintenance material
Full Story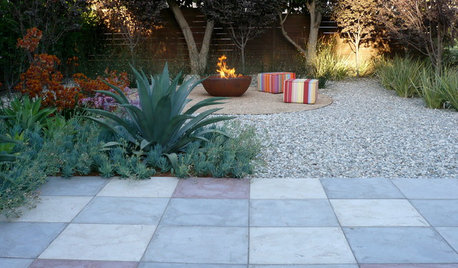
MATERIALSPrecast Concrete Pavers Make a Versatile Surface in the Garden
You can use concrete pavers in a variety of shapes and colors for your patio, walkway, driveway and more
Full Story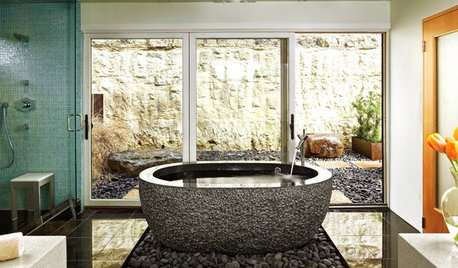
STONEPebble Surfaces That Rock, Indoors and Out
A pebble floor, path or wall can create calm, grab attention or be a supporting player
Full Story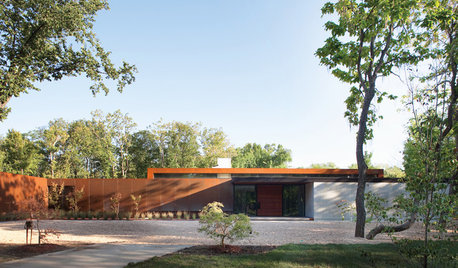
MODERN HOMESHouzz Tour: Heavy Metal Rocks a Modern Missouri Home
Steel shows up all over this single-level family home, but wood and other textures warm the look
Full Story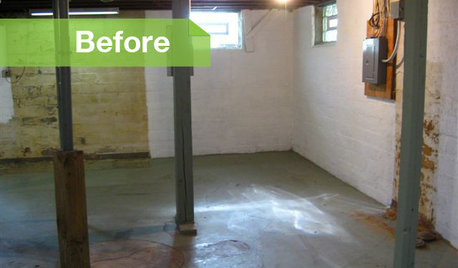
BASEMENTSBasement of the Week: Modern Style Converts an Empty Concrete Box
From raw wasteland to fab living, sleeping and storage space, this snazzy basement now covers all the angles
Full Story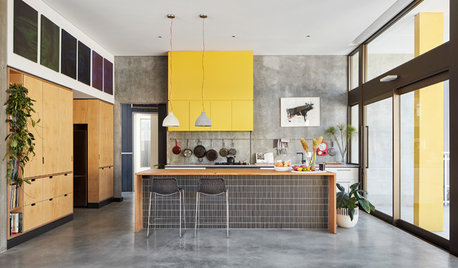
CONCRETEConcrete Flooring Stands Up to the Test in the Kitchen
Find out whether this durable and customizable flooring material might be right for your kitchen
Full Story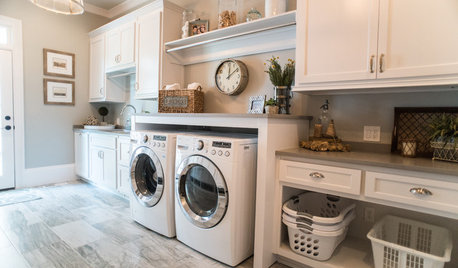
LAUNDRY ROOMSThe 20 Most Popular Laundry Room Photos of 2015
No drudgery here when it comes to laundry. High style and multifunctionality have made these rooms new favorites this year.
Full Story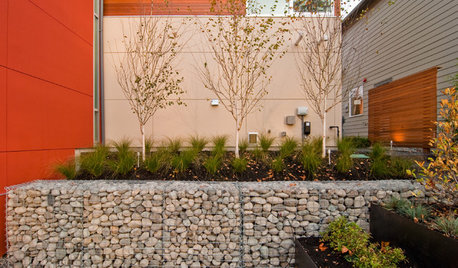
LANDSCAPE DESIGNGarden Walls: Gabion Evolves From Functional to Fabulous
The permeable rock-, concrete- or glass-filled steel cages are showing up as retaining walls, planters, benches and more
Full Story
tazz123