


Concrete Sphere
Mike Larkin
14 years ago
Featured Answer
Comments (26)

billie_ann
14 years ago
Mike Larkin
14 years agoRelated Professionals
Signal Hill Landscape Architects & Landscape Designers · Peabody Landscape Contractors · Cerritos Landscape Contractors · Chesapeake Ranch Estates Landscape Contractors · Hicksville Landscape Contractors · Mastic Beach Landscape Contractors · Nashua Landscape Contractors · North Richland Hills Landscape Contractors · Peachtree City Landscape Contractors · Peoria Landscape Contractors · Thornton Landscape Contractors · Waterford Landscape Contractors · Wentzville Landscape Contractors · Weslaco Landscape Contractors · Silver Firs Landscape Contractorsnckvilledudes
14 years agoMike Larkin
14 years agonckvilledudes
14 years agobillie_ann
14 years agobillie_ann
14 years agobeaw
14 years agoMike Larkin
14 years agojamaicapeg
14 years agodaisy_ny6
14 years ago
sharbear50
14 years agobillie_ann
14 years agosharbear50
14 years agoMike Larkin
14 years agodaybees
14 years ago
cyn427 (z. 7, N. VA)
14 years agobeaw
14 years agoMike Larkin
14 years agoagrowingpassion
14 years agoMike Larkin
14 years agogardengalkc
14 years agoVikkiLin
9 years agothemes
9 years agolescorley38
8 years ago
Related Stories
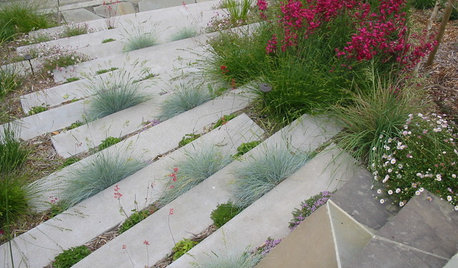
PLANTING IDEASPlant Your Hardscape for Unexpected Green
Nestle greenery among pavers, steps and more for a yard brimming with life and creativity
Full Story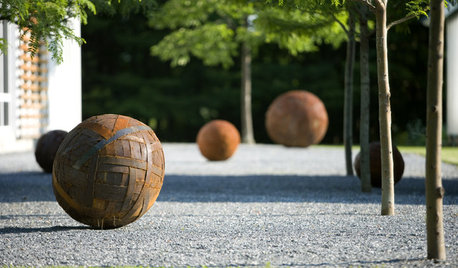
LANDSCAPE DESIGNExplore Your Garden Personality: The Philosopher
Deep thoughts call for a garden design that’s a study in balance, texture and intriguing art
Full Story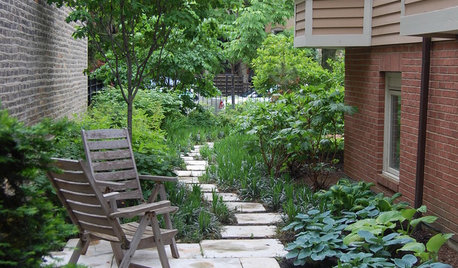
LANDSCAPE DESIGN17 Wandering Paths That Take Joy in the Journey
Explore secondary paths that are full of nuance and add intrigue to the landscape
Full Story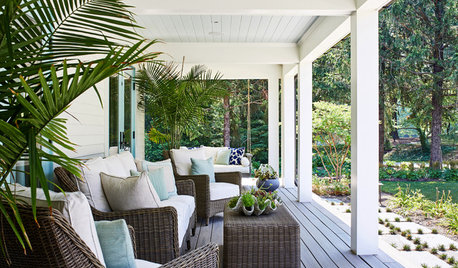
STANDARD MEASUREMENTSThe Right Dimensions for Your Porch
Depth, width, proportion and detailing all contribute to the comfort and functionality of this transitional space
Full Story
EVENTSOn Show: The Ingenuity of Ancient Architecture
A German exhibit celebrates the diversity of traditional homes built with materials at hand
Full Story
MATERIALSAre You a Maker? Show Us Your Favorite Tool or Material
Houzz Call: A tool or material can be a maker’s best friend. We’d like to see your favorite — and what it helps you achieve
Full Story
FUN HOUZZTaking Cover in a Former Nuclear Missile Silo
A Cold War relic is now a modern home, thanks to an Australian architect with a flair for the unusual
Full Story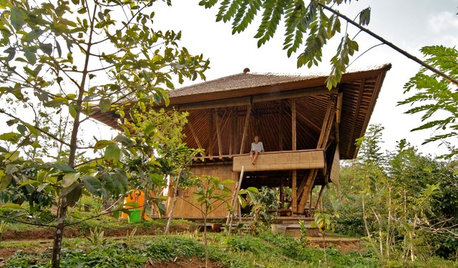
MOST POPULARMy Houzz: Open-Air Living in the Mountains of Bali
Community, jaw-dropping beauty and sustainability come together in a tropical paradise for a London expat
Full Story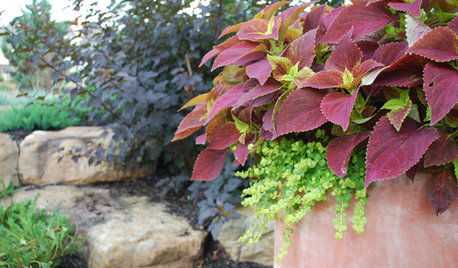
LANDSCAPE DESIGNUnify Your Garden With a Common Thread
Bring the areas of your garden together to give it a unique sense of place
Full Story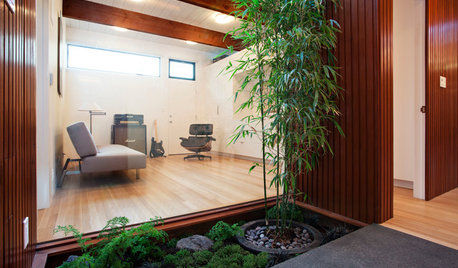
ADDITIONSMore Room Makes an Eichler Even More Livable
Adding a master suite gives a California family 450 square feet more for enjoying all the comforts of home
Full StorySponsored
Mike LarkinOriginal Author