


Why square?
amaretto
17 years ago
Sort by:Oldest
Comments (24)
Related Stories
SMALL HOMES28 Great Homes Smaller Than 1,000 Square Feet
See how the right layout, furniture and mind-set can lead to comfortable living in any size of home
Full Story
SMALL KITCHENSHouzz Call: Show Us Your 100-Square-Foot Kitchen
Upload photos of your small space and tell us how you’ve handled storage, function, layout and more
Full Story
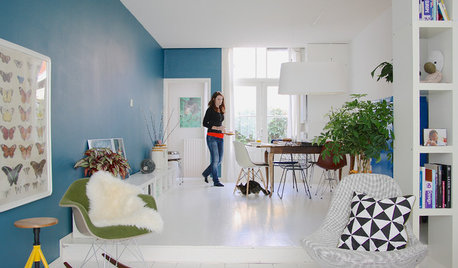
HOUZZ TVHouzz TV: Fun Family Living in 980 Square Feet
In a place known for going big, a family of 4 opts for creative space savers and subtle luxuries instead
Full Story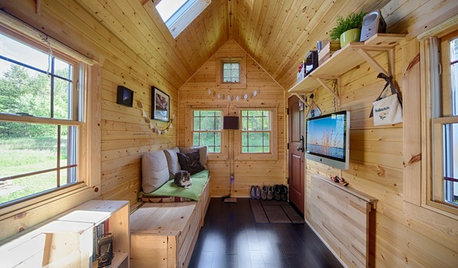
SMALL HOMESHouzz Tour: Sustainable, Comfy Living in 196 Square Feet
Solar panels, ship-inspired features and minimal possessions make this tiny Washington home kind to the earth and cozy for the owners
Full Story
HOUZZ TOURS13 Character-Filled Homes Between 1,000 and 1,500 Square Feet
See how homeowners have channeled their creativity into homes that are bright, inviting and one of a kind
Full Story
TINY HOUSESHouzz TV: Step Inside One Woman’s 140-Square-Foot Dream Home
You may have seen the story on Houzz — now check out the video tour of Vina Lustado’s warm and welcoming tiny house
Full Story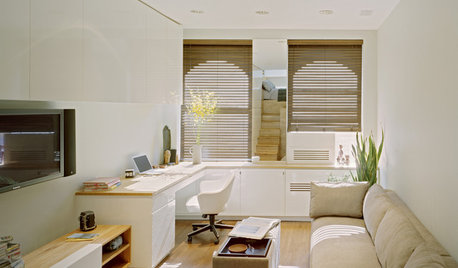
SMALL HOMESCan You Live a Full Life in 220 Square Feet?
Adjusting mind-sets along with furniture may be the key to happiness for tiny-home dwellers
Full Story
MOST POPULARHouzz Tour: Going Off the Grid in 140 Square Feet
WIth $40,000 and a vision of living more simply, a California designer builds her ‘forever’ home — a tiny house on wheels
Full Story
SMALL SPACESLife Lessons From 10 Years of Living in 84 Square Feet
Dee Williams was looking for a richer life. She found it by moving into a very tiny house
Full Story
SMALL HOMESHouzz Tour: A Family of 4 Unwinds in 540 Square Feet
An extraordinarily scaled-down home and garden for a couple and their 2 kids fosters sustainability and togetherness
Full Story
donn_
garden_chicken
Related Professionals
Windham Landscape Architects & Landscape Designers · Comstock Park Landscape Architects & Landscape Designers · Owings Mills Landscape Architects & Landscape Designers · Suffern Landscape Architects & Landscape Designers · Edmond Landscape Contractors · Damascus Landscape Contractors · Danvers Landscape Contractors · Goodlettsville Landscape Contractors · Huntington Landscape Contractors · Mission Bend Landscape Contractors · Santa Ana Landscape Contractors · Seymour Landscape Contractors · West Palm Beach Landscape Contractors · North Aurora Landscape Contractors · Baileys Crossroads Landscape Contractorspersiancat_gardener
amarettoOriginal Author
klinger
billie_ann
amarettoOriginal Author
amarettoOriginal Author
billie_ann
rockyn
amarettoOriginal Author
nmgirl
daisy_ny6
tamahlee
rockhewer
citrusnut
justadncr
amarettoOriginal Author
TxMarti
amarettoOriginal Author
marcia7439
Ruth2
amarettoOriginal Author
mollymitten