


Cement rocks with whimsy faces FINISHED!
mangomoon
16 years ago
Related Stories
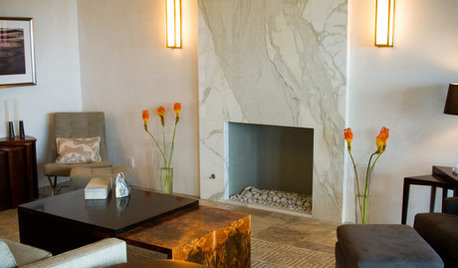
FIREPLACES12 Hot Ideas for Fireplace Facing
From traditional brick to industrial steel, there’s a fireplace cladding here to light up your design
Full Story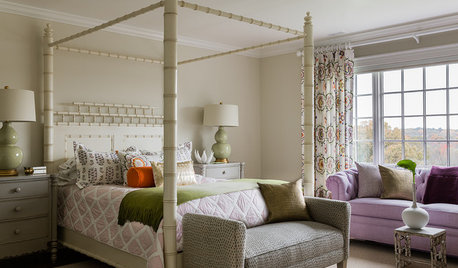
KIDS’ SPACES5 Teen and Tween Girls' Rooms With Fresh-Faced Style
Youthful and light, these girls' bedrooms show an age-appropriate mix of playful spirit and design-savvy sophistication
Full Story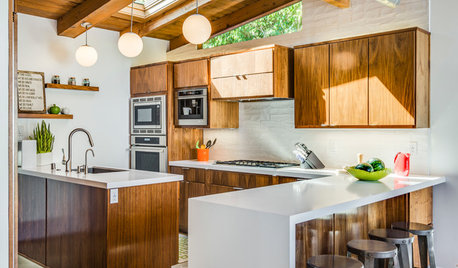
KITCHEN CABINETSNew This Week: 3 Modern Kitchens That Rock Warm Wood Cabinets
Looking for an alternative to bright white? Walnut cabinetry offers the perfect tone to warm things up
Full Story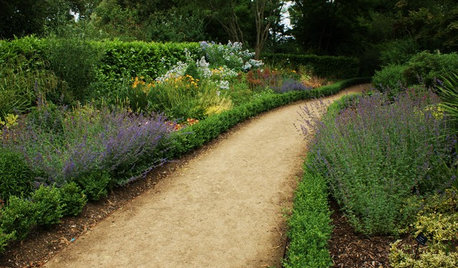
LANDSCAPE DESIGN5 Gravel and Stone Types for a Rockin' Landscape
Give your garden design some textural bam with pebbles, granite, river rocks and other permeable materials
Full Story
DECLUTTERINGDecorate with Intention: Clutter Clearing 101
Fearlessly face disorganized areas to find the home of your dreams
Full Story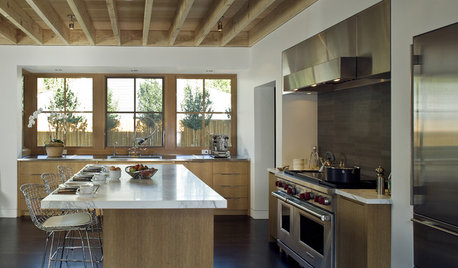
MATERIALSAn Architect Shares His Go-To Materials
Aluminum doors, porcelain tiles, polished concrete. Here are the features and finishes this professional returns to time and again
Full Story
KITCHEN DESIGNGet a Grip on Kitchen Cabinets With the Right Knobs and Pulls
Here's how to pair the right style, type and finish of cabinet hardware with your kitchen style
Full Story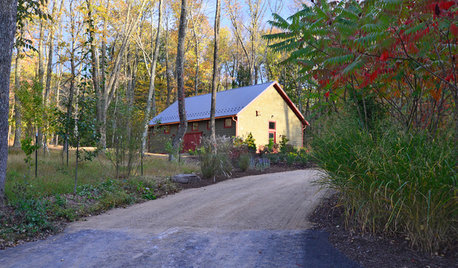
BACKYARD STUDIOSMaster Builder Crafts a Dream Workshop
A design-build firm owner uses an economical building method for his large shed and finishes it off nicely to blend into the scenery
Full Story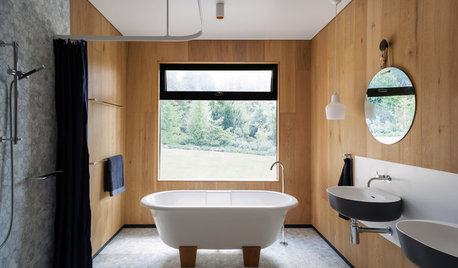
BATHROOM DESIGN15 Bathroom Trends Splashing Down in 2016
Four Australian designers break down the looks, finishes and features they believe will reign supreme in bathroom design this year
Full Story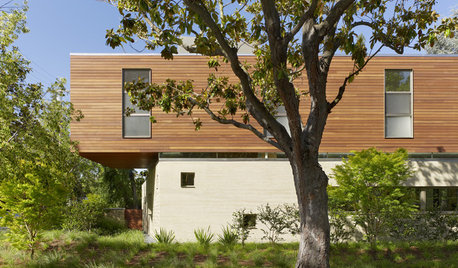
REMODELING GUIDESRammed Earth: Old Meets New in Hybrid Material
An ancient technique lends itself to more sustainable contemporary home designs
Full Story
TwoMonths
daisyme
Related Professionals
Danbury Landscape Architects & Landscape Designers · Elwood Landscape Architects & Landscape Designers · Leawood Landscape Architects & Landscape Designers · South Orange Landscape Architects & Landscape Designers · Alexandria Landscape Contractors · Frisco Landscape Contractors · Tempe Landscape Contractors · Brandon Landscape Contractors · Chesapeake Ranch Estates Landscape Contractors · Cordele Landscape Contractors · Fort Worth Landscape Contractors · Harvey Landscape Contractors · Mendota Heights Landscape Contractors · Peoria Landscape Contractors · Placerville Landscape Contractorsneetsiepie
craft4fun
mangomoonOriginal Author
goldenpond
luna_llena_feliz
lindasewandsew
meadel
mzclassic
mangomoonOriginal Author
kudzukween
nonacook
mangomoonOriginal Author
lilym
kirkus
countryhomeschoolin
jeannespines
tehuti
mangomoonOriginal Author