


More millstones and info
nmgirl
16 years ago
Related Stories
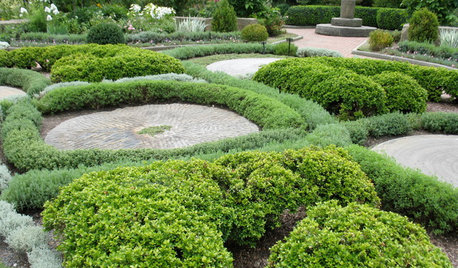
LANDSCAPE DESIGN5 Great Garden Uses for Granite Millstones
Give your yard character and history with a salvaged circular stone used as a patio, seat, fountain or focal point
Full Story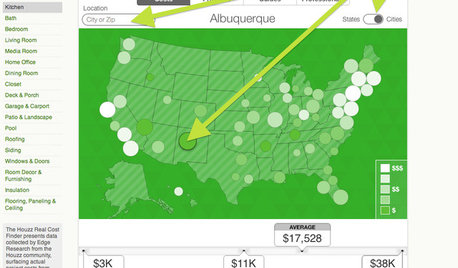
REMODELING GUIDESBreakthrough Budgeting Info: The Houzz Real Cost Finder Is Here
Get remodeling and product prices by project and U.S. city, with our easy-to-use interactive tool
Full Story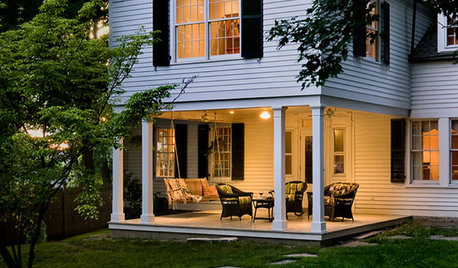
SELLING YOUR HOUSEThe Latest Info on Renovating Your Home to Sell
Pro advice about where to put your remodeling dollars for success in selling your home
Full Story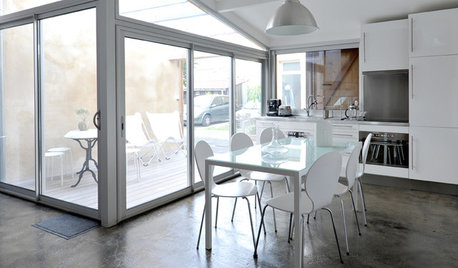
MORE ROOMSMore Living Space: Converting a Garage
5 things to consider when creating new living space in the garage
Full Story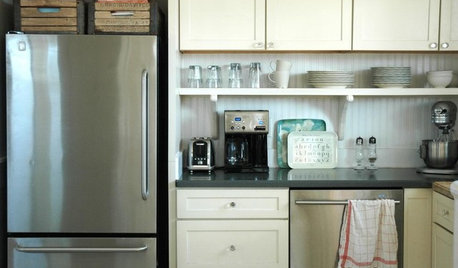
KITCHEN DESIGNTrick Out Your Kitchen Backsplash for Storage and More
Free up countertop space and keep often-used items handy by making your backsplash more resourceful
Full Story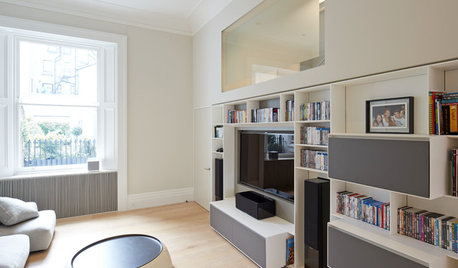
MEDIA ROOMS10 Ways to Make Your Home Theater More Awesome
Check out these ideas for bringing more tech sophistication to your media space
Full Story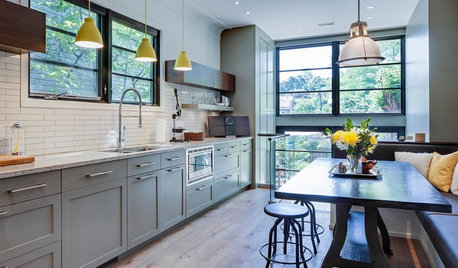
KITCHEN DESIGNKitchen of the Week: More Light, Better Layout for a Canadian Victorian
Stripped to the studs, this Toronto kitchen is now brighter and more functional, with a gorgeous wide-open view
Full Story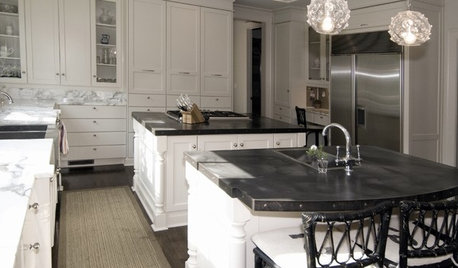
KITCHEN COUNTERTOPSKitchen Countertop Materials: 5 More Great Alternatives to Granite
Get a delightfully different look for your kitchen counters with lesser-known materials for a wide range of budgets
Full Story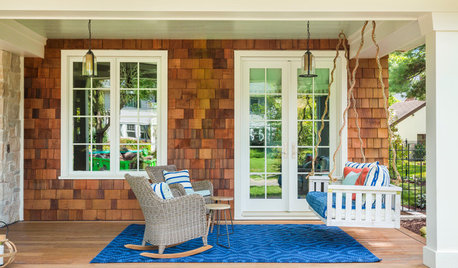
GARDENING AND LANDSCAPING10 Ideas for Decorating Your Summer Porch
Watch the world go by from a porch decked out with comfy furniture and inspiring accessories
Full Story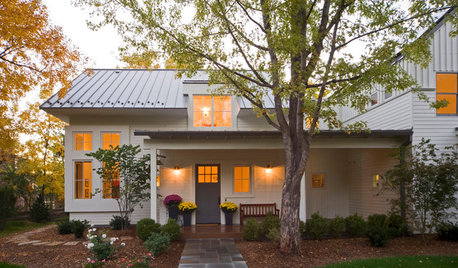
SELLING YOUR HOUSEHelp for Selling Your Home Faster — and Maybe for More
Prep your home properly before you put it on the market. Learn what tasks are worth the money and the best pros for the jobs
Full StoryMore Discussions
nmgirlOriginal Author
nmgirlOriginal Author
Related Professionals
Harrison Landscape Architects & Landscape Designers · Oconomowoc Landscape Architects & Landscape Designers · Salem Landscape Architects & Landscape Designers · Clermont Landscape Contractors · Wakefield Landscape Contractors · Bridgeport Landscape Contractors · Camp Verde Landscape Contractors · Dickinson Landscape Contractors · Fort Atkinson Landscape Contractors · Hawthorne Landscape Contractors · Kerman Landscape Contractors · Longview Landscape Contractors · Middle River Landscape Contractors · View Park-Windsor Hills Landscape Contractors · Oxon Hill Landscape Contractorsneetsiepie
TwoMonths
syllabus
pattico_gw
desertrat1
nmgirlOriginal Author
syllabus
luna_llena_feliz
desertrat1
elephantear
desertrat1
terry3122
nmgirlOriginal Author
Marlene Kindred
smickerdoodle
tennesseetrash