


rice sacks
mikeytitan
14 years ago
Sort by:Oldest
Comments (33)
Related Stories
DECORATING GUIDESBeautiful Burlap?
The Low-Cost Fabric is Prime Fodder for a Weekend Project
Full Story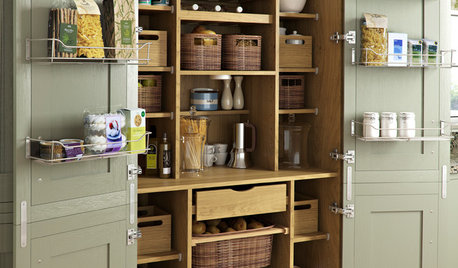
KITCHEN PANTRIES80 Pretty and Practical Kitchen Pantries
This collection of kitchen pantries covers a wide range of sizes, styles and budgets
Full Story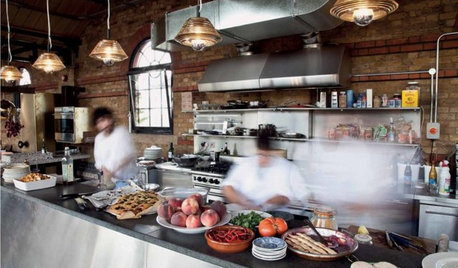
KITCHEN DESIGN16 Practical Ideas to Borrow From Professional Kitchens
Restaurant kitchens are designed to function efficiently and safely. Why not adopt some of their tricks in your own home?
Full Story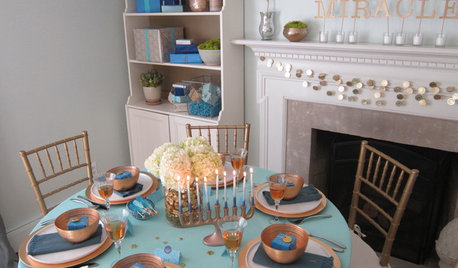
HOLIDAYSHouzz Call: Share Your Personal Holiday Traditions
What winter rituals mean the most to you and yours? Post your stories and pictures
Full Story
MOST POPULAR33 Magic Household Cleaning Tips
Houzzers from around the world share their tips for transforming housework into child’s play
Full Story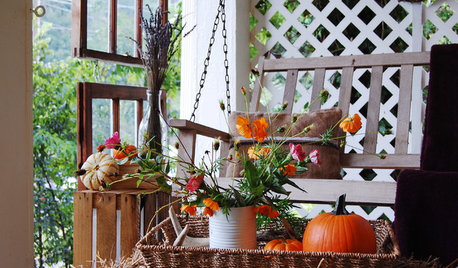
DECORATING PROJECTSGive Your Porch Some Rustic Fall Style
Natural materials and found items make inviting fall decorations for your favorite outdoor room
Full Story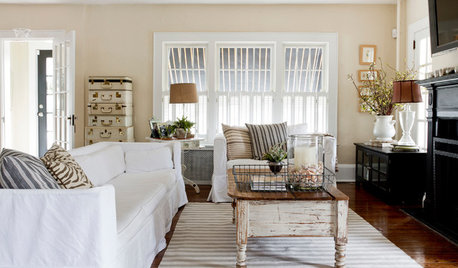
FEEL-GOOD HOMESimple Pleasures: 10 Ideas for a Buy-Less Month
Save money without feeling pinched by taking advantage of free resources and your own ingenuity
Full Story
LIFEHow to Outsmart Backyard Critters
Learn to think like a raccoon, skunk or squirrel to keep your home safe and your garden intact
Full Story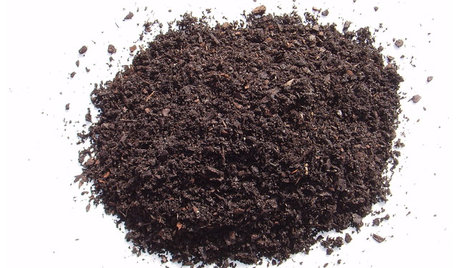
GARDENING GUIDESGet on a Composting Kick (Hello, Free Fertilizer!)
Quit shelling out for pricey substitutes that aren’t even as good. Here’s how to give your soil the best while lightening your trash load
Full Story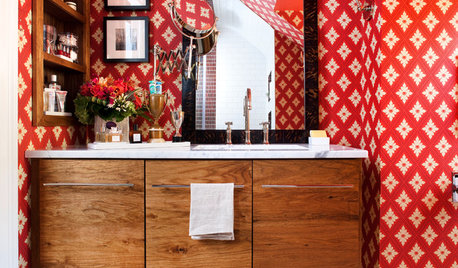
BATHROOM DESIGN5 Small Bathrooms That Stretch Design Imagination
See how bathroom designers expanded the possibilities with fearless patterns, joyful accessories and smart space-saving solutions
Full StoryMore Discussions
sunnyca_gw
Barbara Kelly
Related Professionals
Havre de Grace Landscape Architects & Landscape Designers · Lakewood Landscape Architects & Landscape Designers · West Chester Landscape Architects & Landscape Designers · Burlington Landscape Contractors · Matthews Landscape Contractors · Amesbury Landscape Contractors · Barrington Landscape Contractors · Chattanooga Landscape Contractors · Gainesville Landscape Contractors · Golden Landscape Contractors · Kaysville Landscape Contractors · Lebanon Landscape Contractors · Mount Sinai Landscape Contractors · Petaluma Landscape Contractors · Westford Landscape Contractorskatishooked
concretenprimroses
Marlene Kindred
goldenpond
laurastheme
luna_llena_feliz
mikeytitanOriginal Author
mikeytitanOriginal Author
sunnyca_gw
concretenprimroses
mikeytitanOriginal Author
mikeytitanOriginal Author
blossomsandlace
jeannespines
concretenprimroses
mikeytitanOriginal Author
fldirt
sugarmaple
caroleena
maggie4737
Barbara Kelly
concretenprimroses
tennesseetrash
luna_llena_feliz
sunnyca_gw
caroleena
mikeytitanOriginal Author
mikeytitanOriginal Author
Calamity_J
shysue
mikeytitanOriginal Author