


Plastic Butterflies for the Garden
socalliegal
13 years ago
Sort by:Oldest
Comments (14)
Related Stories
EARTH DAYCreate a Container Wildlife Habitat for Hummingbirds and Butterflies
Don’t let limited space prevent you from welcoming wildlife into your garden
Full Story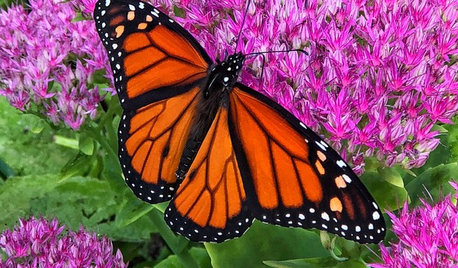
GARDENING GUIDES6 Steps to Creating Your Butterfly Garden
Encourage these fanciful winged beauties to visit your garden while helping restore their fragmented habitat
Full Story
GARDENING GUIDESGreat Design Plant: Asclepias Incarnata for a Butterfly Garden
Beautiful swamp milkweed makes it easy to help monarchs and other pollinators in eastern U.S. gardens
Full Story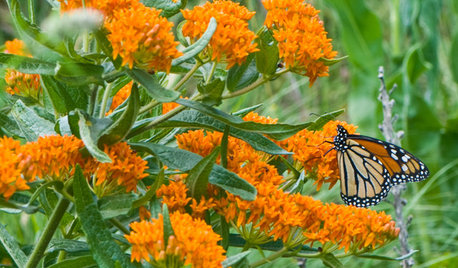
GARDENING GUIDESGreat Design Plant: Butterfly Milkweed, a Beacon in the Prairie
Vivacious orange flowers for you, nectar for the butterflies and bees. Asclepias tuberosa is worth planting for more reasons than one
Full Story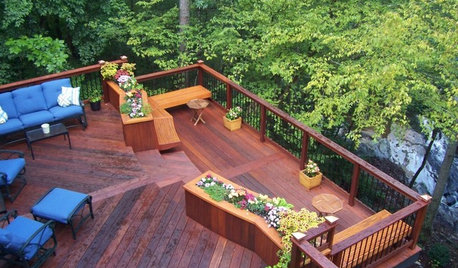
GARDENING AND LANDSCAPINGChoosing a Deck: Plastic or Wood?
Get the pros and cons of wood, plastic, composite and more decking materials, plus a basic price comparison
Full Story
GARDENING GUIDESGreat Design Plant: Butterfly-Friendly Crossvine
Colorful climber gives gardens a boost year-round with bountiful blooms
Full Story
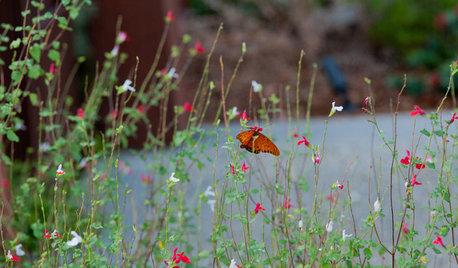
GARDENING GUIDESGreat Design Plant: Autumn Sage Brings Color and Butterflies
Whether you live in the arid desert or the humid South, you'll likely find this deer-resistant beauty as irresistible as winged creatures do
Full Story
FALL GARDENINGWhat Monarch Butterflies Taught Me About Garden Design
Thinking like a butterfly leads to fresh perspectives in the garden and in life
Full Story
MATERIALSA Hard Look at Recycled Plastic for the Home
It's durable and versatile, but processing takes a lot of energy. We sort through the facts on recycled plastic so you can choose wisely
Full Story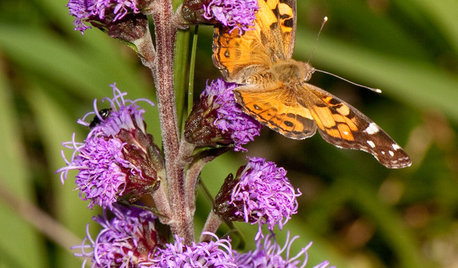
GARDENING GUIDESAmerican Lady Butterflies Add Delight to Summer Gardens
Provide native nectar and larval host plants to welcome these migratory butterflies
Full Story
Marlene Kindred
concretenprimroses
Related Professionals
West Milford Landscape Architects & Landscape Designers · Glen Ellyn Landscape Architects & Landscape Designers · Grand Haven Landscape Architects & Landscape Designers · Harrison Landscape Architects & Landscape Designers · Rancho Palos Verdes Landscape Architects & Landscape Designers · Arden-Arcade Landscape Contractors · Beachwood Landscape Contractors · Deer Park Landscape Contractors · Downey Landscape Contractors · Fishers Landscape Contractors · Holtsville Landscape Contractors · Mendota Heights Landscape Contractors · Pomona Landscape Contractors · Post Falls Landscape Contractors · Saint Paul Landscape ContractorssocalliegalOriginal Author
grandmathyme
socalliegalOriginal Author
sunnyca_gw
rock_oak_deer
socalliegalOriginal Author
socalliegalOriginal Author
luna_llena_feliz
rock_oak_deer
kathi_mdgd
Purplemoon
socalliegalOriginal Author