


Suggestions for 2 liter bottles
ohiovalleygardener
13 years ago
Related Stories

HOME TECHA Bird Photo Booth for Your Backyard
Catch a glimpse of nature's secret life or literally watch the grass grow. These cameras make it possible
Full Story
ARCHITECTURERustic Roundup: 5 Barn or Barn-Inspired Homes
Homeowners are hitting the hay in spaces that recall a farm — and the interpretations range from literal to far afield
Full Story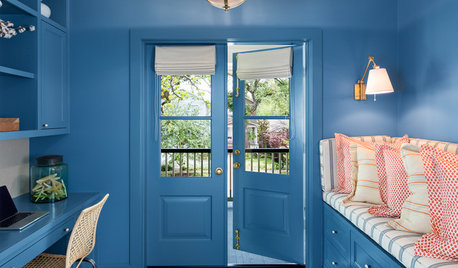
DECORATING GUIDESNew This Week: 2 Rooms Bursting With Blue
Forget pops of color. These new projects on Houzz feature spaces virtually drenched in bold color to create an unforgettable look
Full Story
WINE CELLARSKey Measurements for a Wine Cellar, Part 2
Wine connoisseurs: A wine cellar can add a spectacular feature to your home
Full Story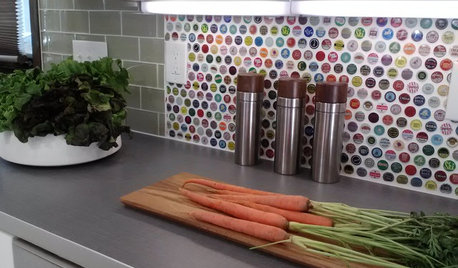
KITCHEN BACKSPLASHES15 Creative Kitchen Backsplashes for the Adventurous
Consider using snow skis, mirrors, bottle caps and other unusual materials for your next kitchen backsplash
Full Story
MOST POPULAR9 Real Ways You Can Help After a House Fire
Suggestions from someone who lost her home to fire — and experienced the staggering generosity of community
Full Story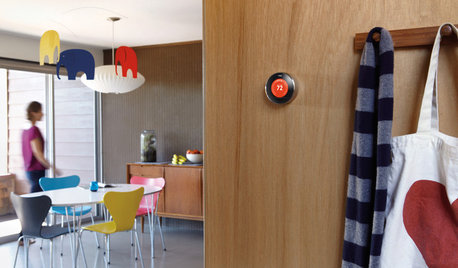
HOME TECHWhy Google Just Paid $3.2 Billion for a Company That Makes Thermostats
Smart home technology just got a new champion — and everyone is speculating about the reasons
Full Story
KITCHEN DESIGNNew This Week: 2 Kitchens That Show How to Mix Materials
See how these kitchens combine textures, colors and materials into a harmonious whole
Full Story
MOST POPULAR11 Ways to Refill Your Creative Well
Stuck for new ideas and inspiration? These suggestions will get the wheels turning again
Full Story
FEEL-GOOD HOME10 Ideas to Make Every Day at Home a Little Better
Consider some simple changes and fun tips for brightening your world
Full Story
tbledsaw
luna_llena_feliz
Related Professionals
Norfolk Landscape Architects & Landscape Designers · Deer Park Landscape Architects & Landscape Designers · Clermont Landscape Contractors · Woburn Landscape Contractors · Aberdeen Landscape Contractors · Centereach Landscape Contractors · Fishers Landscape Contractors · Fort Payne Landscape Contractors · Hoover Landscape Contractors · Leicester Landscape Contractors · Lewisville Landscape Contractors · Medford Landscape Contractors · San Pedro Landscape Contractors · Selden Landscape Contractors · Lauderdale Lakes Landscape Contractorstbledsaw
concretenprimroses
concretenprimroses
grandma_cindy
nonacook
nursemaid4
nursemaid4
sugarchalet
aka_strawberrygoat
concretenprimroses
sugarchalet