


Glass plant stands
nmgirl
16 years ago
Related Stories

GARDENING AND LANDSCAPINGBeachfront Garden Stands Up to the Elements
A sophisticated outdoor entertaining space relies on tough plants and resilient materials to bring indoor living outside
Full Story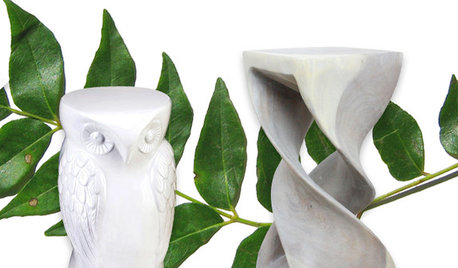
SHOP HOUZZShop Houzz: Perfect Plant Stands for Every Style
From contemporary and industrial to farmhouse and Craftsman, there’s a plant stand for every home
Full Story0
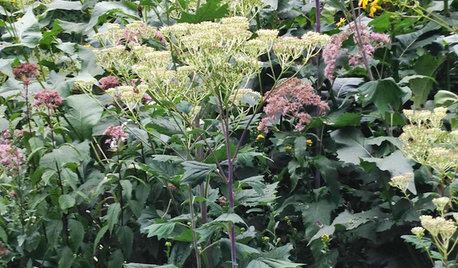
GARDENING GUIDESGreat Design Plant: Pale Indian Plantain Stands Tall and Proud
Height and generous flower heads earn Arnoglossum atriplicifolium the attention of both human and insect visitors
Full Story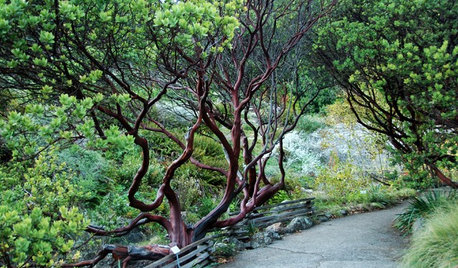
GARDENING FOR BUTTERFLIESGreat Design Plant: Parry Manzanita Stands Out in Low-Water Gardens
Make a dramatic architectural statement and feed wildlife in woodlands and more with Arctostaphylos manzanita
Full Story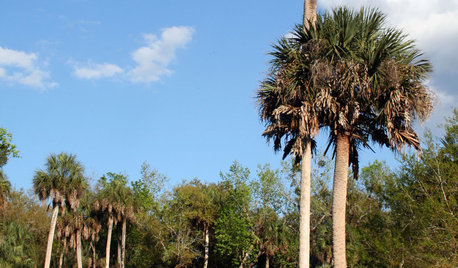
TREESGreat Design Plant: Sabal Palm Enchants in Balmy Sites
Towering and tolerant, this tree blends in, stands out and happily stars in vacation photos
Full Story
MOST POPULARThe Easiest, Most Versatile Cake Stand You'll Ever Make
Show off sweet somethings and your own impressive handiwork — just don't let on how little effort it took
Full Story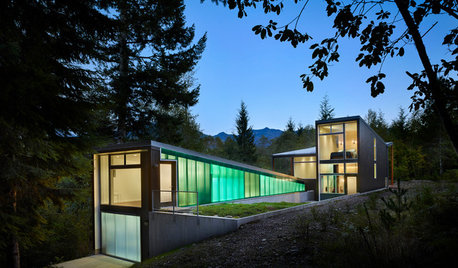
HOUZZ TOURSHouzz Tour: Cascades Retreat Blends In and Stands Out
A mountain getaway’s simple design echoes the landscape, while green polycarbonate cladding adds drama
Full Story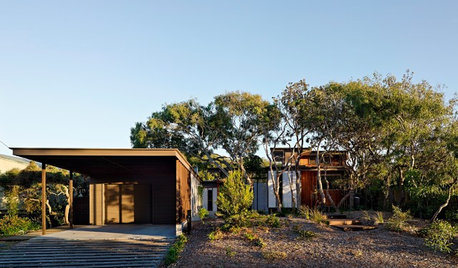
GREEN BUILDINGHouzz Tour: This Home Stands Out by Blending In
A family’s new build in a green community uses materials, orientation and vegetation to harmonize with the landscape
Full Story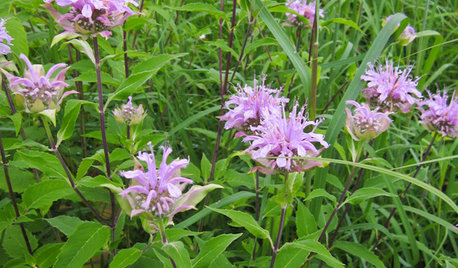
NATIVE PLANTSGreat Design Plant: Wild Bergamot, Friend of Foragers
Nourish butterflies and other winged creatures with the tubular flowers of Monarda fistulosa, a pretty pink native
Full Story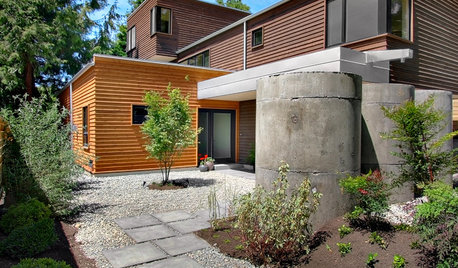
REMODELING GUIDESHow Small Windows Help Modern Homes Stand Out
Amid expansive panes of glass and unbroken light, smaller windows can provide relief and focus for modern homes inside and out
Full StoryMore Discussions
rottyinbluejeans
meadel
Related Professionals
Ashland Landscape Architects & Landscape Designers · Lake Oswego Landscape Architects & Landscape Designers · Sand Springs Landscape Architects & Landscape Designers · Newcastle Landscape Architects & Landscape Designers · Aurora Landscape Contractors · Cicero Landscape Contractors · Conroe Landscape Contractors · Dickinson Landscape Contractors · Elkridge Landscape Contractors · Rio Linda Landscape Contractors · San Benito Landscape Contractors · Snoqualmie Landscape Contractors · The Woodlands Landscape Contractors · Webster Groves Landscape Contractors · West Chicago Landscape Contractorsshysue
Dottie B.
beccap
use2bcapecodr
brendak_59
countrygrl
craftylady-2006
lilith_moonbeam
leubafr
phyllis__mn
princess_mimi
nmgirlOriginal Author
luna_llena_feliz
jeannespines
luvstocraft
Purplemoon
annielu
cheribelle
kudzukween
njtomboy
nmgirlOriginal Author
jiju
rchovey
thrift_shop_romantic