


Looking for directions for blue bottle & copper creation
leaveswave
16 years ago
Featured Answer
Sort by:Oldest
Comments (12)

craftylady-2006
16 years agolast modified: 9 years agoleaveswave
16 years agolast modified: 9 years agoRelated Professionals
Leawood Landscape Architects & Landscape Designers · Forest City Landscape Architects & Landscape Designers · McKinney Landscape Contractors · Anderson Landscape Contractors · Annandale Landscape Contractors · Bethel Park Landscape Contractors · Caldwell Landscape Contractors · Corona Landscape Contractors · Dunwoody Landscape Contractors · Elmhurst Landscape Contractors · Hickory Hills Landscape Contractors · Maywood Landscape Contractors · Midland Landscape Contractors · Petaluma Landscape Contractors · Baileys Crossroads Landscape Contractorsfrazoo
16 years agolast modified: 9 years agoleaveswave
16 years agolast modified: 9 years agoTwoMonths
16 years agolast modified: 9 years agophyllis__mn
16 years agolast modified: 9 years agorosiew
16 years agolast modified: 9 years agophyllis__mn
16 years agolast modified: 9 years agoleaveswave
16 years agolast modified: 9 years agoartgardener
16 years agolast modified: 9 years agoproudmary56
14 years agolast modified: 9 years ago
Related Stories
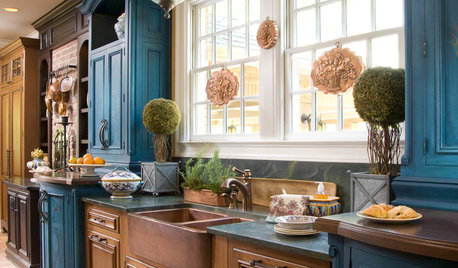
KITCHEN DESIGNKitchen Sinks: Antibacterial Copper Gives Kitchens a Gleam
If you want a classic sink material that rejects bacteria, babies your dishes and develops a patina, copper is for you
Full Story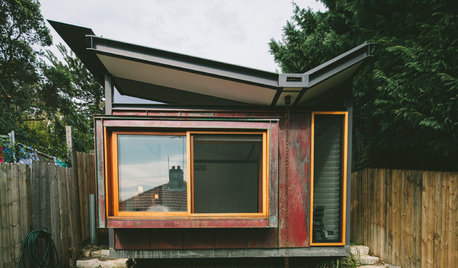
COTTAGE STYLEHouzz Tour: Beach Shack Reborn as a Copper-Clad Cottage
A tranquil home with a copper exterior lets in ocean air, sunlight and greenery on a challenging site
Full Story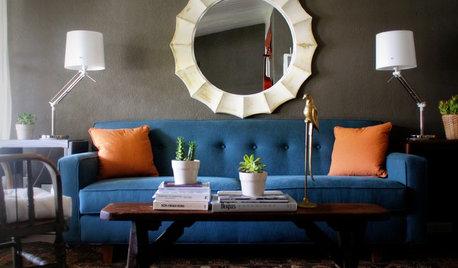
DECORATING GUIDESHot Color Combo: Cool Blues and Warm Brass
It's trending all over, but navy or royal blue with brass or gold just also might become a new classic pairing
Full Story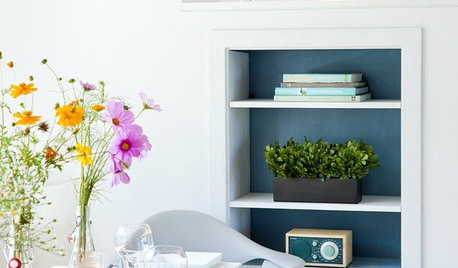
BLUEMarine Blue Washes Ashore
Straight from the ocean waves, this deep, dramatic blue makes a perfect partner for landlocked interiors
Full Story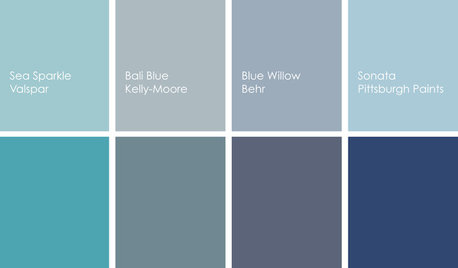
COLORCooking With Color: When to Use Blue in the Kitchen
Keep your cool. We show you when to nosh around navy or try a taste of turquoise so you can stay relaxed while finishing your kitchen
Full Story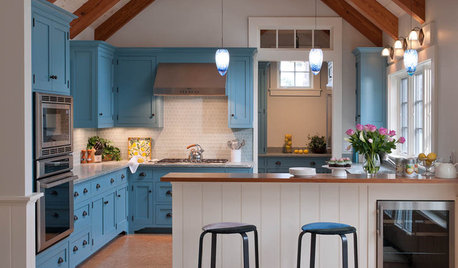
BLUEKitchen of the Week: Beautiful Blue in Martha's Vineyard
Mirroring the beauty of its lakeside setting, this open cottage-style kitchen supports a laid-back lifestyle
Full Story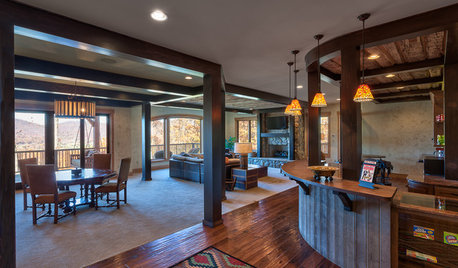
BASEMENTSBasement of the Week: Rustic Sophistication in the Blue Ridge Mountains
Good, old-fashioned fun reigns here, with a theater-style snack bar, a playroom and lots of room for just kicking back
Full Story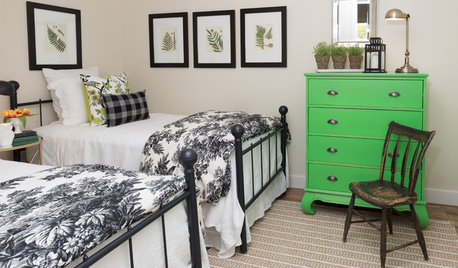
VACATION HOMESHouzz Tour: A New Lake House Gets a Lived-in Look
Antiques mixed with newer pieces give a relaxed Quebec getaway the feeling of being developed over time
Full Story
DECORATING GUIDESMood Makers: Luxurious Looks on a Budget
Want a high-end look in your home but feeling choked by your budget? Try these pro decorator tips to give your rooms a luxe look for less
Full Story
MOST POPULARTrend Watch: 13 Kitchen Looks Expected to Be Big in 2015
3 designers share their thoughts on what looks, finishes and design elements will be on trend in the year ahead
Full StoryMore Discussions
leaveswaveOriginal Author