


Cans to candle holders
dcarch7 d c f l a s h 7 @ y a h o o . c o m
15 years ago
Sort by:Oldest
Comments (34)
Related Stories
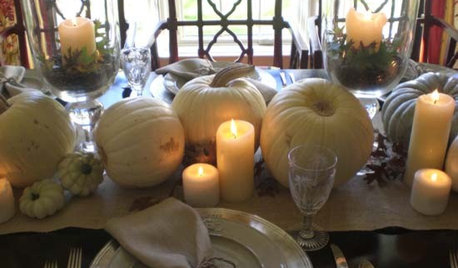
Hurricanes Turn Candles Into Elegant Fall and Winter Décor
Add height to a centerpiece or vignette with the glow and shine of these tall glass candleholders
Full Story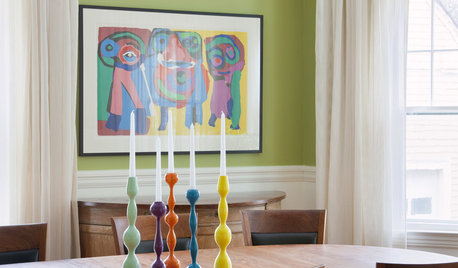
DECORATING GUIDESCan't-Beat Style: Candlestick Clusters
Create high decorating drama with the right mix of candleholders on table, sideboard, mantel and more
Full Story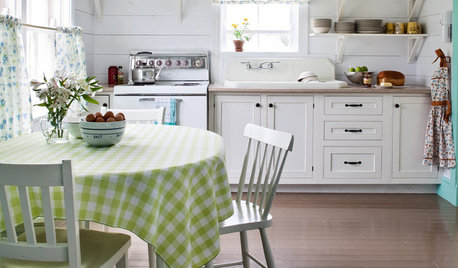
KITCHEN DESIGNThe Cure for Houzz Envy: Kitchen Touches Anyone Can Do
Take your kitchen up a notch even if it will never reach top-of-the-line, with these cheap and easy decorating ideas
Full Story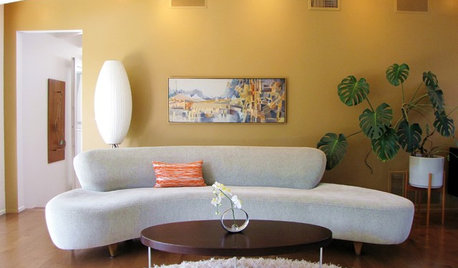
DECORATING GUIDESWhat We Can Learn From the Minimalists
Discover the power of simplicity and how to employ a less-is-more approach in your decorating scheme
Full Story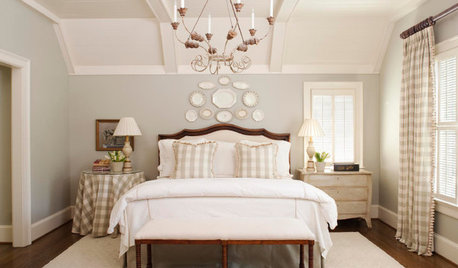
BEDROOMSThe Cure for Houzz Envy: Master Bedroom Touches Anyone Can Do
Make your bedroom a serene dream with easy moves that won’t give your bank account nightmares
Full Story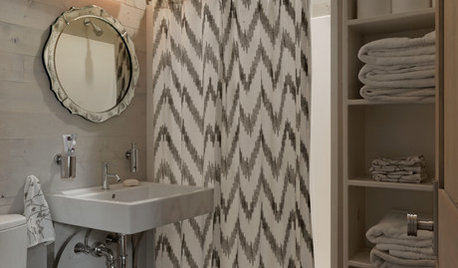
BATHROOM DESIGNThe Cure for Houzz Envy: Bathroom Touches Anyone Can Do
Take your bath from blah to ‘ahhhh’ with just a few easy and inexpensive moves
Full Story
FEEL-GOOD HOMELight Up Winter With DIY Scented Soy Candles
You can whip up these pretty scented soy candles in an afternoon to give friends — or keep for yourself
Full Story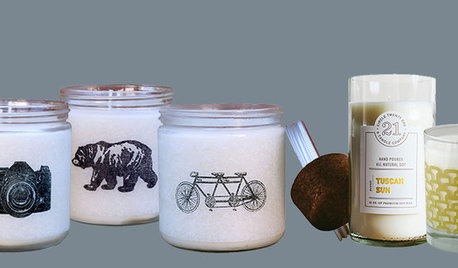
SHOP HOUZZShop Houzz: Light a Candle
Give every room a warm glow and an irresistible aroma with candles
Full Story0
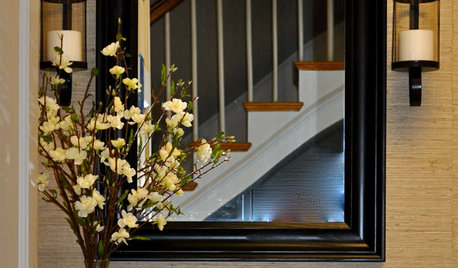
LIGHTINGTake a Shine to Candle Sconces
For casting that romantic glow or adding an element of mystery to any room in the home, nothing beats a candlelit wall sconce
Full Story
Candles Warm the Winter Home
Add the romantic glow of candlelight to your dining room, bath, hearth or patio
Full Story
joannpalmyra
justlinda
Related Professionals
Rancho Cordova Landscape Architects & Landscape Designers · Saint Matthews Landscape Architects & Landscape Designers · Aurora Landscape Contractors · Avocado Heights Landscape Contractors · Harvey Landscape Contractors · Hurricane Landscape Contractors · Maywood Landscape Contractors · New Cassel Landscape Contractors · North Lauderdale Landscape Contractors · Pompton Lakes Landscape Contractors · Soddy Daisy Landscape Contractors · Tacoma Landscape Contractors · Northlake Landscape Contractors · Maple Heights Landscape Contractors · North Hills Landscape Contractorskudzukween
nanagrandma
katishooked
Marlene Kindred
justlinda
luna_llena_feliz
jlily
dcarch7 d c f l a s h 7 @ y a h o o . c o mOriginal Author
luna_llena_feliz
todancewithwolves
irishdancersgram
nancyjeanmc
ilene_in_neok
nancyjeanmc
justlinda
dcarch7 d c f l a s h 7 @ y a h o o . c o mOriginal Author
smickerdoodle
nancyjeanmc
dcarch7 d c f l a s h 7 @ y a h o o . c o mOriginal Author
justlinda
nancyjeanmc
justlinda
nancyjeanmc
justlinda
dcarch7 d c f l a s h 7 @ y a h o o . c o mOriginal Author
nancyjeanmc
justlinda
dcarch7 d c f l a s h 7 @ y a h o o . c o mOriginal Author
nancyjeanmc
countrygrl
dcarch7 d c f l a s h 7 @ y a h o o . c o mOriginal Author
TwoMonths