


Lawnboy pull-start pulley: 1 or 2 piece?
ActionClaw (Northern Ohio zone:5a/5b)
13 years ago
Related Stories
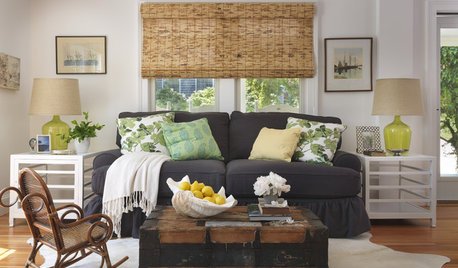
DECORATING GUIDESHow to Decorate When You're Starting Out or Starting Over
No need to feel overwhelmed. Our step-by-step decorating guide can help you put together a home look you'll love
Full Story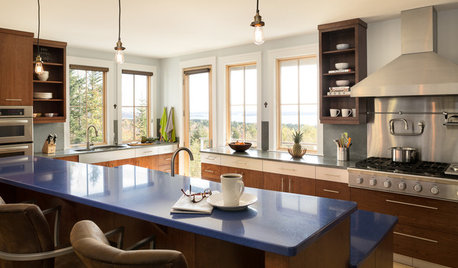
DECLUTTERING5 Ways to Jump-Start a Whole-House Decluttering Effort
If the piles of paperwork and jampacked closets have you feeling like a deer in the headlights, take a deep breath and a baby step
Full Story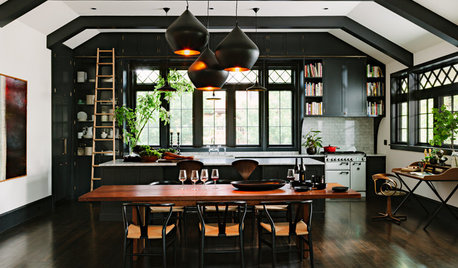
REMODELING GUIDESHouzz Tour: An Old Oregon Library Starts a New Chapter
With an addition and some renovation love, a neglected Craftsman building becomes a comfortable home and studio
Full Story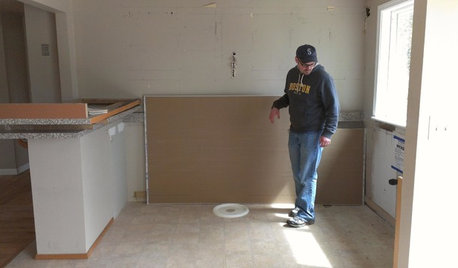
KITCHEN DESIGNStylish New Kitchen, Shoestring Budget: See the Process Start to Finish
For less than $13,000 total — and in 34 days — a hardworking family builds a kitchen to be proud of
Full Story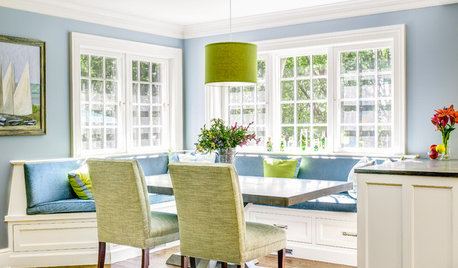
KITCHEN DESIGN91 Kitchen Banquettes to Start Your Morning Right
Slide into one of these stylish breakfast nooks and stay awhile
Full Story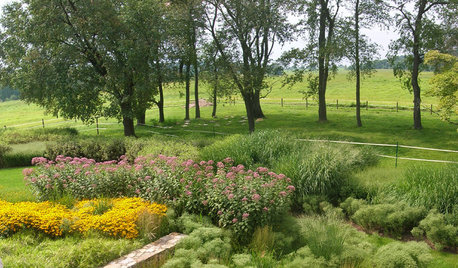
GARDENING GUIDESHow to Stop Worrying and Start Loving Clay Soil
Clay has many more benefits than you might imagine
Full Story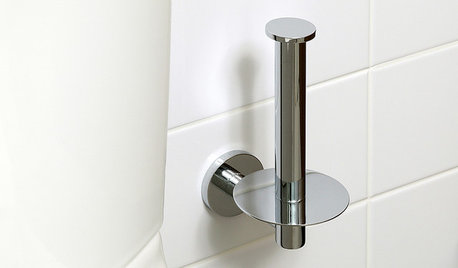
FUN HOUZZ14 Things You Need to Start Doing Now for Your Spouse’s Sake
You have no idea how annoying your habits at home can be. We’re here to tell you
Full Story
DECORATING GUIDESDecorating 101: How to Start a Decorating Project
Before you grab that first paint chip, figure out your needs, your decorating style and what to get rid of
Full Story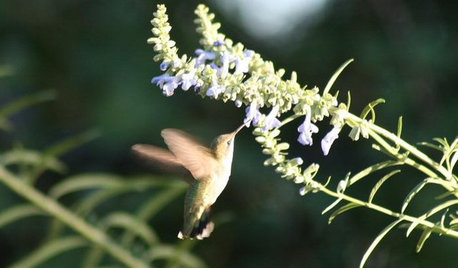
GARDENING FOR BUTTERFLIESA Quick-Start Guide to Bird-Watching for Fun and Learning
Set out some seed and grab your field guide. Bird-watching is an easy, entertaining and educational activity for the whole family
Full Story
GARDENING GUIDES10 Tips to Start a Garden — Can-Do Ideas for Beginners
Green up your landscape even if you're short on time, money and knowledge, with these manageable steps for first-time gardeners
Full StorySponsored
Columbus Area's Luxury Design Build Firm | 17x Best of Houzz Winner!
More Discussions

ActionClaw (Northern Ohio zone:5a/5b)Original Author
ohjoe
Related Professionals
Jennings Landscape Architects & Landscape Designers · Salem Landscape Contractors · Estelle Landscape Contractors · Kaysville Landscape Contractors · Kerman Landscape Contractors · Pine Hills Landscape Contractors · Wilsonville Landscape Contractors · Irvington Landscape Contractors · Northlake Landscape Contractors · Brookfield Carpenters · Coconut Grove Carpenters · Homestead Carpenters · Leander Carpenters · Pataskala Carpenters · Summerlin CarpentersActionClaw (Northern Ohio zone:5a/5b)Original Author
ohjoe
ActionClaw (Northern Ohio zone:5a/5b)Original Author
ActionClaw (Northern Ohio zone:5a/5b)Original Author
bogman
ActionClaw (Northern Ohio zone:5a/5b)Original Author
ActionClaw (Northern Ohio zone:5a/5b)Original Author