


lawn mower rpm's going up and down
sparkync
13 years ago
Related Stories
SAVING WATERHouzz Call: Are You Letting Go of Your Lawn?
Many facing a drought are swapping turf for less thirsty plantings. If you’re one of them, we’d like to hear about it
Full Story
LANDSCAPE DESIGNGet Along With Less Lawn — Ideas to Save Water and Effort
Ditch the mower and lower your water bill while creating a feast for the eyes with diverse plantings and gathering places
Full Story
GARDENING AND LANDSCAPINGHow to Make a Pond
You can make an outdoor fish paradise of your own, for less than you might think. But you'll need this expert design wisdom
Full Story
GROUND COVERSGive Your Lawn a Taste of the Wild
Consider the joys of an irregularly trimmed meadow lawn: It’s ecofriendly, visually interesting and still good for romping
Full Story
FRONT YARD IDEASBefore and After: Front Lawn to Prairie Garden
How they did it: Homeowners create a plan, stick to it and keep the neighbors (and wildlife) in mind
Full Story
COLORGoing Bold With Just Enough Color
Using color with restraint inside and outside can be far more effective than a less subtle approach
Full Story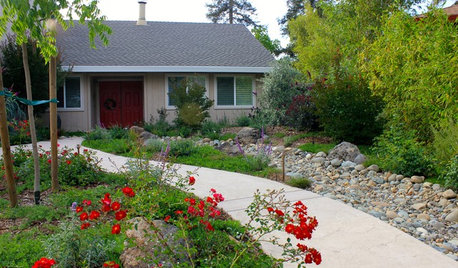
LANDSCAPE DESIGNCalifornia Says Goodbye to the Sprawling Ornamental Lawn
New state rules will effectively limit turfgrass to 25 percent of the landscape in most new and renovated yards
Full Story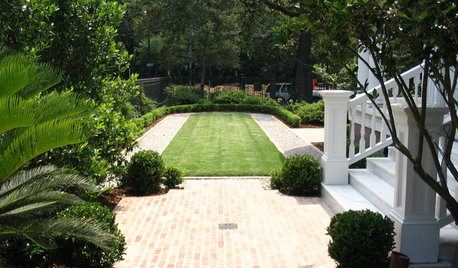
GARDENING GUIDESHow to Plant a New Lawn From Sod
Take the quick-start route to turf with sod; these installation guidelines will help ensure a healthy and long-lasting lawn
Full Story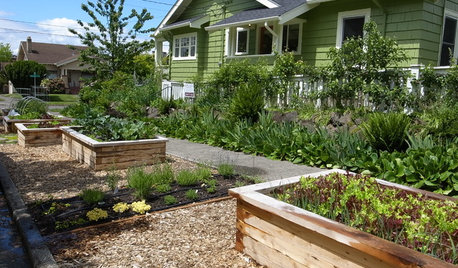
BEFORE AND AFTERSSee 6 Yards Transformed by Losing Their Lawns
Wondering whether a turf lawn is the best use of your outdoor space? These homeowners did, and they found creative alternatives
Full Story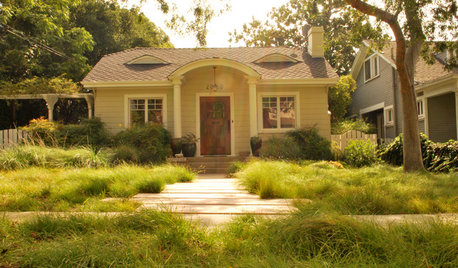
MOST POPULARMeet a Lawn Alternative That Works Wonders
Carex can replace turfgrass in any spot, is low maintenance and adjusts easily. Add its good looks and you’ve got a ground cover winner
Full Story
baymee
rygamer
Related Professionals
Carlisle Landscape Architects & Landscape Designers · Kyle Landscape Architects & Landscape Designers · Lyons Landscape Architects & Landscape Designers · Salisbury Landscape Architects & Landscape Designers · Allentown Landscape Contractors · Americus Landscape Contractors · Athens Landscape Contractors · El Segundo Landscape Contractors · Fort Hunt Landscape Contractors · Smyrna Landscape Contractors · St. Louis Landscape Contractors · North Aurora Landscape Contractors · Suisun City Landscape Contractors · Lake Shore Carpenters · Sunnyvale CarpenterssparkyncOriginal Author
baymee
baymee
sparkyncOriginal Author
CaptTurbo
CaptTurbo
baymee