


Briggs 3.5 Classic
briggsuser
10 years ago
Sort by:Oldest
Comments (13)
Related Stories
TRADITIONAL STYLE5 Classic Shaker Designs for the Contemporary Home
Clean lines and practicality are intrinsic to this popular style and its modern interpretations
Full Story
LIGHTINGNew Classics: The Ikea Maskros Light
Light-as-a-dandelion pendant adds big, fluffy fun to all kinds of living spaces
Full Story
HOUZZ TOURSMy Houzz: Modern Classics in a 1940s Home
Iconic midcentury mod furniture matches the clean lines and simple architecture of this expanded Seattle home
Full Story
KITCHEN DESIGNUsing White Marble: Hot Debate Over a Classic Beauty
Do you love perfection or patina? Here's how to see if marble's right for you
Full Story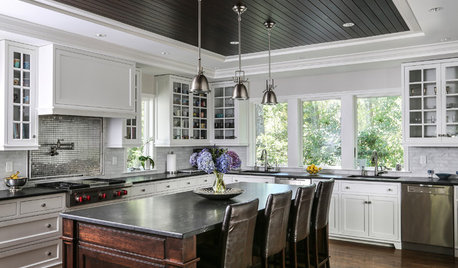
KITCHEN WORKBOOK8 Elements of Classic Kitchen Style
For this timeless style, go with white or cream cabinetry, simple architectural details and high-quality materials
Full Story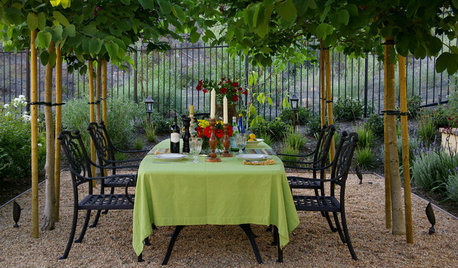
LANDSCAPE DESIGNEnjoy the Romance of Dining in a Classic Gravel Garden
Here’s what to consider when it comes to installing, styling and maintaining a DIY-friendly gravel patio
Full Story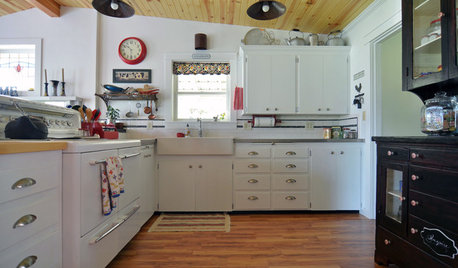
BEFORE AND AFTERSKitchen of the Week: Classic White Farmhouse Style Restored
A couple remodel their kitchen to better match their 19th-century Oregon home’s style
Full Story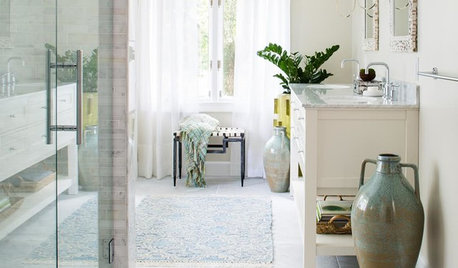
WHITERoom of the Day: Bye-Bye, Black Bidet — Hello, Classic Carrara
Neutral-colored materials combine with eclectic accessories to prepare a master bath for resale while adding personal style
Full Story
KITCHEN DESIGNKitchen of the Week: Classic Style Creates Calm for a Busy Family
Fresh take on traditional lightens up a kitchen in a large, open space
Full Story
KITCHEN DESIGNShaker Style Still a Cabinetry Classic
The Shaker profile stays true to its generations-old square simplicity but can adapt to any modern taste
Full Story
bill_kapaun
briggsuserOriginal Author
Related Professionals
Carlisle Landscape Architects & Landscape Designers · Wixom Landscape Architects & Landscape Designers · Surprise Landscape Contractors · Wakefield Landscape Contractors · Edwardsville Landscape Contractors · Firestone Landscape Contractors · Goodlettsville Landscape Contractors · Indianapolis Landscape Contractors · Muttontown Landscape Contractors · National City Landscape Contractors · Newberg Landscape Contractors · New Carrollton Landscape Contractors · Orland Park Carpenters · Poway Carpenters · Roselle Park CarpentersbriggsuserOriginal Author
baymee
bill_kapaun
baymee
bill_kapaun
baymee
briggsuserOriginal Author
rcmoser
kbinmd
briggsuserOriginal Author
briggsuserOriginal Author