


Folding samosa wrappers
woodyoak zone 5 southern Ont., Canada
15 years ago
Sort by:Oldest
Comments (8)
Related Stories
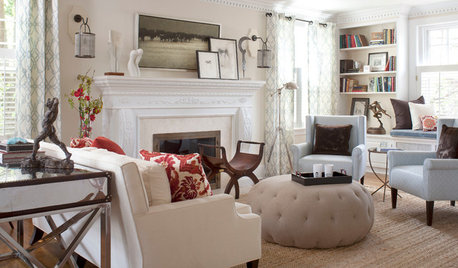
BUDGET DECORATING9 Tricks to Boost Your Home’s Appeal for Less Than $400
Whether you’re redecorating or just doing a quick update, check out these ways to enhance your home on a budget
Full Story
HOUSEKEEPING7-Day Plan: Get a Spotless, Beautifully Organized Bedroom
Create a sanctuary where you can relax and dream without the nightmare of lurking messes
Full Story
KITCHEN DESIGNKitchen of the Week: High Function and a Little Secret in Missouri
There’s plenty of room for cooking and a hidden feature too in this flexible, family-friendly kitchen
Full Story
HOLIDAYSGift Wrap Ideas That Add a Personal Touch
Give more meaning to your gift giving with these simple but creative designs
Full Story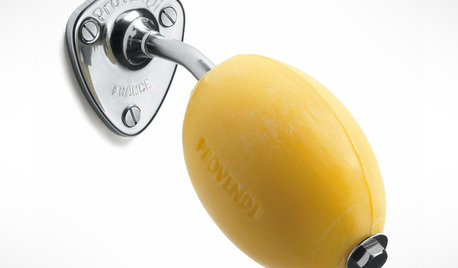
BATHROOM VANITIESBetter Places to Stash That Soap
Banish gloppy bars and flimsy pumps, and the only things you’ll need to clean are your hands
Full Story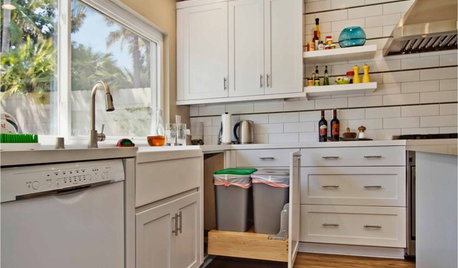
DECLUTTERING9 Exit Strategies for Your Clutter
How to efficiently — and regularly — rid your home of the things you don’t want
Full Story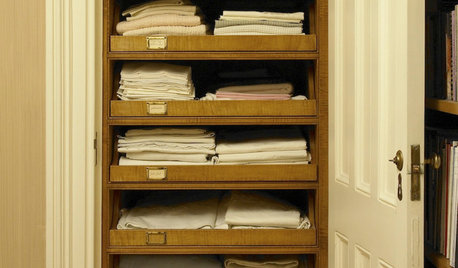
ORGANIZINGHow Much Stuff Is Enough?
Play the numbers game to streamline your belongings, for a neater home and a less-stressed you
Full Story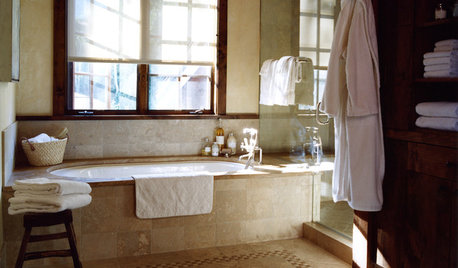
ENTERTAININGEasy Hospitality: 3 Basics for Successful Hosting
Make guests comfortable even if resources are tight by getting these entertaining essentials down pat
Full Story
ctlavluvr
woodyoak zone 5 southern Ont., CanadaOriginal Author
Related Professionals
70037 Landscape Architects & Landscape Designers · Wixom Landscape Architects & Landscape Designers · Surprise Landscape Contractors · Azalea Park Landscape Contractors · Bristol Landscape Contractors · Clark Landscape Contractors · East Hanover Landscape Contractors · Englewood Landscape Contractors · Lake Zurich Landscape Contractors · Madera Landscape Contractors · Milford Landscape Contractors · Oak Forest Landscape Contractors · South Farmingdale Landscape Contractors · Stallings Landscape Contractors · Eastlake Landscape Contractorsdodgerdudette
woodyoak zone 5 southern Ont., CanadaOriginal Author
ctlavluvr
saucydog
jak1
Full_Bloom