


Making Scrubbies
annedickinson
13 years ago
Related Stories
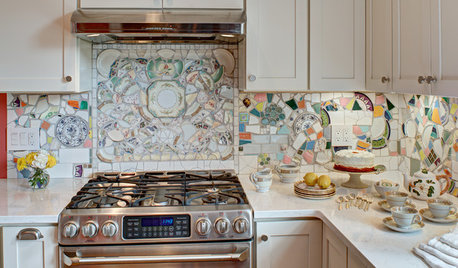
MOST POPULARKitchen of the Week: Broken China Makes a Splash in This Kitchen
When life handed this homeowner a smashed plate, her designer delivered a one-of-a-kind wall covering to fit the cheerful new room
Full Story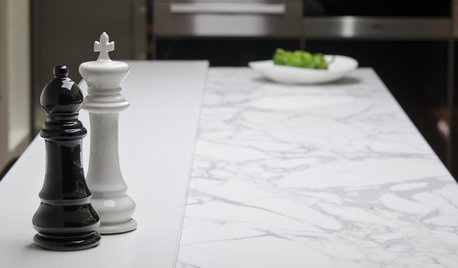
KITCHEN COUNTERTOPSKitchen Counters: High-Tech Solid Surfaces Make Maintenance Easy
Sculpted by heat and nonporous by nature, solid-surface countertops bring imagination and low maintenance to the kitchen
Full Story
FURNITUREForever Furniture: A Buyer’s Guide to the Dining Table
There comes a time when a make-do piece of furniture won’t do. We give you a leg up on choosing the right table for you
Full Story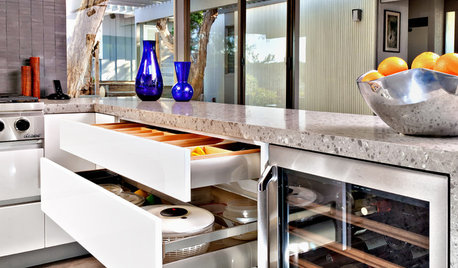
KITCHEN CABINETS9 Ways to Configure Your Cabinets for Comfort
Make your kitchen cabinets a joy to use with these ideas for depth, height and door style — or no door at all
Full Story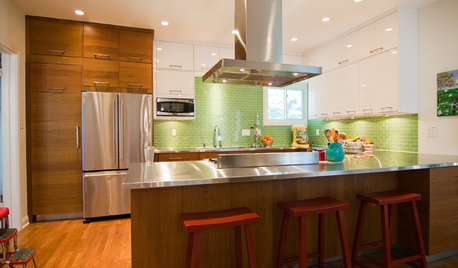
KITCHEN COUNTERTOPS10 Great Backsplashes to Pair With Stainless Steel Counters
Simplify your decision-making with these ideas for materials that work well with stainless steel counters
Full Story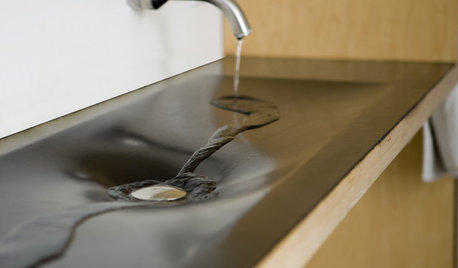
BATHROOM DESIGNGreen and Clean: Ecofriendly Bathroom Sinks
Sinks crafted from recycled rubber, glass and more make for showstopping bathroom features and are more affordable than ever
Full Story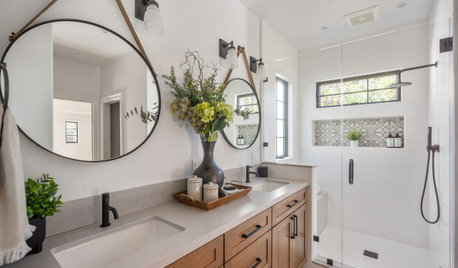
BATHROOM DESIGN5 Common Bathroom Design Mistakes to Avoid
Get your bath right for the long haul by dodging these blunders in toilet placement, shower type and more
Full Story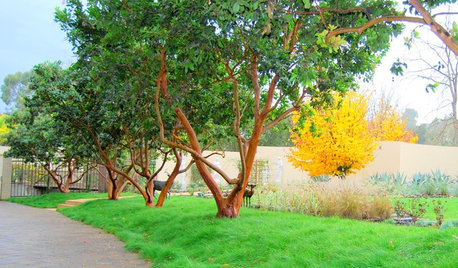
GARDENING GUIDESGarden Myths to Debunk as You Dig This Fall and Rest Over Winter
Termites hate wood mulch, don’t amend soil for trees, avoid gravel in planters — and more nuggets of garden wisdom
Full Story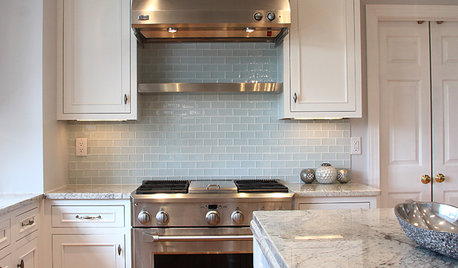
KITCHEN DESIGN5 Favorite Granites for Gorgeous Kitchen Countertops
See granite types from white to black in action, and learn which cabinet finishes and fixture materials pair best with each
Full Story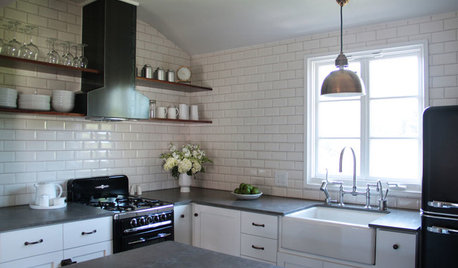
KITCHEN DESIGN10 Big Space-Saving Ideas for Small Kitchens
Feeling burned over a small cooking space? These features and strategies can help prevent kitchen meltdowns
Full StoryMore Discussions

diggery
annedickinsonOriginal Author
Related Professionals
Citrus Heights Landscape Architects & Landscape Designers · Camas Landscape Architects & Landscape Designers · Erie Landscape Architects & Landscape Designers · Fitchburg Landscape Architects & Landscape Designers · Southfield Landscape Architects & Landscape Designers · Garden City Landscape Architects & Landscape Designers · Anderson Landscape Contractors · Canby Landscape Contractors · Columbine Landscape Contractors · Fountain Valley Landscape Contractors · New Cassel Landscape Contractors · Roswell Landscape Contractors · Salmon Creek Landscape Contractors · Sammamish Landscape Contractors · Suitland Landscape Contractorsgoodkarma_
annedickinsonOriginal Author
denisew
annedickinsonOriginal Author
annedickinsonOriginal Author
koilady
annedickinsonOriginal Author
diggery