


Skippy Construction - Photo heavy
annedickinson
13 years ago
Sort by:Oldest
Comments (4)
Related Stories

GARDENING GUIDESGardening Solutions for Heavy Clay Soils
What’s a gardener to do with soil that’s easily compacted and has poor drainage? Find out here
Full Story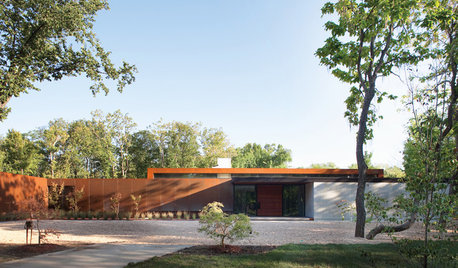
MODERN HOMESHouzz Tour: Heavy Metal Rocks a Modern Missouri Home
Steel shows up all over this single-level family home, but wood and other textures warm the look
Full Story
KITCHEN CABINETSCabinets 101: How to Choose Construction, Materials and Style
Do you want custom, semicustom or stock cabinets? Frameless or framed construction? We review the options
Full Story
KITCHEN PANTRIES80 Pretty and Practical Kitchen Pantries
This collection of kitchen pantries covers a wide range of sizes, styles and budgets
Full Story
KITCHEN DESIGN91 Kitchen Banquettes to Start Your Morning Right
Slide into one of these stylish breakfast nooks and stay awhile
Full Story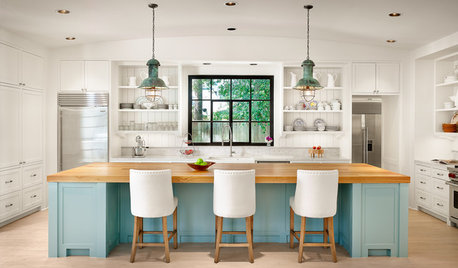
MOST POPULARHouzz TV: Let’s Go Island Hopping
Sit back and enjoy a little design daydreaming: 89 kitchen islands, with at least one for every style
Full Story
DECORATING PROJECTSWhat to Do With Old Family Photos
Find out how to research, share and preserve images that offer a connection to the past
Full Story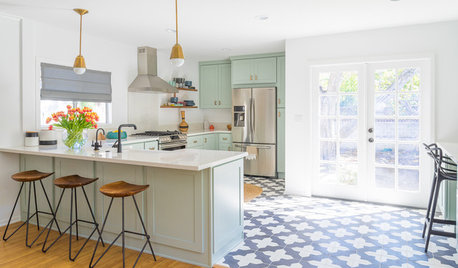
KITCHEN DESIGNTrending Now: 25 Kitchen Photos Houzzers Can’t Get Enough Of
Use the kitchens that have been added to the most ideabooks in the last few months to inspire your dream project
Full Story
LAUNDRY ROOMSThe 20 Most Popular Laundry Room Photos of 2015
No drudgery here when it comes to laundry. High style and multifunctionality have made these rooms new favorites this year.
Full Story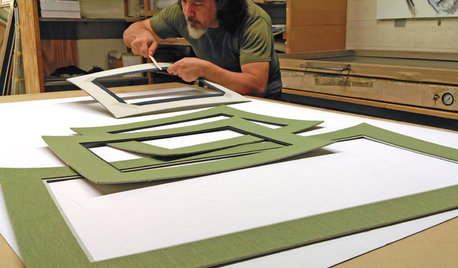
ARTYour Guide to Custom-Framing Photos and Art
Get the lowdown on framing materials, methods and more
Full StoryMore Discussions

diggery
Calamity_J
Related Professionals
Fillmore Landscape Architects & Landscape Designers · New Mexico Landscape Architects & Landscape Designers · Simi Valley Landscape Architects & Landscape Designers · Frisco Landscape Contractors · Columbine Landscape Contractors · Ellensburg Landscape Contractors · Estelle Landscape Contractors · Eureka Landscape Contractors · Fair Lawn Landscape Contractors · Fair Oaks Landscape Contractors · Lehigh Acres Landscape Contractors · Mason Landscape Contractors · Olympia Landscape Contractors · Ponte Vedra Beach Landscape Contractors · Stony Brook Landscape ContractorsannedickinsonOriginal Author
goodkarma_