


LED pond lights
billinpa
15 years ago
Sort by:Oldest
Comments (2)
Related Stories
KITCHEN DESIGN12 Ways to Light Your Kitchen With LEDs
See how to use new energy-saving lights to illuminate your kitchen, light a countertop and add style, too
Full Story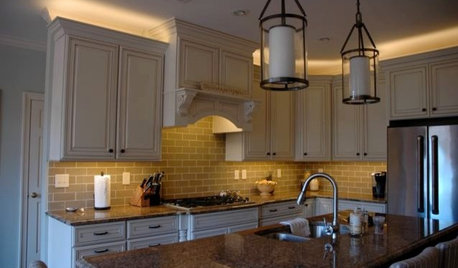
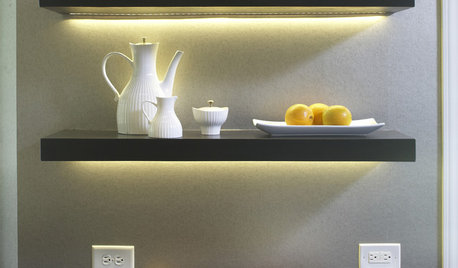
LIGHTINGThe Lowdown on High-Efficiency LED Lighting
Learn about LED tapes, ropes, pucks and more to create a flexible and energy-efficient lighting design that looks great
Full Story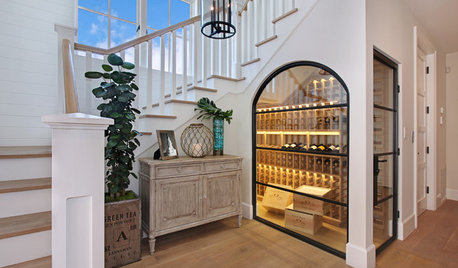
LIGHTINGWhat to Know About Switching to LED Lightbulbs
If you’ve been thinking about changing over to LEDs but aren't sure how to do it and which to buy, this story is for you
Full Story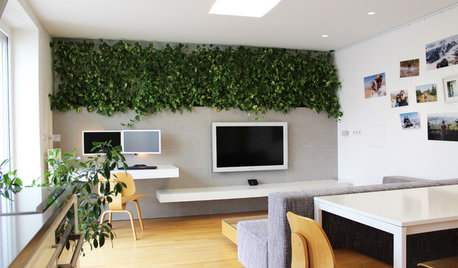
HOUZZ TOURSMy Houzz: LEDs and a Living Wall Color a Minimalist Slovakian Home
Thanks to a modern overhaul, this small Central European apartment is now a testament to efficiency and thoughtful design
Full Story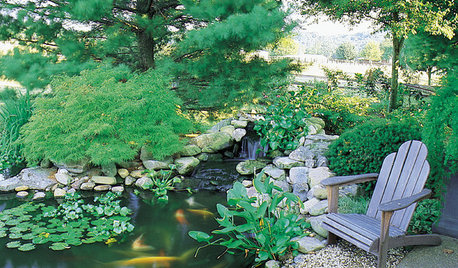
GARDENING AND LANDSCAPINGHow to Make a Pond
You can make an outdoor fish paradise of your own, for less than you might think. But you'll need this expert design wisdom
Full Story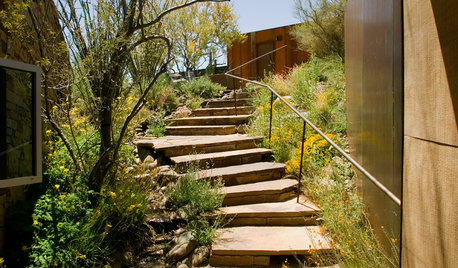
ARCHITECTUREHouzz Tour: A Pond House in the Arizona Desert
With water in the back and a descent to get in, this skillfully designed modern home keeps its cool in the Southwestern sun
Full Story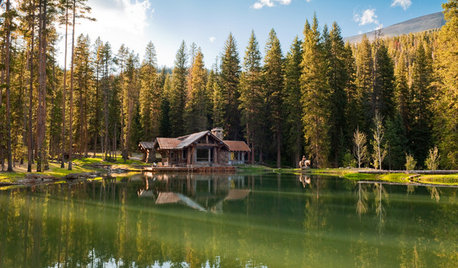
HOUZZ TOURSHouzz Tour: Rustic Cabin With Dive-In Pond
Set on 22 acres and with as many modern comforts as rugged trails, this Montana home is an outdoor lover's paradise
Full Story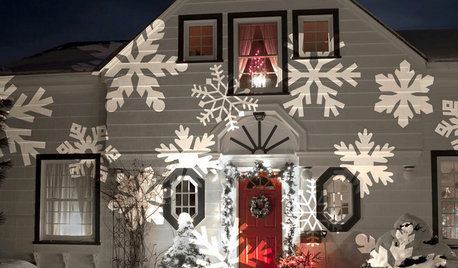
SHOP HOUZZShop Houzz: Save on Holiday Lighting
Create a magical scene they’ll see from the street with string lights, LEDs and projectors
Full Story0
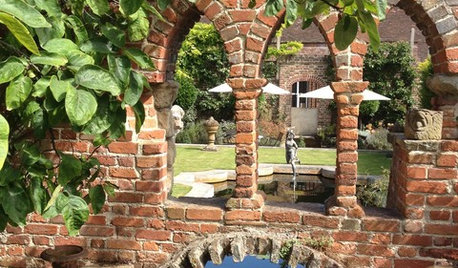
LANDSCAPE DESIGNExplore a Magical Restored English Garden
History comes alive in the gardens of a Rochester townhouse, filled with sculptural yew, a topiary parterre and an archway-draped pond
Full Story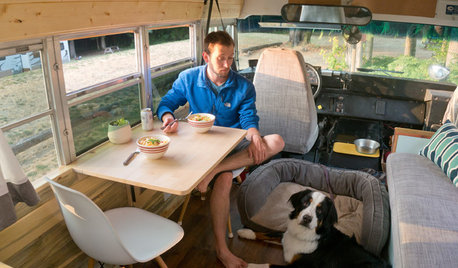
TINY HOUSESAdventure Seekers Hit the Road in a Cozy School Bus Home
Wood floors, butcher block countertops, custom furnishings and LED lights make life on the road feel like just another stylish day at home
Full Story
sleeplessinftwayne
sleeplessinftwayne
Related Professionals
New Bedford Landscape Architects & Landscape Designers · Grand Haven Landscape Architects & Landscape Designers · Signal Hill Landscape Architects & Landscape Designers · Finneytown Landscape Architects & Landscape Designers · Goodyear Landscape Contractors · Woburn Landscape Contractors · Wakefield Landscape Contractors · Azalea Park Landscape Contractors · Byram Landscape Contractors · Fairfield Landscape Contractors · Hilo Landscape Contractors · Pompano Beach Landscape Contractors · South Lake Tahoe Landscape Contractors · Winter Gardens Landscape Contractors · Vadnais Heights Landscape Contractors