


I found the leak!
nkm56
13 years ago
Sort by:Oldest
Comments (44)
Related Stories

LIGHTING12 Fun Light Fixtures Made From Found Objects
Trash became treasure in these one-of-a-kind lights. See if they inspire your own DIY pendant project
Full Story
REMODELING GUIDESOne Guy Found a $175,000 Comic in His Wall. What Has Your Home Hidden?
Have you found a treasure, large or small, when remodeling your house? We want to see it!
Full Story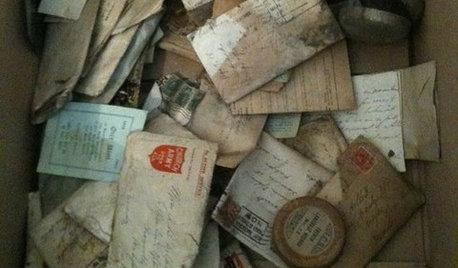
REMODELING GUIDESYou Won't Believe What These Homeowners Found in Their Walls
From the banal to the downright bizarre, these uncovered artifacts may get you wondering what may be hidden in your own home
Full Story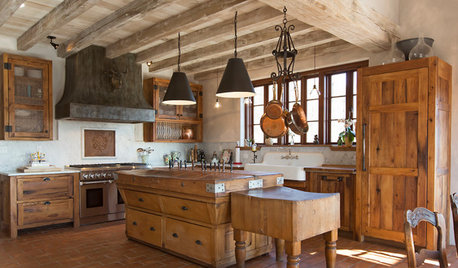
RUSTIC STYLEKitchen of the Week: Found Objects and Old Italian Farmhouse Charm
A homeowner and her cabinetmaker create a personal version of European-inspired comfort and simplicity
Full Story
ACCESSORIESFound Objects: The Most Natural Decor of All
They're beautiful, plentiful and best of all, free. See how to turn surprise finds into uniquely personal displays
Full Story
COLORBlack and White and Found All Over: Zebra Print
Don't Forget, Zebra Pattern is Made With Neutrals — Add it Anywhere!
Full Story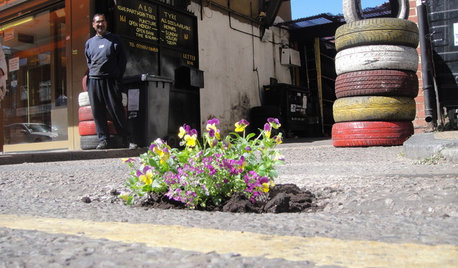
FUN HOUZZGardening Happiness Found ... in Potholes
Imperfections in roads and sidewalks become miniature works of art — and unlikely sources of joy — at the hands of a London gardener
Full Story
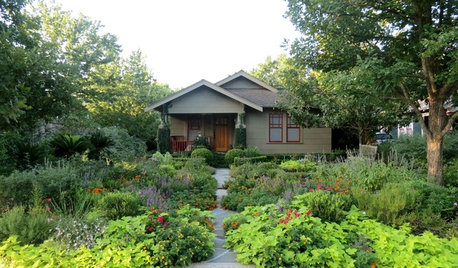
FRONT YARD IDEAS12 Surprising Features Found in Front Yards
Fire, water, edibles and wildlife habitats are just a few of the elements you can consider adding to your entryway landscape
Full Story
HOMES AROUND THE WORLDMy Houzz: In Rome, a Treasure Chest of Found Objects
An artisan’s work-home space is a place of reinvention, where vintage and modern finds are given a creative spin
Full StoryMore Discussions

woeisme
nkm56Original Author
Related Professionals
Norfolk Landscape Architects & Landscape Designers · Bridgetown Landscape Architects & Landscape Designers · Hershey Landscape Architects & Landscape Designers · Berwyn Landscape Contractors · Beverly Hills Landscape Contractors · Chattanooga Landscape Contractors · Columbine Landscape Contractors · Conroe Landscape Contractors · Dudley Landscape Contractors · Hayden Landscape Contractors · Hoffman Estates Landscape Contractors · Lynn Landscape Contractors · Old Saybrook Landscape Contractors · Pleasant Prairie Landscape Contractors · Stallings Landscape Contractorswoeisme
goodkarma_
nkm56Original Author
duddlydoright
nkm56Original Author
woeisme
duddlydoright
mike_il
duddlydoright
mike_il
duddlydoright
duddlydoright
mike_il
duddlydoright
mike_il
duddlydoright
woeisme
duddlydoright
duddlydoright
mike_il
duddlydoright
horton
duddlydoright
duddlydoright
mike_il
nkm56Original Author
duddlydoright
horton
mike_il
duddlydoright
duddlydoright
duddlydoright
mike_il
duddlydoright
mike_il
duddlydoright
duddlydoright
duddlydoright
mike_il
duddlydoright
duddlydoright
duddlydoright