


Using natural cliff with no liner
Roman Rytov
13 years ago
Sort by:Oldest
Comments (21)
Related Stories

DECORATING GUIDESNature’s Color Wisdom: Lessons on Green From the Great Outdoors
Green will grow on you for interiors when you look outside for ideas on how to use it
Full Story
COLORNature’s Color Wisdom: Lessons on Earth Tones From the Great Outdoors
Look to the land for hues that are grounding, soothing and endlessly versatile
Full Story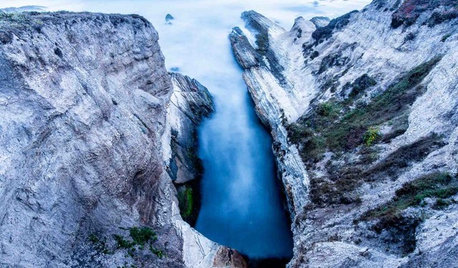
COLORNature’s Color Wisdom: Lessons on Blue From the Great Outdoors
Take some cues from the sea and sky to find a blue to match any taste and mood
Full Story
COLORNature’s Color Wisdom: Lessons on White From the Great Outdoors
Blizzard fierce or butter soft, white can highlight shapes, unify a room and perform miracles on the cheap
Full Story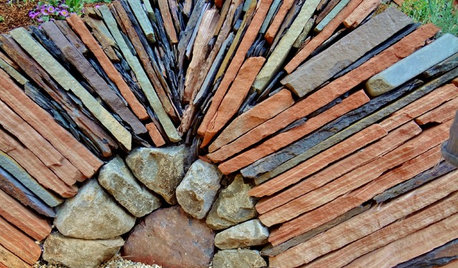
LANDSCAPE DESIGNFollow Nature’s Lead for Artful Stacked Stones
Surprise and delight in the landscape with rock formations resembling wildland hoodoos and cairns
Full Story
HOUZZ TOURSSee a Guesthouse Carved Into a Washington Cliff
Rock not only borders this 4-bedroom hangout above a canyon; it actually rises right up into it
Full Story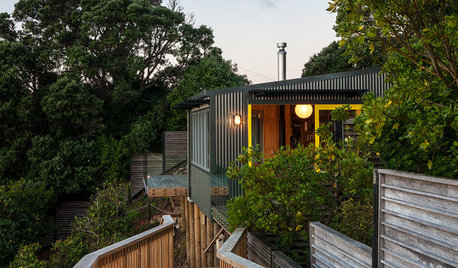
MODERN HOMESHouzz Tour: A Great Escape Hugs Cliff and Tree
A New Zealand getaway makes the most of its stunning island location with a cliff-clinging design and modern rustic style
Full Story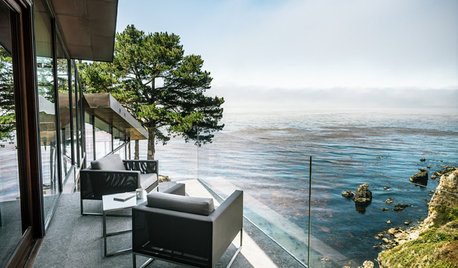
DREAM SPACESHouzz Tour: Hugging the Rocky Cliffs in Big Sur
Cascading down a rugged site and generously encased in glass, this California home takes full advantage of its ocean views
Full Story
HOUZZ TOURSMy Houzz: Cliff May Homeowners Lead the Way in Long Beach
Two Realtors and their renovated home set the bar for midcentury nostalgia and style in their Cliff May tract
Full Story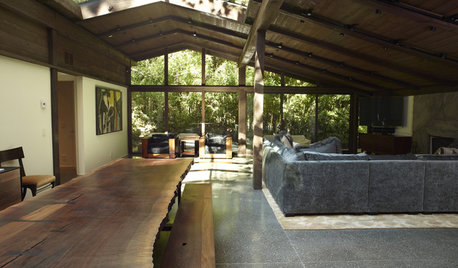
HOUZZ TOURSExhibit Honors Cliff May's California Ranch Style
Cliff May's midcentury home designs profoundly impacted architecture. A 2012 California exhibit showcases his work
Full Story
chas045
Roman RytovOriginal Author
Related Professionals
Brookfield Landscape Contractors · Florham Park Landscape Contractors · Galt Landscape Contractors · Hoffman Estates Landscape Contractors · Homewood Landscape Contractors · Middletown Landscape Contractors · Mission Bend Landscape Contractors · Oakland Landscape Contractors · Point Pleasant Landscape Contractors · Riverhead Landscape Contractors · St. Louis Landscape Contractors · West Haverstraw Landscape Contractors · West Orange Landscape Contractors · Weymouth Landscape Contractors · Goldenrod Landscape Contractorssleeplessinftwayne
Roman RytovOriginal Author
jalal
loriques
Roman RytovOriginal Author
frankielynnsie
waterbug_guy
adriennemb2
gardengimp
mckool
Roman RytovOriginal Author
mckool
gilroybighouse
Ghrey
botann
Roman RytovOriginal Author
botann
Roman RytovOriginal Author
Roman RytovOriginal Author