


My new DIY air-lift pond is finally done. Woo hoo!!
ccoombs1
13 years ago
Related Stories
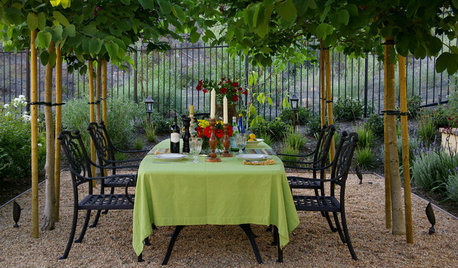
LANDSCAPE DESIGNEnjoy the Romance of Dining in a Classic Gravel Garden
Here’s what to consider when it comes to installing, styling and maintaining a DIY-friendly gravel patio
Full Story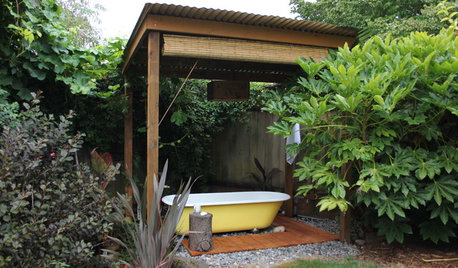
GARDENING AND LANDSCAPINGWhy Is There a Bathtub in the Backyard?
Nope, it's not waiting for bulk trash pickup. These days outdoor tubs are serving soakers, beer drinkers and even the fishes
Full Story
SELLING YOUR HOUSEHome Staging to Sell: The Latest Techniques That Really Work
Get up to speed on the best ways to appeal to potential buyers through accessories, furniture, colors and more
Full Story
MOVINGHome-Buying Checklist: 20 Things to Consider Beyond the Inspection
Quality of life is just as important as construction quality. Learn what to look for at open houses to ensure comfort in your new home
Full Story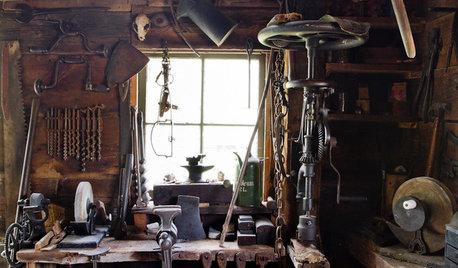
MATERIALSAre You a Maker? Show Us Your Favorite Tool or Material
Houzz Call: A tool or material can be a maker’s best friend. We’d like to see your favorite — and what it helps you achieve
Full Story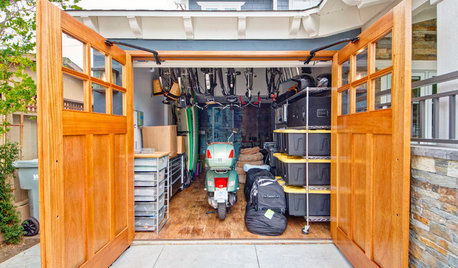
GARAGESHouzz Call: How Do You Put Your Garage to Work for Your Home?
Cars, storage, crafts, relaxing ... all of the above? Upload a photo of your garage and tell us how it performs as a workhorse
Full Story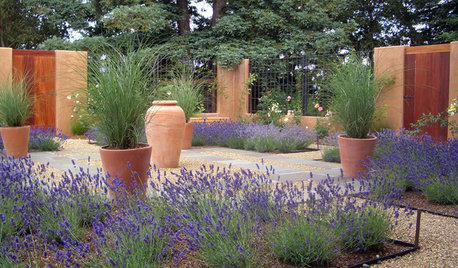
SAVING WATERXeriscape Gardens: How to Get a Beautiful Landscape With Less Water
Conserve water and make gardening much easier with the xeriscape approach’s 7 principles
Full Story
LANDSCAPE DESIGNIs It Time to Consider Fake Grass?
With more realistic-looking options than ever, synthetic turf can be a boon. Find the benefits and an installation how-to here
Full Story
STUDIOS AND WORKSHOPSCreative Houzz Users Share Their ‘She Sheds’
Much thought, creativity and love goes into creating small places of your own
Full Story
GARDENING AND LANDSCAPINGBreezy and Bug-Free Modern Porches
Screening keeps pests out of these diverse porches across the U.S., while thoughtful designs keep them visually appealing
Full Story
koijoyii
ccoombs1Original Author
Related Professionals
Simpsonville Landscape Architects & Landscape Designers · Clemson Landscape Architects & Landscape Designers · East Rancho Dominguez Landscape Architects & Landscape Designers · Prairie Ridge Landscape Architects & Landscape Designers · Saint Matthews Landscape Architects & Landscape Designers · Coeur d'Alene Landscape Contractors · Downey Landscape Contractors · Elkridge Landscape Contractors · Framingham Landscape Contractors · Harrisburg Landscape Contractors · Mission Bend Landscape Contractors · Natick Landscape Contractors · Raleigh Landscape Contractors · San Carlos Park Landscape Contractors · Seymour Landscape Contractorskoijoyii
annedickinson
krnuttle
ccoombs1Original Author
krnuttle
ccoombs1Original Author
mike_il
ccoombs1Original Author
corrie22
ccoombs1Original Author
mike_il
ccoombs1Original Author
corrie22
mike_il
ccoombs1Original Author
mike_il
mike_il
ccoombs1Original Author
mike_il
ccoombs1Original Author
mike_il
rferg800