


Expanding / Adding to Existing Pond
tomfranc
15 years ago
Featured Answer
Sort by:Oldest
Comments (18)

cliff_and_joann
15 years agoRelated Professionals
Ashburn Landscape Architects & Landscape Designers · Marco Island Landscape Architects & Landscape Designers · Summit Landscape Architects & Landscape Designers · Towson Landscape Architects & Landscape Designers · Anderson Landscape Contractors · Alpharetta Landscape Contractors · Broadlands Landscape Contractors · Cedar Hill Landscape Contractors · Galveston Landscape Contractors · Garland Landscape Contractors · Marlborough Landscape Contractors · Setauket-East Setauket Landscape Contractors · The Villages Landscape Contractors · Tinton Falls Landscape Contractors · Quartz Hill Landscape Contractorscliff_and_joann
15 years agoannedickinson
15 years agotomfranc
15 years agosteve1young
15 years agocliff_and_joann
15 years agocliff_and_joann
15 years agobonecarver
15 years agocliff_and_joann
15 years agojcjcjcx
15 years agobonecarver
15 years agojcjcjcx
15 years agobonecarver
15 years agokeithw
15 years agotomfranc
15 years agonkm56
15 years agoJessica Mccarvel
4 years ago
Related Stories
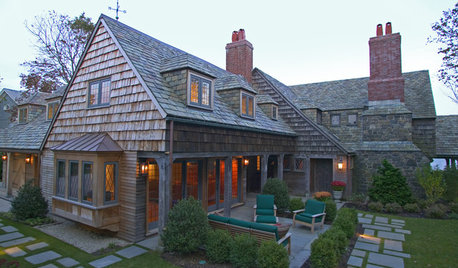
REMODELING GUIDESAdding On: 10 Ways to Expand Your House Out and Up
A new addition can connect you to the yard, raise the roof, bring in light or make a statement. Which style is for you?
Full Story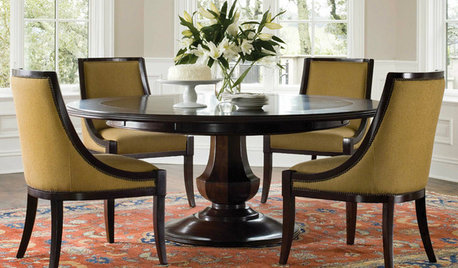
DINING ROOMSDeluxe Expandable Dining Tables Make Room for More
Whether your crowd has six or 16, these expandable tables fit the whole gang — and your style
Full Story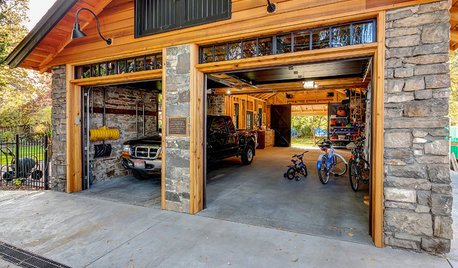
GARAGESA Historic Garage Expands for Storage and Parties
This couple worked with an architect, a builder and a stonemason to double the size of their historic Boise, Idaho, garage
Full Story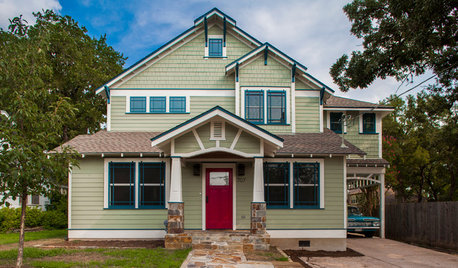
CRAFTSMAN DESIGNHouzz Tour: A Craftsman Cottage Expands for a Growing Family
Not wanting to give up a house full of memories, a Texas family chooses to build up and out
Full Story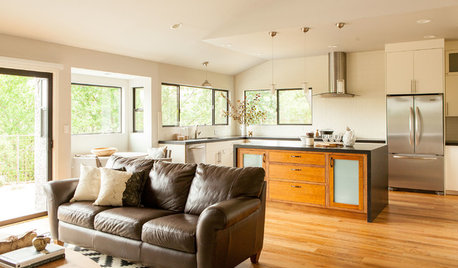
RANCH HOMESHouzz Tour: California Couple Expand Their Design Horizons
A designer helps these empty nesters transform a dated ranch house into a rustic-modern oasis
Full Story
BEFORE AND AFTERSBasement of the Week: Expanded Living Space on a Budget
Cost consciousness matches style savvy in this downstairs Massachusetts family room with guest quarters and a laundry room
Full Story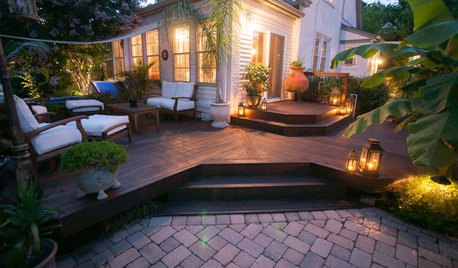
MOST POPULARWhat to Know About Adding a Deck
Want to increase your living space outside? Learn the requirements, costs and other considerations for building a deck
Full Story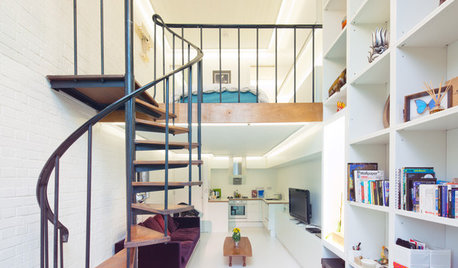
REMODELING GUIDESAsk an Architect: How Can I Carve Out a New Room Without Adding On?
When it comes to creating extra room, a mezzanine or loft level can be your best friend
Full Story
MODERN HOMESHouzz TV: Seattle Family Almost Doubles Its Space Without Adding On
See how 2 work-from-home architects design and build an adaptable space for their family and business
Full Story

cliff_and_joann