


Granada Rejuvenation Experiment: 3+ week check
jenn
12 years ago
Related Stories
FEEL-GOOD HOMESimple Pleasures: Plan a Rejuvenating Retreat at Home
Crave a quiet day or a weekend devoted to yoga? Design a mini retreat without going anywhere
Full Story
LIFEThe Good House: An Experience to Remember
A home that enriches us is more than something we own. It invites meaningful experiences and connections
Full Story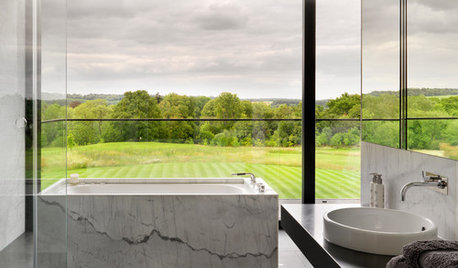
BATHTUBSWorld of Design: 12 Soothing Bathtubs in Rejuvenating Settings
From baths with ocean views to tubs set amid lush gardens, these spaces are designed to relax mind, body and soul
Full Story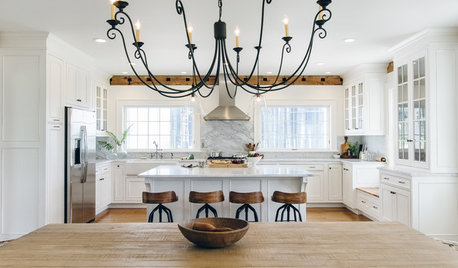
WHITE KITCHENS4 Dreamy White-and-Wood Kitchens to Learn From
White too bright in your kitchen? Introduce wood beams, countertops, furniture and more
Full Story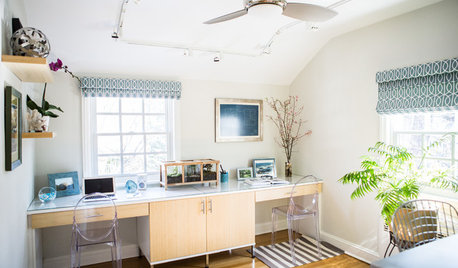
HOME OFFICESNew This Week: 3 Home Offices That Know How to Work It
We look at the designers’ secrets, ‘uh-oh’ moments and nitty-gritty details of 3 great home offices uploaded to Houzz this week
Full Story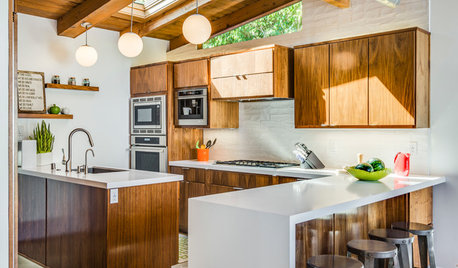
KITCHEN CABINETSNew This Week: 3 Modern Kitchens That Rock Warm Wood Cabinets
Looking for an alternative to bright white? Walnut cabinetry offers the perfect tone to warm things up
Full Story
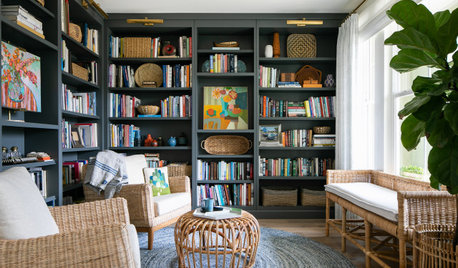
HOUZZ TOURSMy Houzz: From Dated to Dreamy in 3 Weeks
The results belie the speedy makeover of this 1940s Quebec home — which not even a colony of ants could derail
Full Story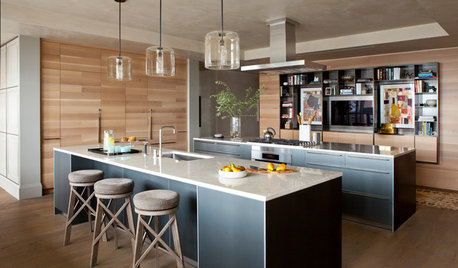
KITCHEN STORAGENew This Week: 3 Kitchens With Hardworking Storage Walls
Push storage components to the wall to free up space for a large island with a big work surface
Full Story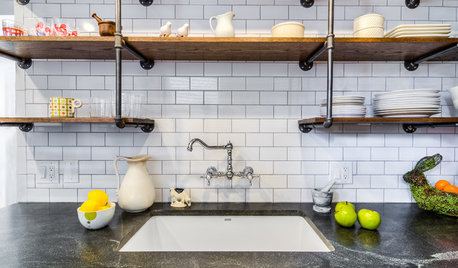
KITCHEN DESIGNNew This Week: 3 Modern Kitchens With Something Special
Looking to make your kitchen feel unique? Look to these spaces for inspiration for tile, style and more
Full Story
MODERN ARCHITECTURENew This Week: 3 Modern Kitchens That Deliver on Details
These modern kitchens, uploaded recently, show how personalized attention creates a design that’s more than the sum of its parts
Full StoryMore Discussions


roseseek
jennOriginal Author
Related Professionals
Beachwood Landscape Architects & Landscape Designers · Kyle Landscape Architects & Landscape Designers · Forest City Landscape Architects & Landscape Designers · Edmond Landscape Contractors · Medford Landscape Contractors · Pottstown Landscape Contractors · Edmond Landscape Contractors · Brooklyn Park Landscape Contractors · Milford Mill Landscape Contractors · Oak Forest Landscape Contractors · Santa Ana Landscape Contractors · Tewksbury Landscape Contractors · Vacaville Landscape Contractors · Wanaque Landscape Contractors · Washington Landscape ContractorsjennOriginal Author
roseseek
jennOriginal Author
roseseek