


Source for custom budding
Poorbutroserich Susan Nashville
9 years ago
Related Stories
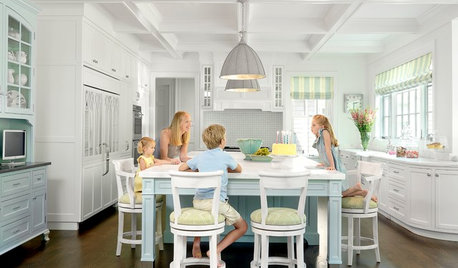
LIGHTINGSource List: 20 Pendants That Illuminate the Kitchen Island
See the ceiling lighting fixtures that are popular on Houzz and find out where to get them
Full Story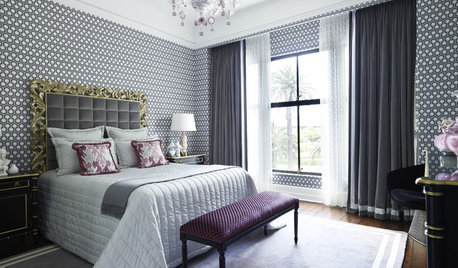
WALL TREATMENTSSource List: 20 Wallpapers That Make the Room
Find out where to get the wallpaper that makes the difference in these popular interiors
Full Story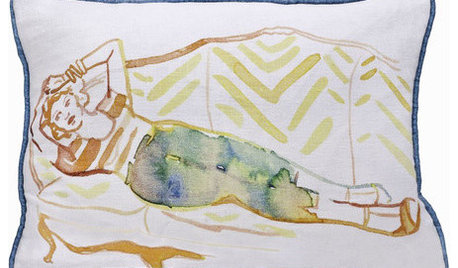
PRODUCT PICKSGuest Picks: Go-To Sources for Pretty Pillows
10 great shops to help you find your perfect accent pillow
Full Story
TILESource List: 20 Tiles That Make a Statement
Learn about the tiles that make these popular rooms stand out
Full Story
WINDOW TREATMENTSThe Drapery Diary: The Case for Custom
Use this handy guide to discover the ins and outs of customized drapery
Full Story
DECORATING GUIDESHow to Commission Custom Upholstered Furniture
Learn the questions to ask, the details to discuss and the easiest thing to get wrong on a custom piece
Full Story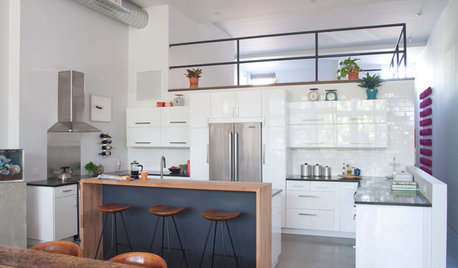
ROOM OF THE DAYRoom of the Day: Custom-Kitchen Look on a Budget
An artistic New York City family enlists the help of a skillful designer to create a customized built-in appearance using Ikea cabinets
Full Story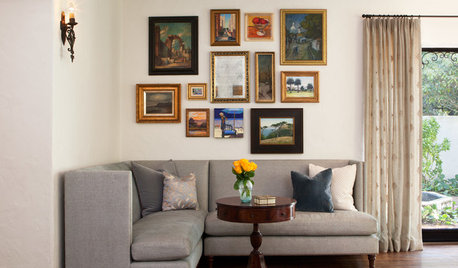
DECORATING GUIDES6 Cost-Effective Ways to Go Custom Made
Get a look that’s totally you — and possibly for a lower cost than you might think
Full Story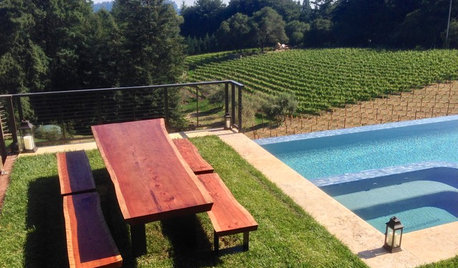
WORKING WITH PROSHow to Commission Custom Wood Furnishings
Can't find just the right table, shelf, desk or what have you? It's woodworkers to the rescue
Full Story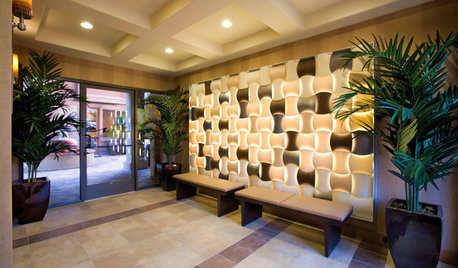
REMODELING GUIDES10 Unusual Interior Materials for High-End, Custom Appeal
Express your personality more easily than ever with laminates, wovens and even bone all around the home
Full StoryMore Discussions
bluegirl_gw
User
Related Professionals
70037 Landscape Architects & Landscape Designers · Oatfield Landscape Architects & Landscape Designers · Lewisville Landscape Contractors · Mequon Landscape Contractors · Natick Landscape Contractors · New Baltimore Landscape Contractors · North Plainfield Landscape Contractors · Northport Landscape Contractors · Plantation Landscape Contractors · Pleasant Grove Landscape Contractors · Reedley Landscape Contractors · Uxbridge Landscape Contractors · Wanaque Landscape Contractors · Hawaiian Gardens Landscape Contractors · Vadnais Heights Landscape ContractorsPoorbutroserich Susan NashvilleOriginal Author
bluegirl_gw
roseseek
roseseek
bluegirl_gw
roseseek
bluegirl_gw
roseseek
User
roseseek
bluegirl_gw
roseseek
bluegirl_gw
roseseek
bluegirl_gw
roseseek
Poorbutroserich Susan NashvilleOriginal Author
roseseek