


A Super-Easy Light Set-Up!
my4cowboys
14 years ago
Sort by:Oldest
Comments (29)
Related Stories
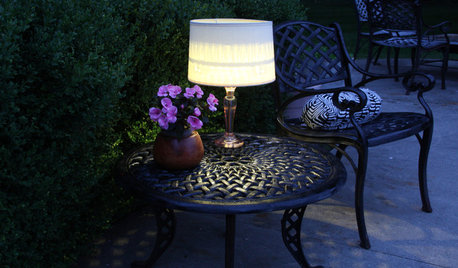
DIY PROJECTSLight Up Your Night With an Easy Outdoor Table Lamp
Hit up Goodwill and the hardware store to make this lamp for a deck or poolside patio in minutes
Full Story
SHOP HOUZZShop Houzz: 5 Easy Ways to Spruce Up Your Patio This Weekend
Give your patio a new look this weekend with accessories, furniture and lighting
Full Story0
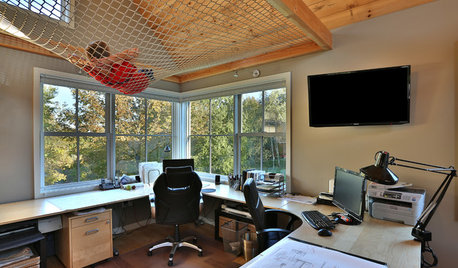
DESIGN PRACTICEHow to Set Up Your Design Studio at Home
Learn from an architect how to create a workspace that fuels your practice and feeds you inspiration
Full Story
Guest Picks: Set Up a Comfy Reading Corner
With a snug chair, good lighting and other cozy niceties, you may never want the story to end
Full Story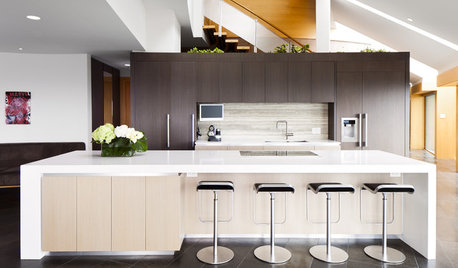
DECORATING GUIDESEasy Reference: Standard Heights for 10 Household Details
How high are typical counters, tables, shelves, lights and more? Find out at a glance here
Full Story
CHRISTMAS10 Easy Decorating Ideas for a Festive Entryway
'Tis the season for welcoming guests with wreaths, special lighting and plenty of comfy seating
Full Story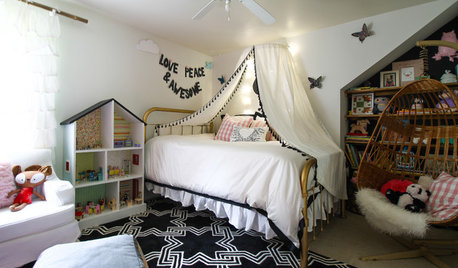
KIDS’ SPACESPersonal Kids' Spaces: 15 Super Cozy Bedroom Hideaways
Get inspired to create a tepee, fort bunk or playhouse for your little ones to snuggle up in
Full Story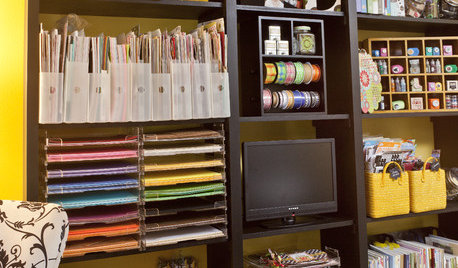
STUDIOS AND WORKSHOPSHow to Set Up a Craft Room
Keep bits and bobs from winding their way into the rest of your home by setting up a designated area for craft projects
Full Story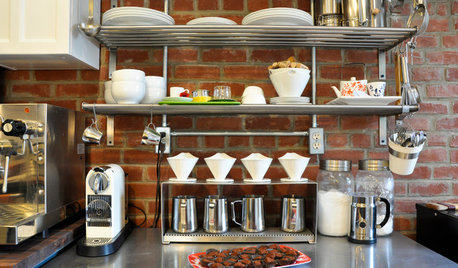
SHOP HOUZZHouzz Products: Set Up Your Dream Coffee Station
Wouldn’t it be nice to have your own café that never closes? With these tools and accessories from the Houzz Products section, you can
Full Story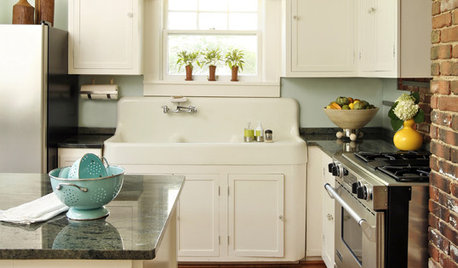
KITCHEN DESIGNHow to Set Up a Kitchen Work Triangle
Efficiently designing the path connecting your sink, range and refrigerator can save time and energy in the kitchen
Full Story
heirloomjunkie
keriann_lakegeneva
Related Professionals
Pottstown Landscape Contractors · Aloha Landscape Contractors · Burlington Landscape Contractors · New Baltimore Landscape Contractors · New Brighton Landscape Contractors · Wayland Landscape Contractors · Winter Gardens Landscape Contractors · Clearfield Landscape Contractors · Coto De Caza Carpenters · Carlsbad Fence Contractors · Diamond Bar Fence Contractors · Fremont Fence Contractors · Glenview Fence Contractors · Oldsmar Fence Contractors · Oxnard Fence Contractorschrisnance
nutcr0cker
vikingkirken
isuhunter
my4cowboysOriginal Author
ninjabut
tn_veggie_gardner
wordwiz
chinamon
tn_veggie_gardner
wordwiz
pippi21
grow-anything
tn_veggie_gardner
grow-anything
grow-anything
tn_veggie_gardner
grow-anything
tn_veggie_gardner
grow-anything
ianna
grow-anything
ianna
mnwsgal
grow-anything
zippity_duda
grow-anything