


Making Paper pots?
ernie
18 years ago
Sort by:Oldest
Comments (27)
Related Stories

DIY PROJECTSDIY: Make a Sweet Gift of Future Blooms
Wrap flowering bulbs in decorative paper and string for a cheery addition to table decor or a pretty holiday present
Full Story
MEDITERRANEAN STYLEHouzz Tour: The Making of a Mediterranean House
A home starts life as a melting pot, but interior designers narrow the focus
Full Story
DECORATING GUIDESCreative Ways to Make Art from Paper
Adorn your walls with beautiful paper — cut, printed, torn or folded
Full Story
ACCESSORIESMake Things Magical With Paper Lanterns
Set some poetry in motion with affordable Asian-style paper lanterns that enchant as everyday or party decor
Full Story
DIY PROJECTSHow to Make a Festive Paper-Cut Ornament
Add a personal touch to your Christmas tree this year with this pretty handmade decoration
Full Story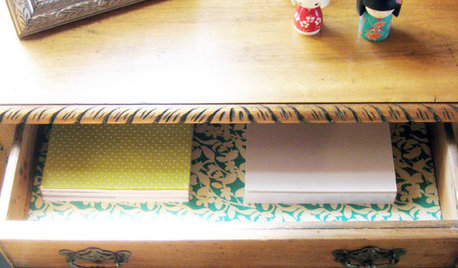
DECORATING GUIDES10 Ways to Reuse Wrapping Paper
Don't just toss your prettiest paper in the trash or recycling bin — gift wrap scraps can make wonderful home decor
Full Story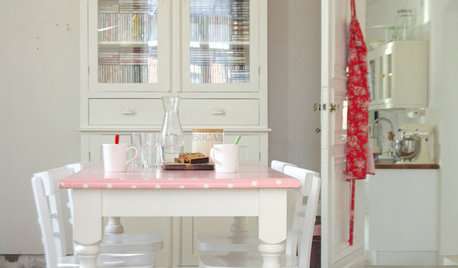
DECORATING GUIDESWake Up Tired Furniture With Paint, Paper and Fabric
Give ordinary pieces a new spin with crafty updates, like a fresh tabletop, decorated sideboard and wall-size pinboard
Full Story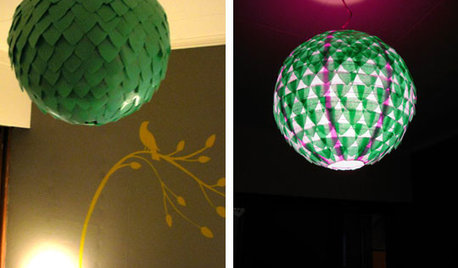
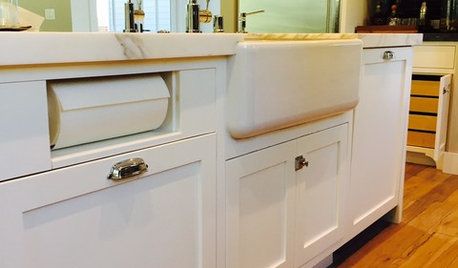
KITCHEN DESIGNKitchen Details: Out-of-Sight Paper Towel Holder
See how some homeowners are clearing the counter of clutter while keeping this necessity close at hand
Full Story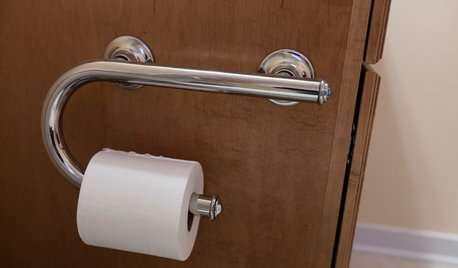
LIFEThe Absolute Right Way to Hang Toilet Paper. Maybe
Find out whether over or under is ahead in our poll and see some unusual roll hangers, shelves and nooks
Full StoryMore Discussions

juliat
jendudley
Related Professionals
Danbury Landscape Architects & Landscape Designers · Waterbury Landscape Contractors · Bainbridge Island Landscape Contractors · Cicero Landscape Contractors · Commack Landscape Contractors · Del Aire Landscape Contractors · Long Beach Landscape Contractors · San Benito Landscape Contractors · The Woodlands Landscape Contractors · Waterford Landscape Contractors · Wickliffe Landscape Contractors · Antioch Landscape Contractors · Jacksonville Fence Contractors · Madison Fence Contractors · Chicago Fence Contractorsmalcolm197
pitimpinai
mikta
lynnencfan
jendudley
cherrylane
mikta
raghuvansh
nohandle
acehearts
mmqchdygg
nohandle
mmqchdygg
nohandle
mmqchdygg
nohandle
cherrylane
singingcrk
singingcrk
cangrow
outsiders71
singingcrk
jimmyhead
Eric_in_Japan
new_in_texas