


Growing azaleas from seed -----
zeffyrose
13 years ago
Sort by:Oldest
Comment (1)
Related Stories
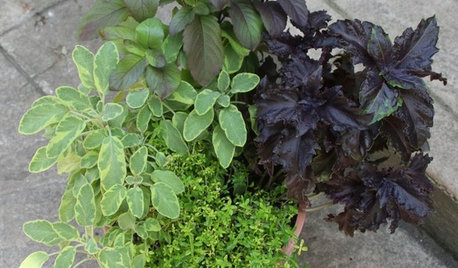
CONTAINER GARDENS8 Easy Container Plants to Grow From Seed
Get beautiful blooms and herbs in summer by starting these choice garden picks from seed in spring
Full Story
GARDENING GUIDESHow to Plant a New Lawn From Seed
Choose from more grass varieties and save money over sod by starting your lawn from seed
Full Story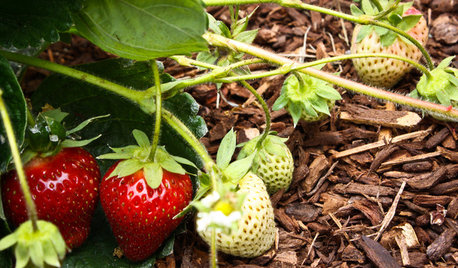
SPRING GARDENINGSummer Crops: How to Grow Strawberries
Pluck your own sweet strawberries right from the garden vine for smoothies, salads or eating then and there
Full Story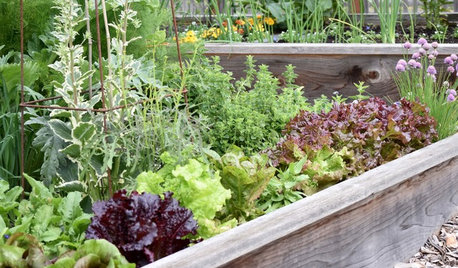
GARDENING GUIDESSeeds or Seedlings? How to Get Your Garden Started
Growing delicious herbs and vegetables starts with knowing your goals and when you want to plant
Full Story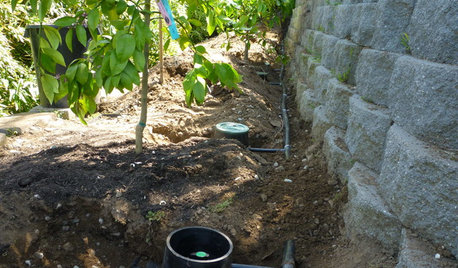
EARTH DAYGrow a Beautiful Garden With Ecofriendly Greywater
Reducing home water waste means lower bills and a healthier planet. Here's how to set up a greywater home irrigation system that can help
Full Story
GARDENING GUIDESGreat Design Plant: Grow Blueberries for Their Fruit and More
Eastern gardeners should consider growing blueberry plants for their delicious fruits, bee-friendly spring blooms and brilliant fall foliage
Full Story
FALL GARDENING5 Fall Fruits You Can Grow in Containers
Brighten your porch or patio with a potted pomegranate, kumquat, blueberry bush or another great fall fruit
Full Story
MOST POPULARSummer Crops: How to Grow Sunflowers
Savor snack-tastic sunflower seeds once the radiant blooms have faded — if the birds have saved you any, that is
Full Story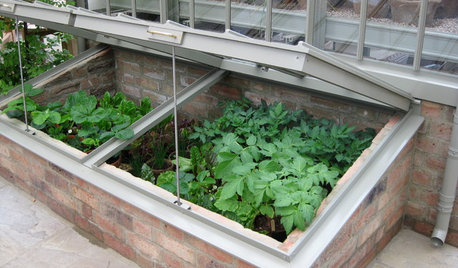
WINTER GARDENINGExtend Your Growing Season With a Cold Frame in the Garden
If the sun's shining, it might be time to sow seeds under glass to transplant or harvest
Full Story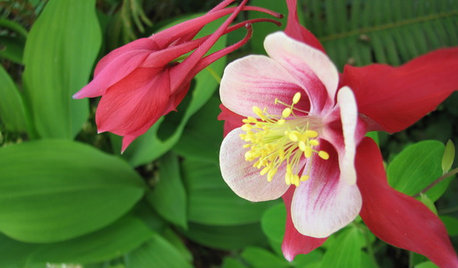
GARDENING FOR BUTTERFLIESGreat Design Plant: Columbine Grows Happily in Shade and Sun
Its ethereal beauty comes from complex forms and wide-ranging colors, but columbine’s benefits are highly attractive too
Full StorySponsored
Custom Craftsmanship & Construction Solutions in Franklin County
More Discussions
morz8 - Washington Coast
Related Professionals
Folsom Landscape Architects & Landscape Designers · Sand Springs Landscape Architects & Landscape Designers · Southfield Landscape Architects & Landscape Designers · Edmond Landscape Contractors · College Park Landscape Contractors · Plymouth Landscape Contractors · Suitland Landscape Contractors · Waterford Landscape Contractors · Whittier Landscape Contractors · Huntley Carpenters · Summerlin Carpenters · Shirley Fence Contractors · Coram Fence Contractors · Fort Lee Fence Contractors · Selden Fence Contractors