


paper towel method
jerome69
15 years ago
Related Stories
HOUSEKEEPINGGet Those Carpet Stains Out: Best Nontoxic Methods for Spot Cleaning
Banish blotches the safe way with pantry staples, to get your rugs looking as clean as the day they came home
Full Story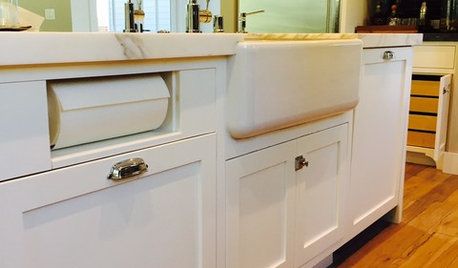
KITCHEN DESIGNKitchen Details: Out-of-Sight Paper Towel Holder
See how some homeowners are clearing the counter of clutter while keeping this necessity close at hand
Full Story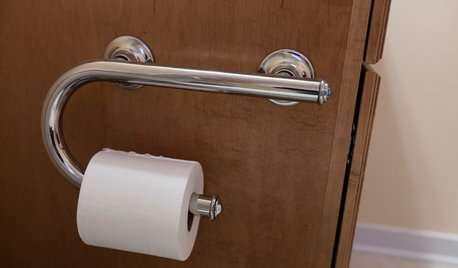
LIFEThe Absolute Right Way to Hang Toilet Paper. Maybe
Find out whether over or under is ahead in our poll and see some unusual roll hangers, shelves and nooks
Full Story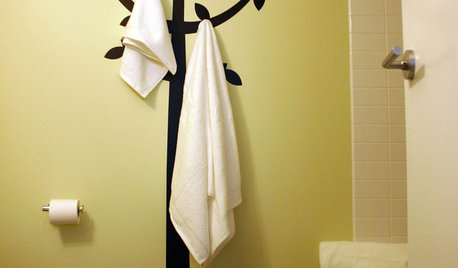
BATHROOM STORAGESoak Up 16 Stylish Ways to Display Towels
Sure, you can just fluff and fold. But you can also hang, roll and even tie your towels for lavish and accessible displays in the bathroom
Full Story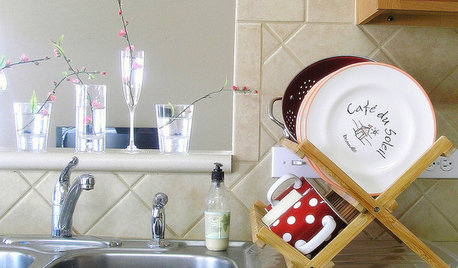
KITCHEN DESIGNYour Kitchen: Where to Stash the Dish Towels
Solve the Dish Towel Dilemma With 13 Ways to Keep Them Handy and Dry
Full Story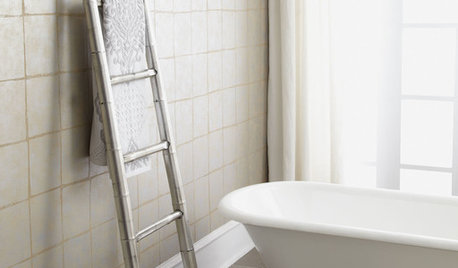
PRODUCT PICKSGuest Picks: 20 Towel Racks to Better Your Bath
Sleek to quirky to rustic, these towel racks are anything but ho-hum
Full Story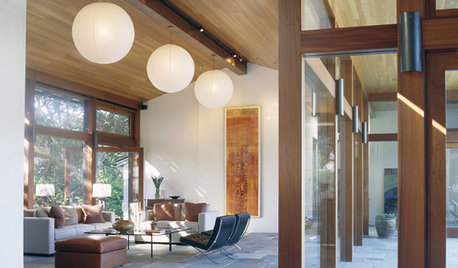
ACCESSORIESMake Things Magical With Paper Lanterns
Set some poetry in motion with affordable Asian-style paper lanterns that enchant as everyday or party decor
Full Story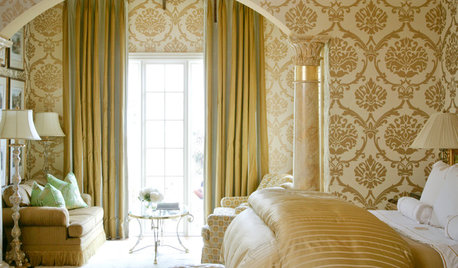
DECORATING GUIDESPaper Chase: Wallpaper Through the Ages to Today
Get on a decorating roll with a wall covering that's been around for centuries but comes in more exciting designs than ever
Full Story
DECORATING GUIDESTastemakers: Our Paper Life
Chris Porteous and Geoff Christou rework common cardboard into sturdy and clever furniture designs
Full Story
BATHROOM DESIGNPowder Room Essentials to Keep Guests Happy
Set out these bathroom necessities (hello, hand towels) to make your company comfortable and your parties run smoothly
Full Story
calistoga_al ca 15 usda 9
dicot
Related Professionals
Arnold Landscape Architects & Landscape Designers · Oconomowoc Landscape Architects & Landscape Designers · Concord Landscape Contractors · Mission Bend Landscape Contractors · North Canton Landscape Contractors · San Pedro Landscape Contractors · Vermilion Landscape Contractors · Arlington Carpenters · Bedford Carpenters · Foothill Ranch Carpenters · Tonawanda Carpenters · Fair Oaks Fence Contractors · Grover Beach Fence Contractors · Shorewood Fence Contractors · Savage Fence Contractorsdavemichigan
calistoga_al ca 15 usda 9
ncgardengirl
ericjwi
lemecdutex
greenwood85
dicot
calistoga_al ca 15 usda 9
gnomey
albert_135 39.17°N 119.76°W 4695ft.